Table of Contents
Installing FlexTable (Free Version) #
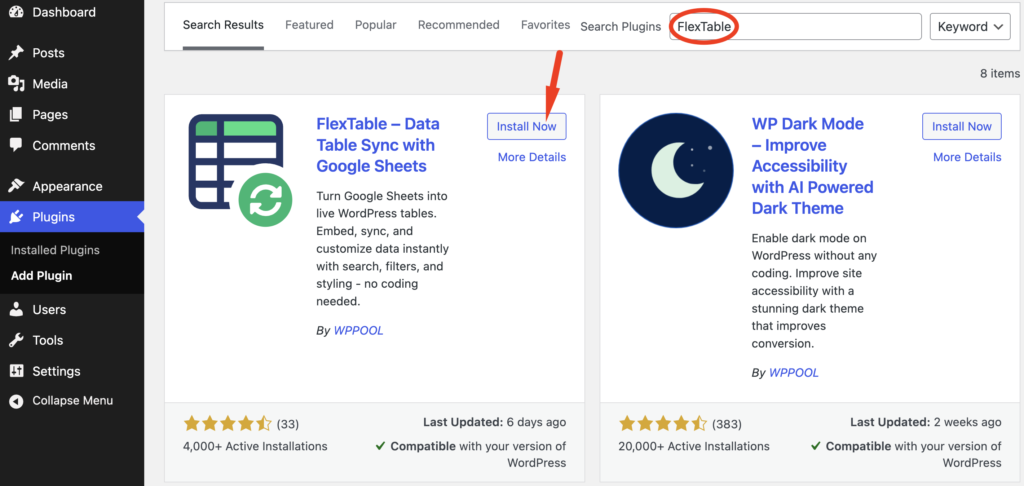
Method 1: Install from WordPress Dashboard #
- Log in to your WordPress Admin Dashboard
- Navigate to Plugins → Add New
- Search for FlexTable
- Click Install Now
- After installation, click Activate
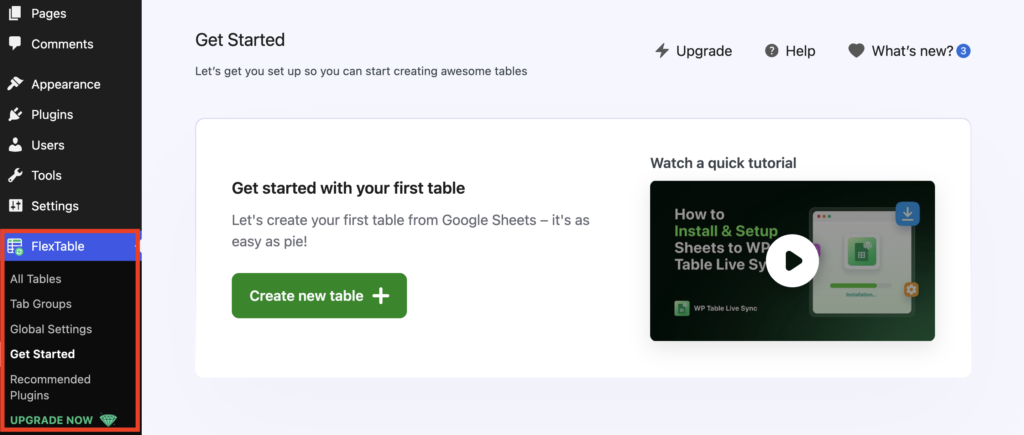
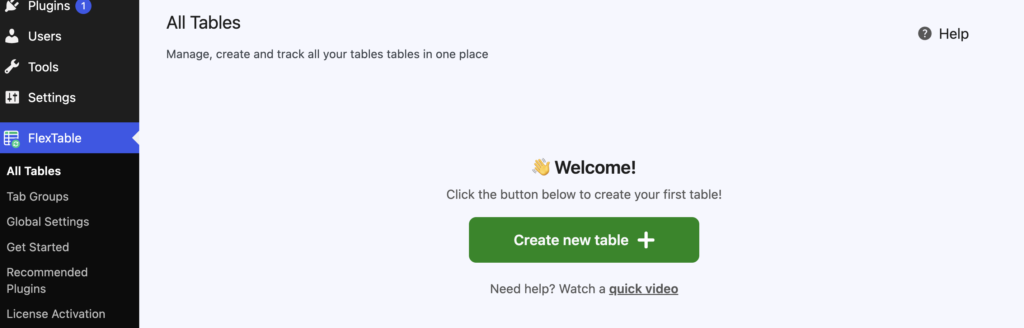
Once activated, FlexTable will appear in your WordPress dashboard menu.
Activating the FlexTable Pro Version #
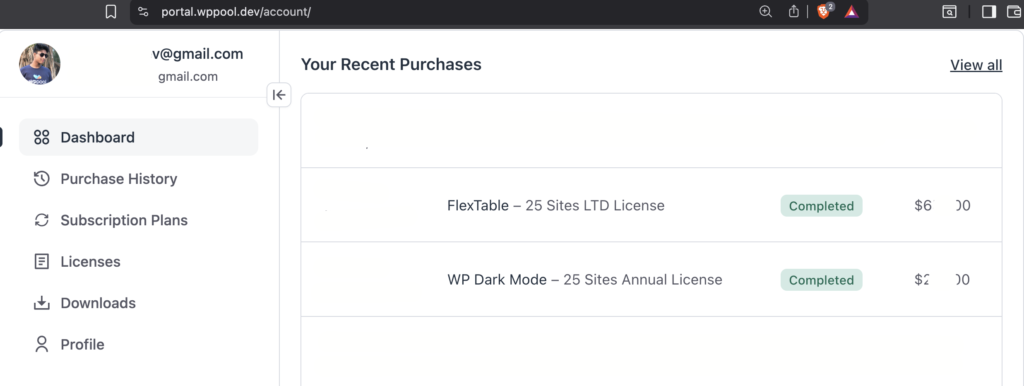
To activate FlexTable Pro, first purchase a suitable plan from our website and log in to your WPPOOL account using your credentials.
Step-by-Step Activation Process #
Get the Pro Plugin & License Key #
- After purchase, check your purchase confirmation email for the download link and license key,
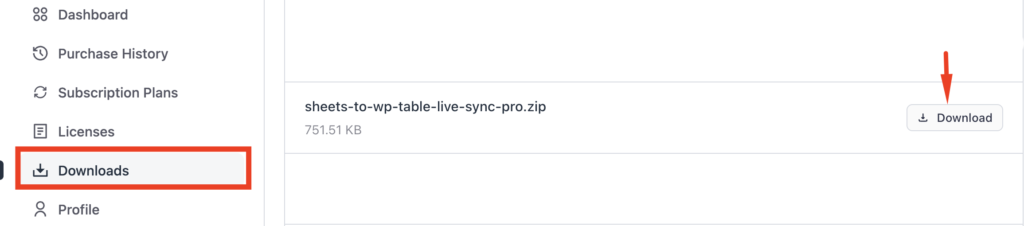
or - Log in to your WPPOOL account and go to Licenses or Downloads.
- Download the FlexTable Pro ZIP file and copy the license.
Install the Pro Version #
- Go to your WordPress Admin Dashboard.
- Navigate to Plugins → Add New → Upload Plugin.
- Upload the FlexTable Pro ZIP file and click Install Now.
- After installation, click Activate.
Activate the License #
- Once the plugin is activated, you will see the option to activate the Pro version.
- Paste the copied license key into the license field.
- Click Activate License.
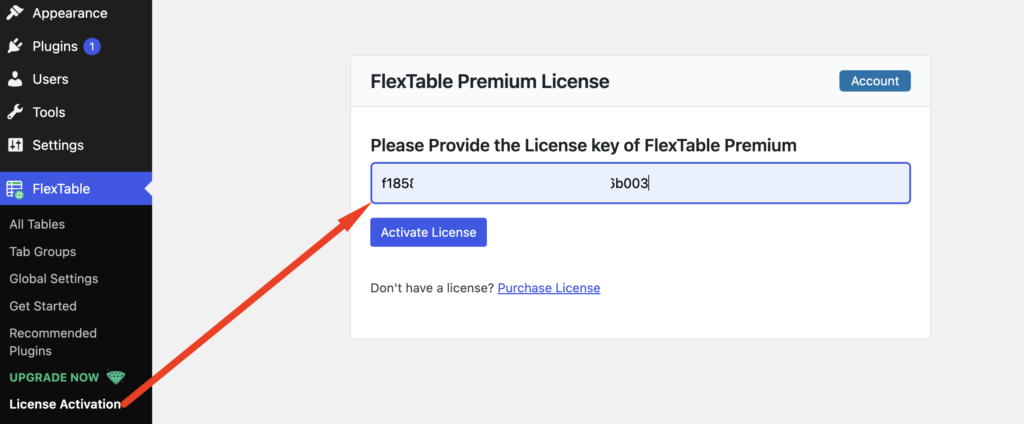
Once the license is successfully activated, all FlexTable Pro features will be unlocked and ready to use.
Enjoy using FlexTable Pro! 🚀


Hello
When I want to activate the plugin, I have the following message that appears when loading the page or I have to put the key: you do not have permission to access this page.
I don’t know what to do …
Thanks in advance
To activate the premium version of the plugin, please make sure that both the free and pro versions of the plugin are installed and activated. Once both versions are active, you’ll have the option to enter and activate the plugin with your license key.
If you run into any issues during the process, please don’t hesitate to let us know. We’ll be happy to assist you further.