
Are you looking for a way to improve your WordPress website’s performance? Why don’t you try using Google Analytics?
In this article, we’ll uncover the functionality of this tool and all the perks you can expect from using it. To top it off, we’ll also explain how to add Google Analytics to your WordPress website. Let’s learn how to add google analytics to WordPress.
Table of content
- Pros and cons of setting up Google Analytics without a plugin
- How to add Google Analytics to WordPress without a plugin
- How to add Google Analytics to WordPress with a plugin
- Conclusion
Pros and cons of setting up Google Analytics without a plugin
For most users, it is smarter to simply use a Google Analytics plugin. It’s simpler to introduce, set up, and make due. Also, you will not need to stress over any updates to your subject or the Google Analytics connection process.
In the event that you don’t have a particular justification for introducing the Google Analytics connection process. Straightforwardly, we suggest simply downloading a plugin. It is a less complex, more straightforward process.
In other cases, certain individuals like to add it without the plugin.
There are a couple of motivations behind why: maybe you favor direct command over each line of code added to your site. Or on the other hand, you have an exceptionally restricted measure of capacity on your facilitating plan and don’t have any desire to introduce any incidental plugin.
Pros of setting up Google Analytics without a plugin:
There are upsides to setting up Google Analytics without a plugin:
- You get full control over the data collected
- You can pick and choose what pages you want to track
- It’s one less plugin to install and manage
Cons of setting up Google Analytics without a plugin
There are also downsides to setting up Google Analytics without a plugin:
- You may need to update the code whenever you change your WordPress theme
- You will need to be comfortable with adding code to pages
- You may miss out on extra features provided by some Google Analytics plugins
How to add Google Analytics to WordPress without a plugin
You need just six simple steps to add the tracking code manually.
Let’s see.
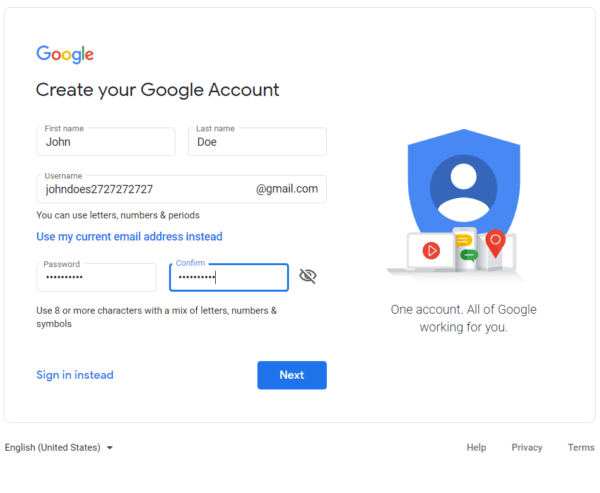
Step 1: Create a Google Account
You need to create a Google account if you haven’t already. Then set up a property as your website.
Step 2: Log in to Google Analytics
After that, sign into your Google Analytics account using your credentials.

With your Google account created, you can now sign into Google Analytics. Select your email address and log in.
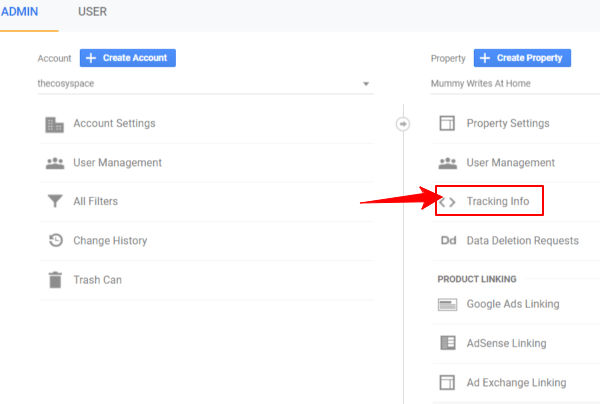
Step 3: Get your Google Analytics tracking ID
When you have login into your Google Analytics account, you need to go to the Admin area at the bottom-left corner of your Google Analytics dashboard.
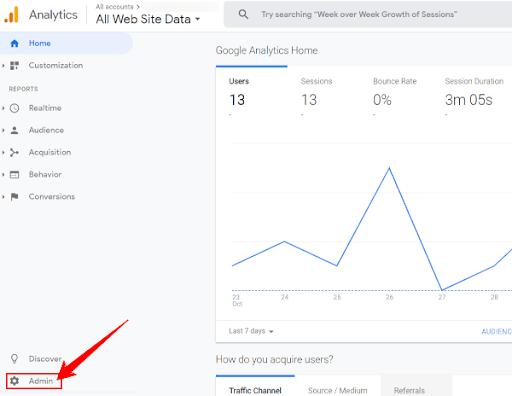
You will see three columns of admin settings controls. Then in the middle column, click on Tracking Info and then select the Tracking Code option.
Step 4: Copy your tracking code
Then the Tracking Code tab will open and will show your property’s unique tracking ID, along with the full Google Analytics tracking code.
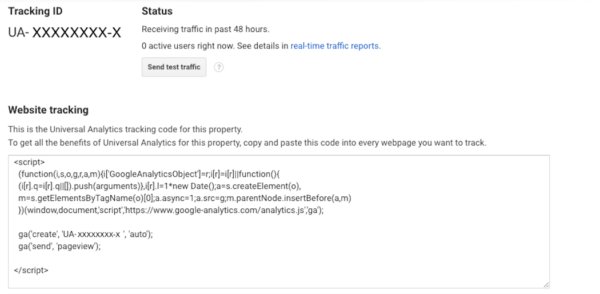
Once you get your GA tracking code, make sure you copy it in full.
Step 5: Log in to WordPress and add the code
Where in the HTML of your webpage should you place your analytics tracking code?
Log in to the backend of your WordPress website.
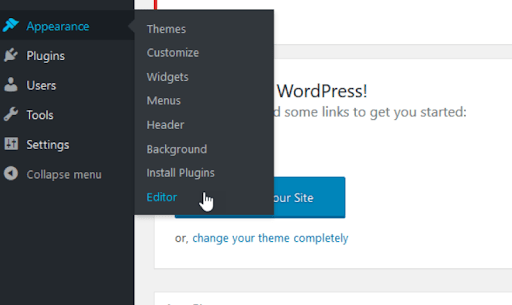
Once logged in, go to the Appearance > Editor tab in the sidebar. On this screen, you’ll see all of your site’s files displayed to the right, and each file’s Google Analytics code snippet displayed in the middle of the page.
Unless you’re only planning to track visitor activity on certain website pages (unlikely), you’ll want to insert the code somewhere that will automatically apply the tracking site-wide.
Where can you do that?
Look for the header.php file along the right-hand side. Click on it to open it; the code editor will appear in the middle of your screen.
Look for the closing tag within the code. A simple Ctrl + F will help you quickly locate it.
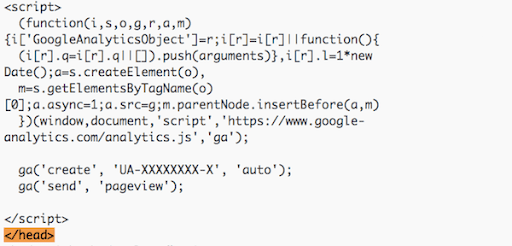
Use your browser’s search function to look for the closing head tag
Once you find it, insert your cursor just before the tag and paste into your Google Analytics tracking code. Then click on the Update File button below the code editor to save your changes.
Step 6: Test your connection to GA while waiting
After adding Google Analytics to WordPress, it takes anywhere from 24 to 48 hours for new data to populate.
So while you won’t start seeing the data on any traffic to your site immediately, you can test the connection you’ve established.
Check by returning to the Tracking Code page in Google Analytics. To the right of your Tracking ID is a Status Update. To confirm everything’s working properly, click on Send Test Traffic. This will open your site in a small window.
How to add Google Analytics to WordPress with a plugin
The easiest way to add your Google Analytics tag code to WordPress is with a plugin.
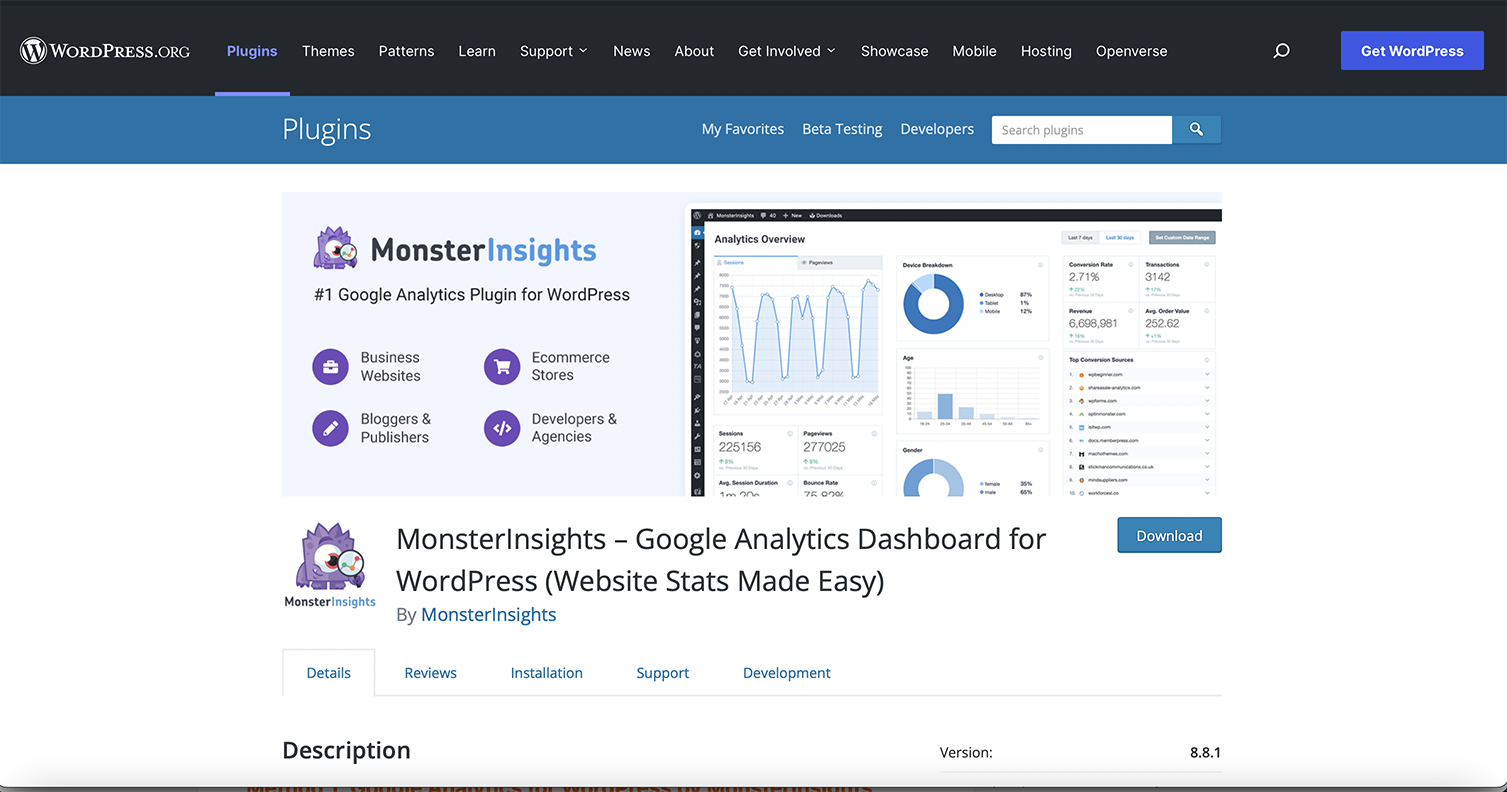
Google Analytics for WordPress by MonsterInsights is the most popular and makes it simple to add your Google Analytics code to your site. The free version should work perfectly fine unless you want advanced tracking and reporting features. Then you would want to upgrade to the pro version.
- Install and activate the MonsterInsights plugin.
- Launch the Wizard to fill in information about your site and hit the Connect MonsterInsights button. This will take you through a few pages of settings that should be pre-selected for your setup.
- Next, you will be prompted to sign into your Gmail account, asking for permission to access your Google account.
- Click Allow, and then it will show the Google Analytics account to which it will connect.
- Hit Complete Connection to connect to your Google Analytics account. It will finish up by offering an upgrade to Pro, but you can select the link at the bottom to finish the installation without upgrading.
You are all set up now, and you will now see Insights in your WordPress dashboard. Reports, Settings, and any other selected tools are now visible in the WordPress dashboard.
Conclusion
Google Analytics is a robust free web analytics tool that collects crucial information regarding your web performance and target audience. By acquiring web examination bits of knowledge, you get to settle on information-driven choices to become your WordPress site in the most proficient way. We trust you found this guide helpful on how to add Google Analytics to WordPress. In the event that you have additional inquiries, go ahead and leave a remark down beneath.

Thank you for sharing indeed great looking !