








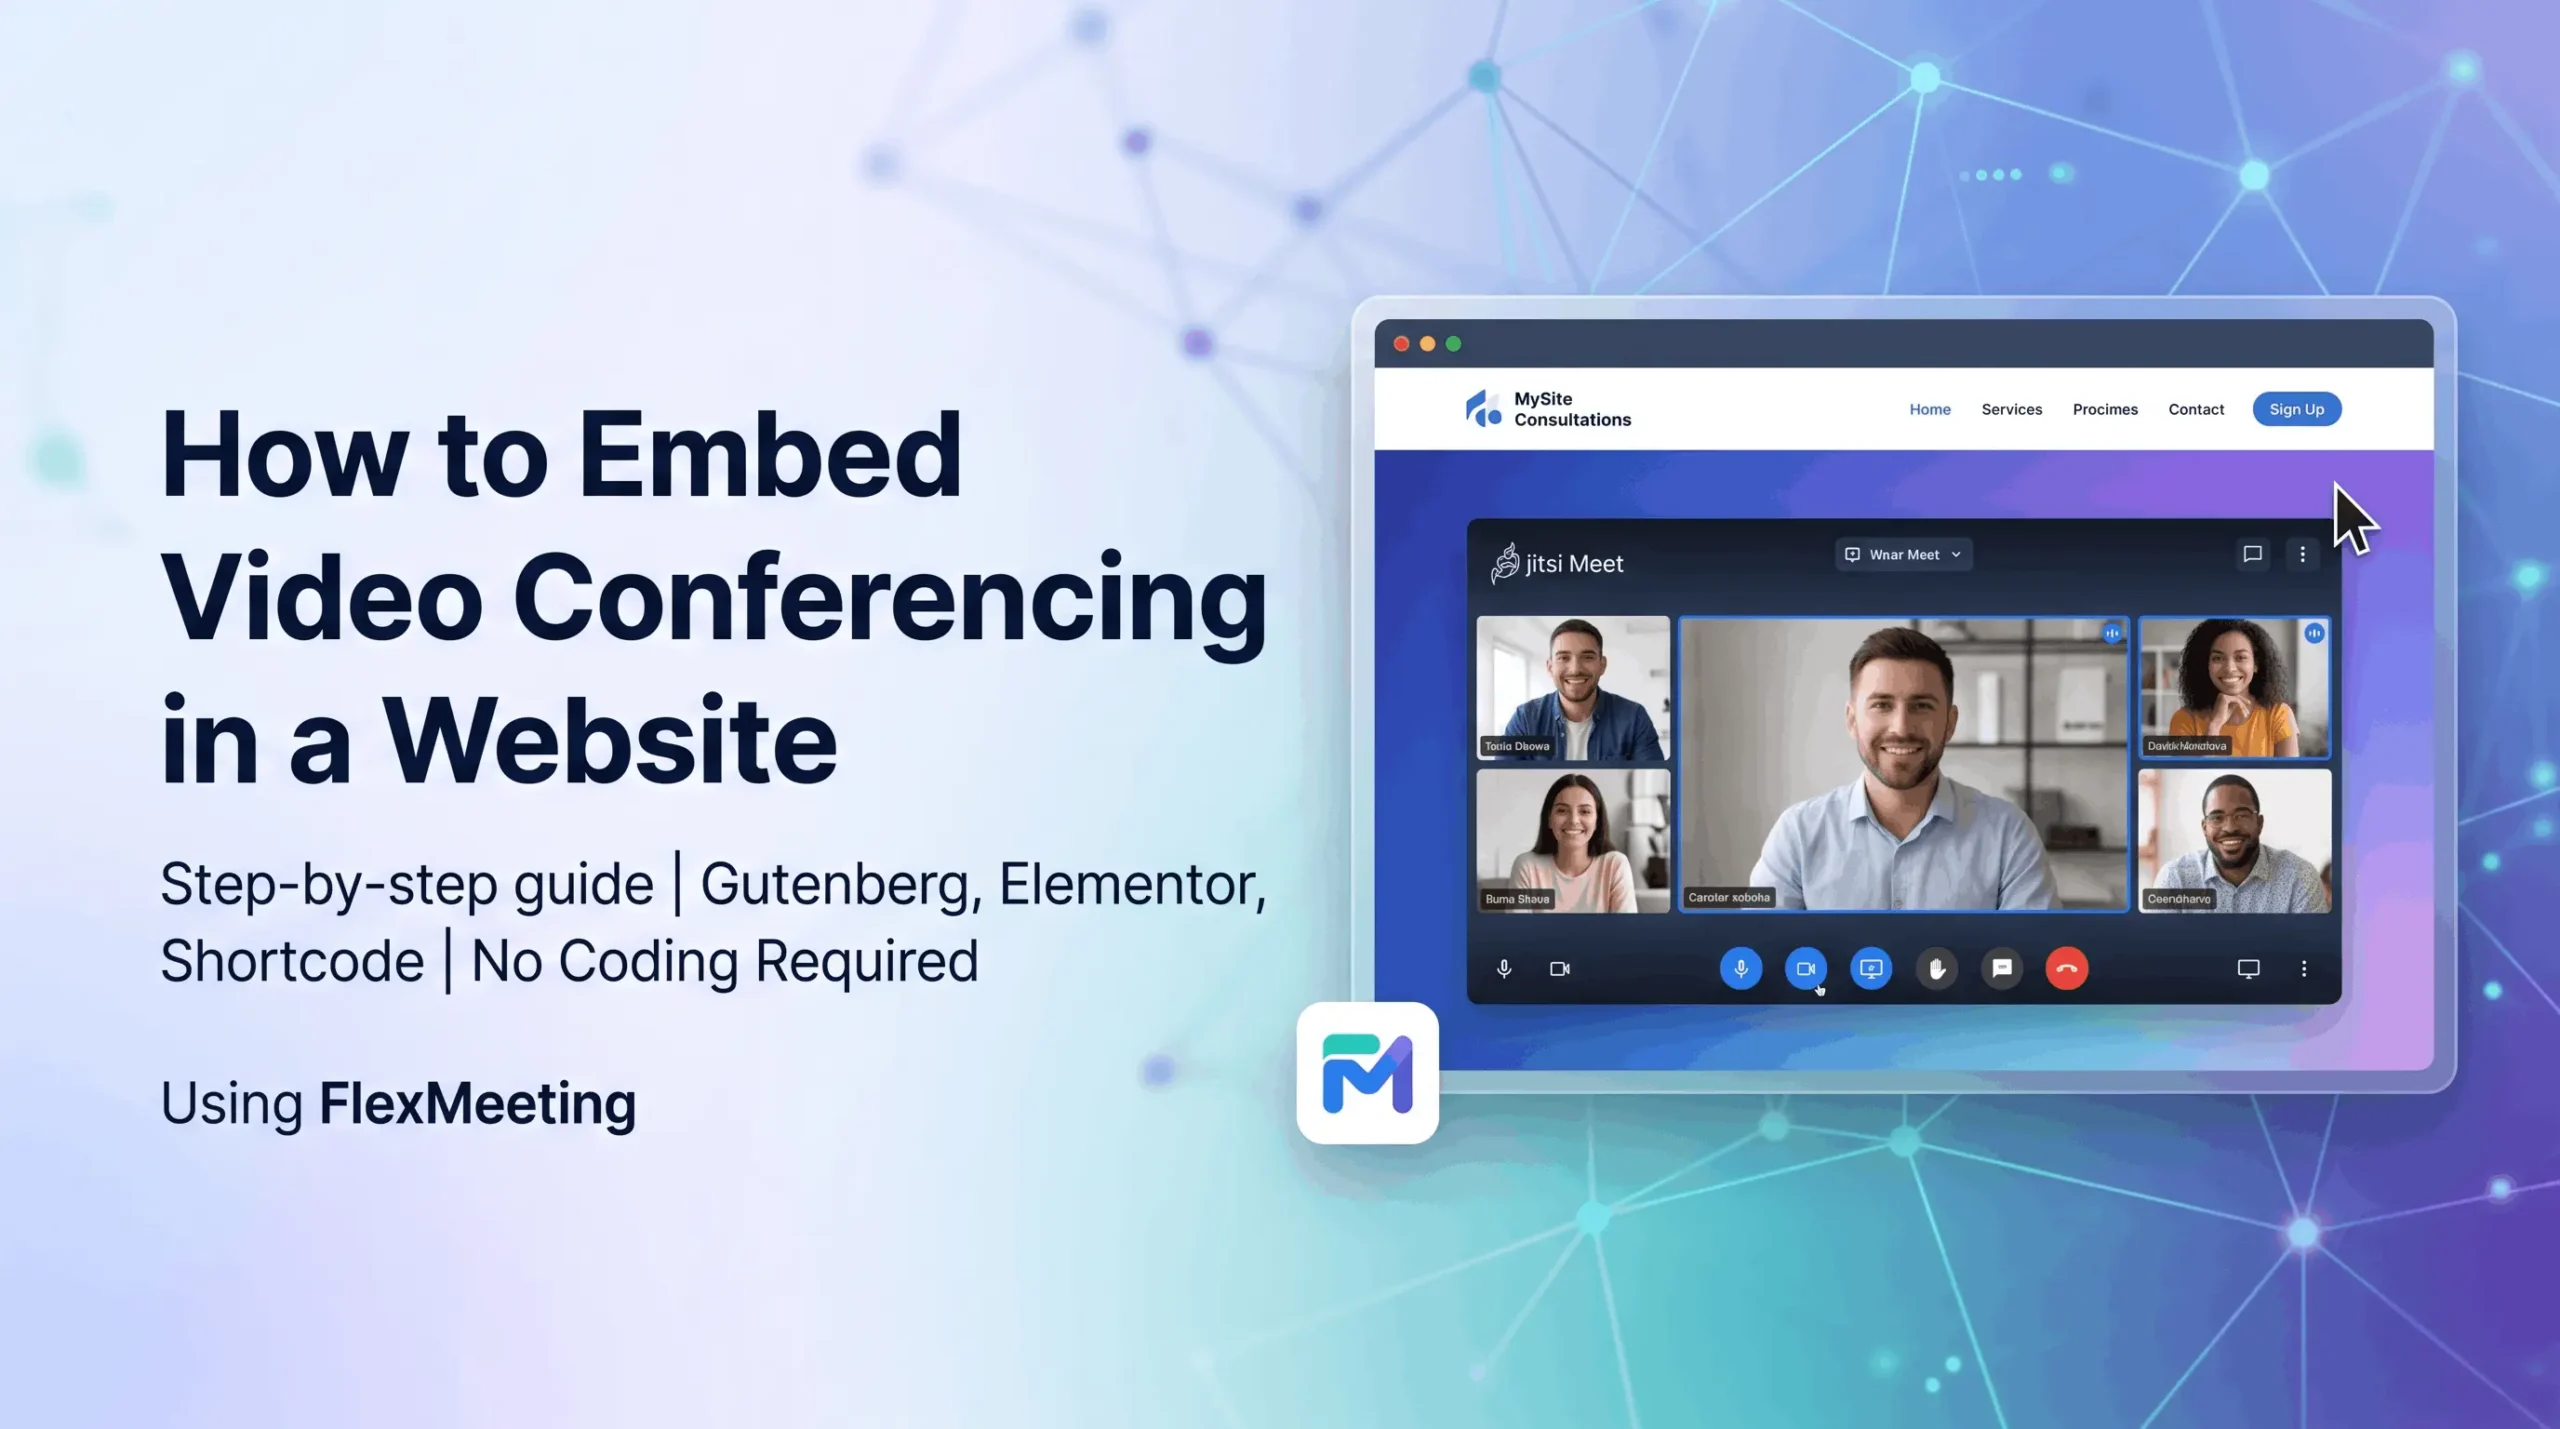
Adding video conferencing directly to your WordPress website removes the need to send participants to a third-party platform. Whether you are running online classes, client consultations, team meetings, or webinars, embedding the video call on your own site keeps visitors in your environment and gives you full control over the experience.
This guide shows you exactly how to embed video conferencing in a website using FlexMeeting, a WordPress conference plugin by WPPOOL built on Jitsi Meet. You will have a fully working video conference embedded on your site by the end of this guide.
Why Embed Video Conferencing Directly in Your Website?
Most businesses rely on external tools like Zoom or Google Meet and share a link for participants to join. This works, but it sends people away from your site and removes your branding from the experience.
- Embedding video conferencing directly in your WordPress site has clear advantages:
- Participants stay on your website instead of leaving to a third-party platform
- Your branding stays front and center throughout the session
- You can gate access using registration, WooCommerce, or LMS integrations
- No app downloads required for participants, meetings run in the browser
- Works for any use case: webinars, consultations, classes, team meetings, or marketplace sessions
What You Need Before You Start
- A WordPress website (self-hosted)
- The FlexMeeting plugin installed and activated
- A modern browser for participants (Chrome, Firefox, Edge, Safari)
FlexMeeting’s free plan supports unlimited meetings with no strict time limit on custom domains. Meetings using the default 8×8 domains run up to 2 hours per session. No JaaS subscription is needed for basic embedding.
Step 1: Install FlexMeeting on WordPress
Go to your WordPress dashboard and navigate to Plugins > Add New. Search for FlexMeeting or Webinar and Video Conference with Jitsi Meet. Install the plugin by WPPOOL and click Activate.
Once activated, FlexMeeting appears in your WordPress sidebar. You are ready to create your first meeting.
Step 2: Create a Video Conference Meeting
In your WordPress dashboard, go to FlexMeeting > Add New Meeting. Fill in the meeting details:
- Meeting title and description
- Date, start time, and duration
- Maximum number of participants (up to 500)
- Whether the meeting requires registration
- Moderator password to control participant access
On Pro and Ultimate plans, you can also set a custom branded meeting URL, enable recording, configure calendar integration, and set up recurring schedules. See the full guide on how to create a meeting on FlexMeeting Pro for all available settings.
Step 3: Embed Video Conferencing in Your WordPress Page
FlexMeeting gives you three ways to embed a video conference on any WordPress page or post. Choose the one that fits your setup.
Method 1: Gutenberg Block
Open the page or post where you want to embed the video conference. Click the + icon to add a new block and search for FlexMeeting. Select the FlexMeeting block, choose your meeting from the dropdown, and the conference will be embedded directly on the page.
This is the recommended method for most WordPress site owners. It requires no code and gives you a live preview inside the editor.
Method 2: Elementor Widget
If you build pages with Elementor, FlexMeeting includes a dedicated widget. Open your page in the Elementor editor, search for FlexMeeting in the widget panel, and drag it onto your layout. Select your meeting from the settings panel and publish.
This method works well for sites with custom landing pages for webinars or courses. For related tips on building with Elementor, see the guide on best WordPress plugins for business websites.
Method 3: Shortcode
FlexMeeting generates a unique shortcode for every meeting you create. Copy it from the meeting settings page and paste it into any page, post, or widget area.
| Example: [flexmeeting id=”12″] Paste this shortcode into any page or post to embed that specific meeting. |
Shortcodes are useful when you need to embed a meeting inside a theme template, a sidebar widget, or a third-party page builder that does not support native blocks.
Key FlexMeeting Features for Embedded Video Conferencing
Screen Sharing and Whiteboard
All FlexMeeting plans include screen sharing and a collaborative whiteboard at no extra cost. Participants can share their screen during a session, and the whiteboard lets hosts draw, annotate, or explain concepts visually in real time.
Meeting Registration
FlexMeeting supports a built-in registration system so participants must sign up before joining a session. This is useful for webinars, paid workshops, or any event where you need to control who attends. Registered participants receive a confirmation with their meeting link. See how meeting registration works in FlexMeeting for full configuration details.
Moderator Access Control
FlexMeeting lets you assign a moderator password to each meeting. The moderator can mute participants, remove attendees, control screen sharing permissions, and manage who speaks. Regular participants join without the moderator password and have standard access only. Read the full guide on how moderator access control works in FlexMeeting.
Frontend Meeting Creation
On the Ultimate plan, site members can create their own meetings from the front end of your website without accessing the WordPress admin. This is ideal for marketplace sites, membership communities, or platforms where multiple users host sessions. Learn more about frontend meeting creation in FlexMeeting.
LMS and WooCommerce Integration
FlexMeeting integrates with LearnPress and Tutor LMS for embedding live sessions inside online courses, and with WooCommerce for selling access to meetings directly from your store. For educators, this means your video conference can be gated behind a course lesson or a paid product. See how to sell online courses using WooCommerce with FlexMeeting integrated.
Multivendor Marketplace Support
The Ultimate plan includes a multivendor addon for Dokan, WCFM, and MultiVendorX. Vendors on your marketplace can host their own video sessions without admin involvement. See the multivendor marketplace integration guide for setup details.
Who Should Use FlexMeeting?
FlexMeeting suits any WordPress site that needs embedded video conferencing without relying on external platforms:
- Educators and course creators: Embed live classes inside your LMS. FlexMeeting supports LearnPress and Tutor LMS out of the box. Browse the best WordPress LMS plugins to pair with FlexMeeting.
- Business owners and consultants: Host client meetings or team calls embedded on your site. See the list of best WordPress webinar plugins to compare your options.
- Community and membership sites: FlexMeeting integrates with BuddyPress so members can join or host sessions within your community. See the BuddyPress integration guide.
- Marketplace operators: Let vendors on your Dokan or WCFM marketplace host their own sessions. Read the Dokan multivendor addon guide.
- Livestreamers: FlexMeeting supports live streaming on Pro plans. See how to do live streaming with FlexMeeting.
Frequently Asked Questions
Can I embed video conferencing in a website for free?
Yes. FlexMeeting’s free plan lets you embed unlimited video conferences on your WordPress website at no cost. Meetings on the default 8×8 domain run up to 2 hours per session. There is no trial period; the free plan is permanent. Install it from the WordPress plugin directory.
Does embedding video conferencing in WordPress require coding?
No. FlexMeeting works through a Gutenberg block, Elementor widget, or shortcode. All three methods require no coding. You create the meeting in the plugin settings, then add it to any page with a few clicks.
How many participants can join an embedded video conference?
FlexMeeting supports up to 500 participants per meeting. For most webinars, classes, and business meetings, this is more than sufficient. Large enterprise sessions may require a dedicated JaaS 8×8 subscription for full capacity.
Can I record meetings embedded on my WordPress site?
Yes, on the Pro plan and above. Recording requires a JaaS 8×8 subscription in addition to the FlexMeeting Pro plan. Recorded sessions can be accessed and downloaded after the meeting ends. See the full guide on how to set up recording in FlexMeeting.
What is the best WordPress conference plugin?
FlexMeeting is the top-rated WordPress conference plugin for sites that need embedded video conferencing without relying on external platforms. It has a 4.5/5 rating, supports up to 500 participants, and integrates with WooCommerce, LMS plugins, BuddyPress, and multivendor systems. Compare options in the best WordPress webinar plugins guide.
Can I sell access to my embedded video conferences?
Yes. FlexMeeting’s Ultimate plan integrates with WooCommerce, so you can sell access to a meeting as a product. You can also gate meetings behind LMS course lessons using LearnPress or Tutor LMS integration.
Does FlexMeeting work with Elementor?
Yes. FlexMeeting includes a dedicated Elementor widget. Drag it onto any Elementor page, select your meeting from the settings panel, and publish. No shortcode or custom code needed.
Conclusion
Embedding video conferencing in your WordPress website is straightforward with the right plugin. FlexMeeting handles everything from basic meeting embedding to advanced use cases like paid webinars, LMS integration, multivendor sessions, and BuddyPress community calls.
The free plan covers unlimited meetings with screen sharing, whiteboard, and three embed methods (Gutenberg, Elementor, shortcode). That is enough to get started for most sites. Install FlexMeeting from the WordPress plugin directory and embed your first video conference in under 10 minutes.
Add your first comment to this post