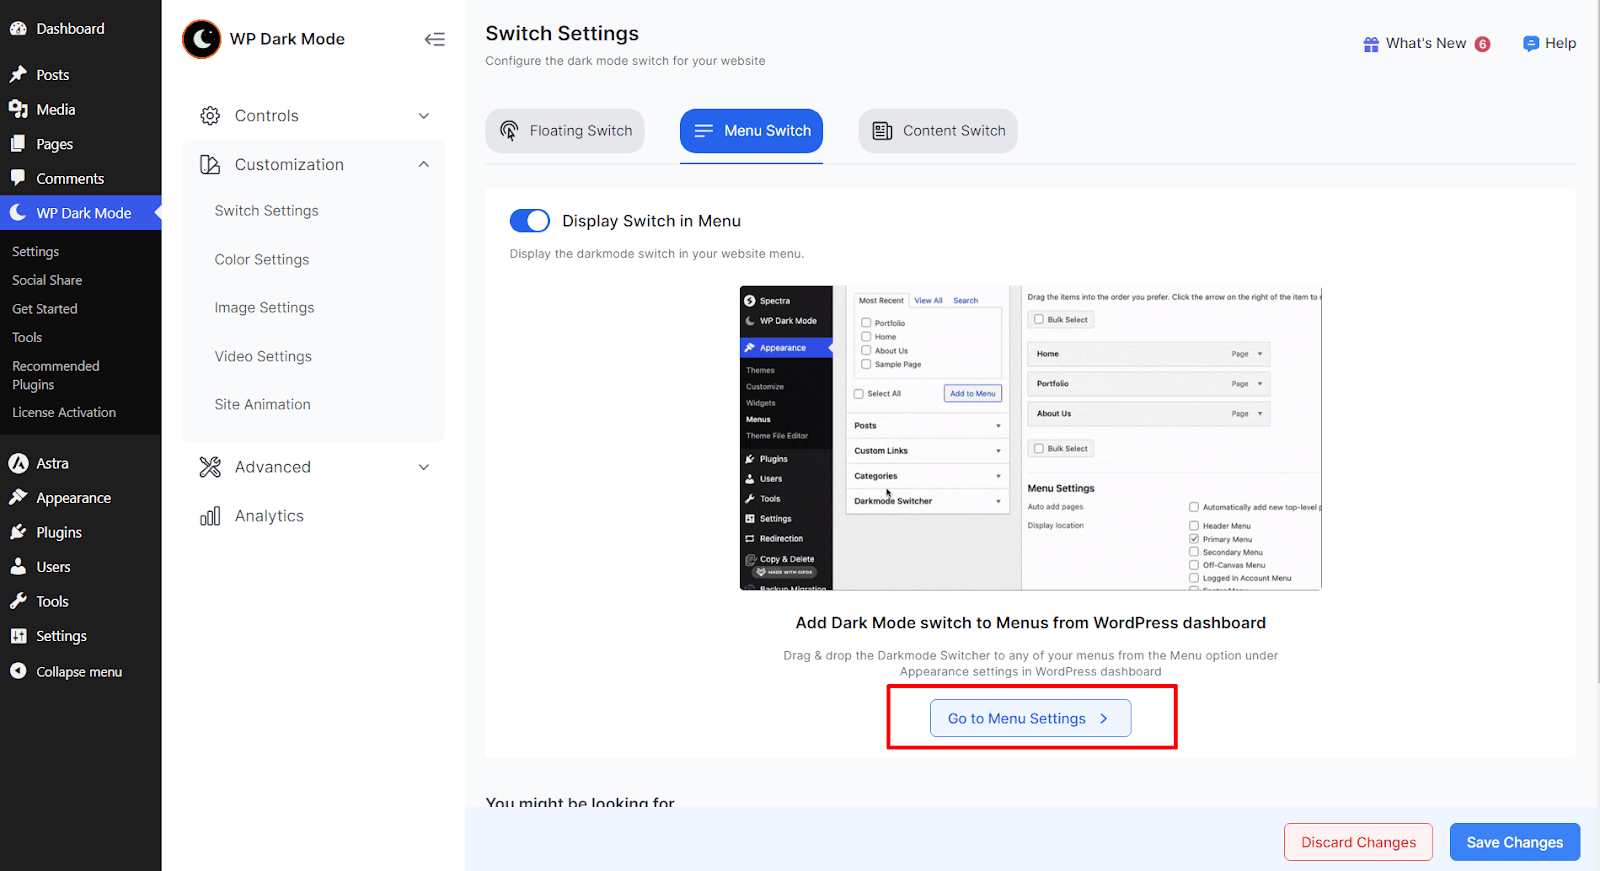
To get started navigate to WP Dark Mode > Customization > Switch Settings. Next, select the Menu Switch option and enable the “Display Switch in Menu” setting. Click on Save Changes.
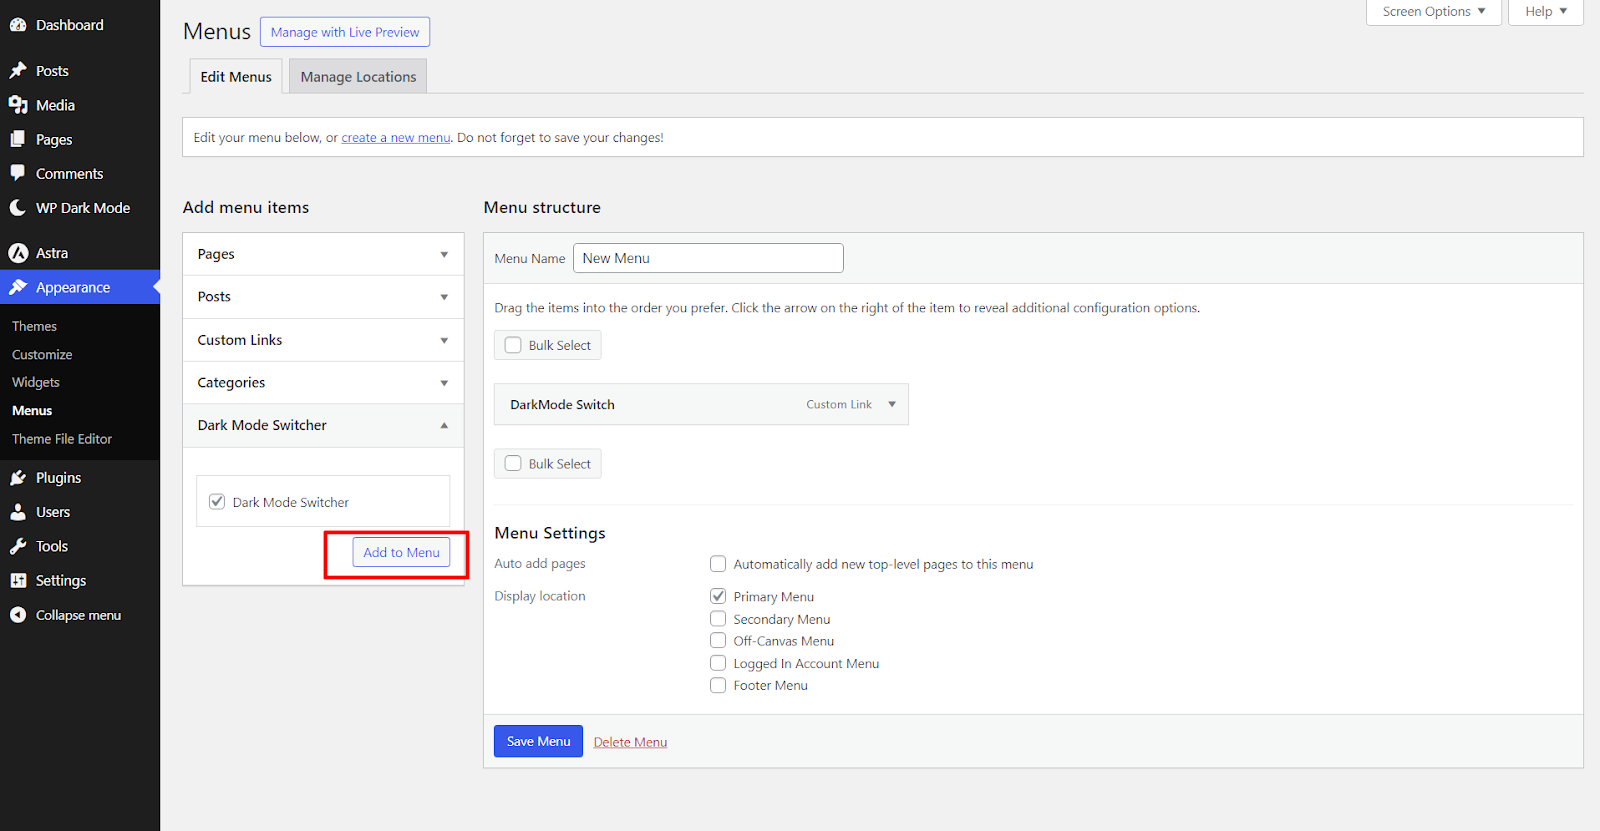
Next, click on the “Go to Menu Settings” button to navigate to your themes Menu and create a new menu. If you have an existing menu, you can edit that too.
From the left sidebar, enable the “Dark Mode Switcher” and click on “Add to Menu.”
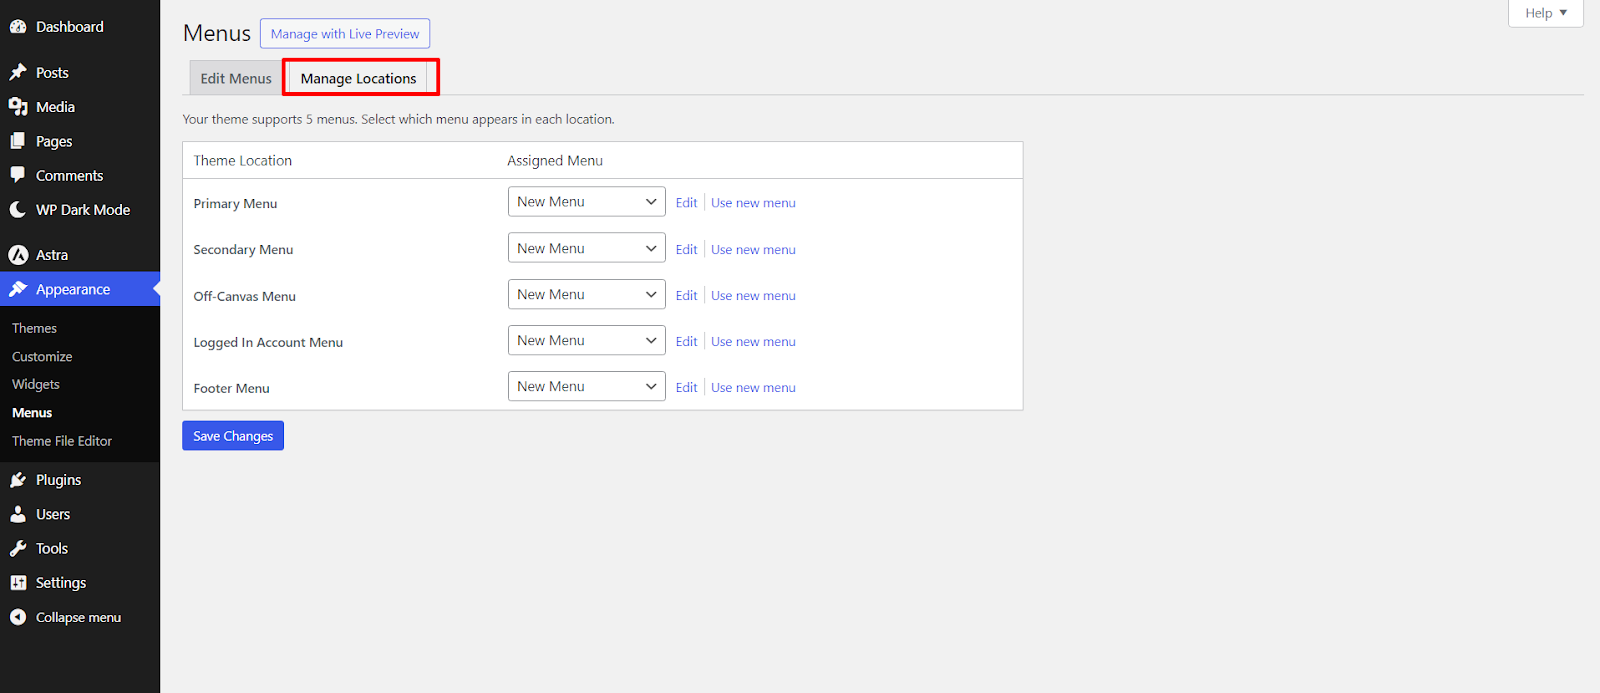
Next, go to the Manage Locations from the top bar and ensure that the menu is visible on your destined theme locations. Your menu switch should be visible now.
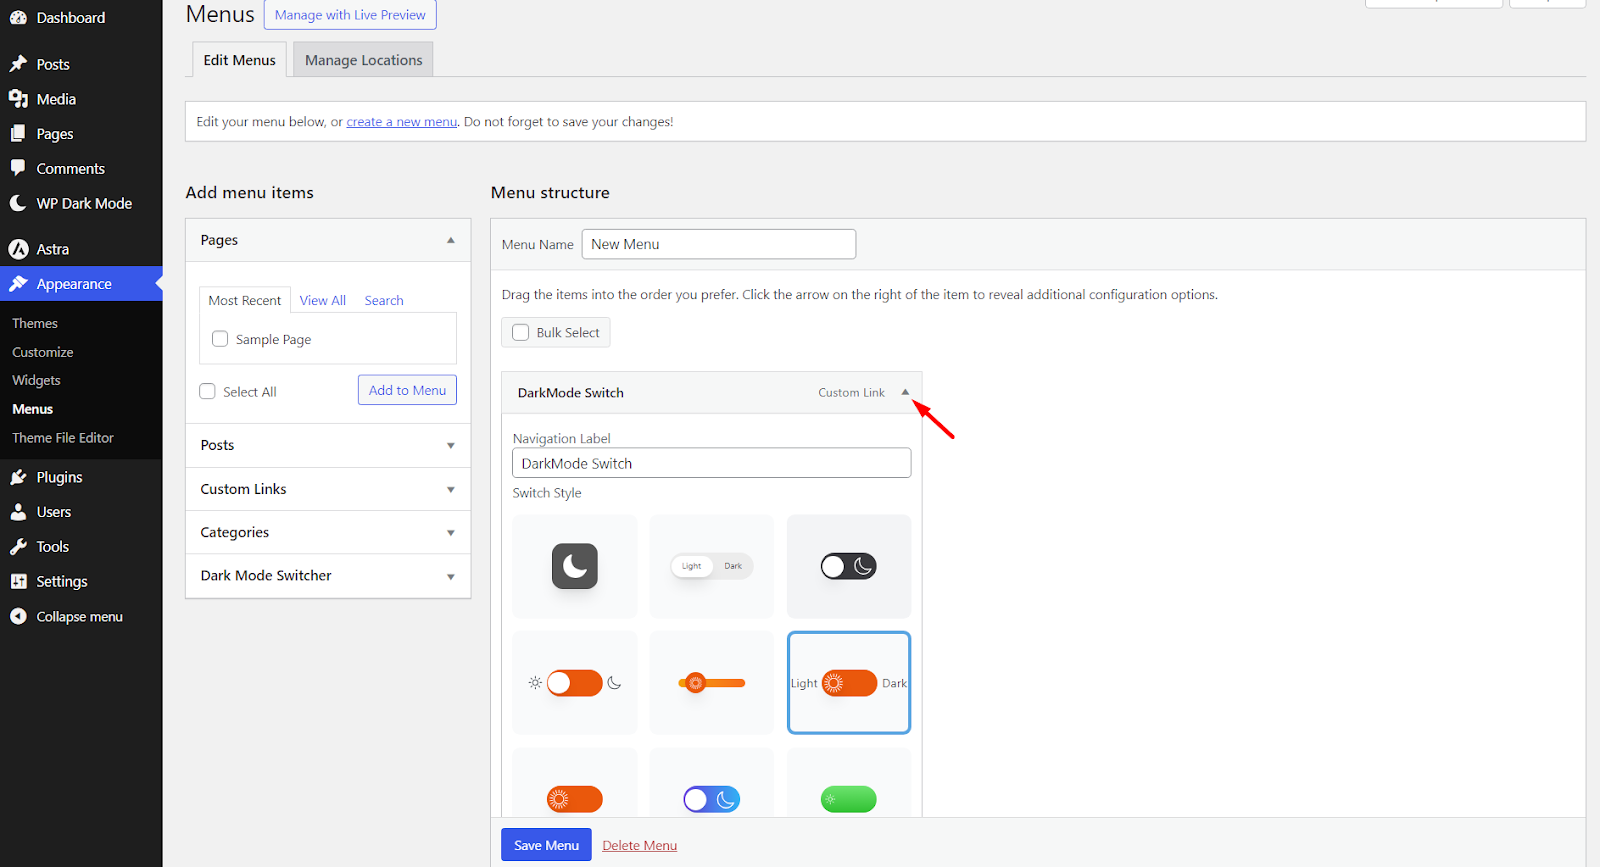
You can also further customize the menu switch by clicking on the dropdown icon. Choose a setting and click on Save Menu.
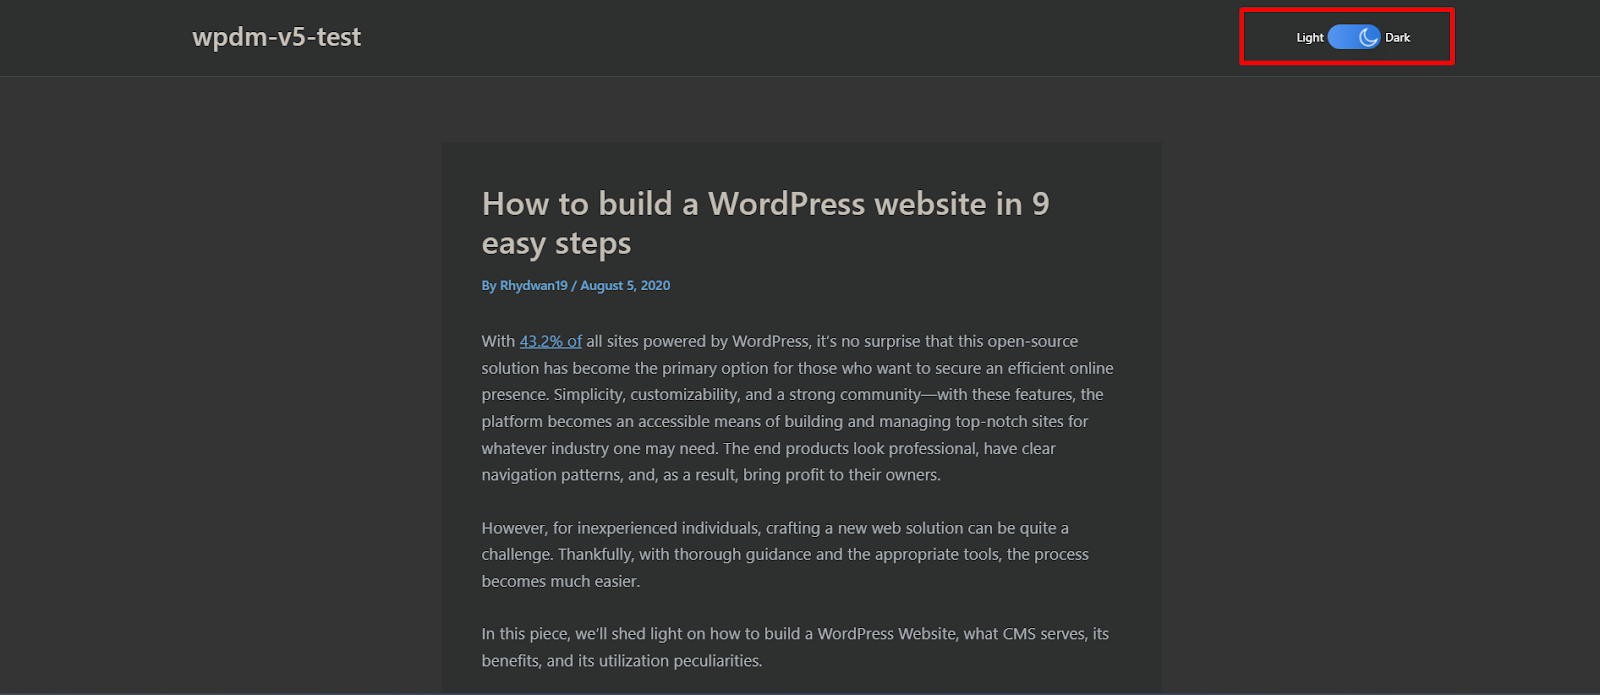
Finally, check the menu switch in your website’s front end.


Add your first comment to this post