To enjoy this feature, you will need to activate Stock Sync with Google Sheet for WooCommerce Ultimate version. Activate the version first if you haven’t done yet.
If you have already created custom fields for your product skip to “Step 5”. You can learn more about WooCommerce custom fields from our blog.
Prefer reading? Follow the step-by-step guide below.
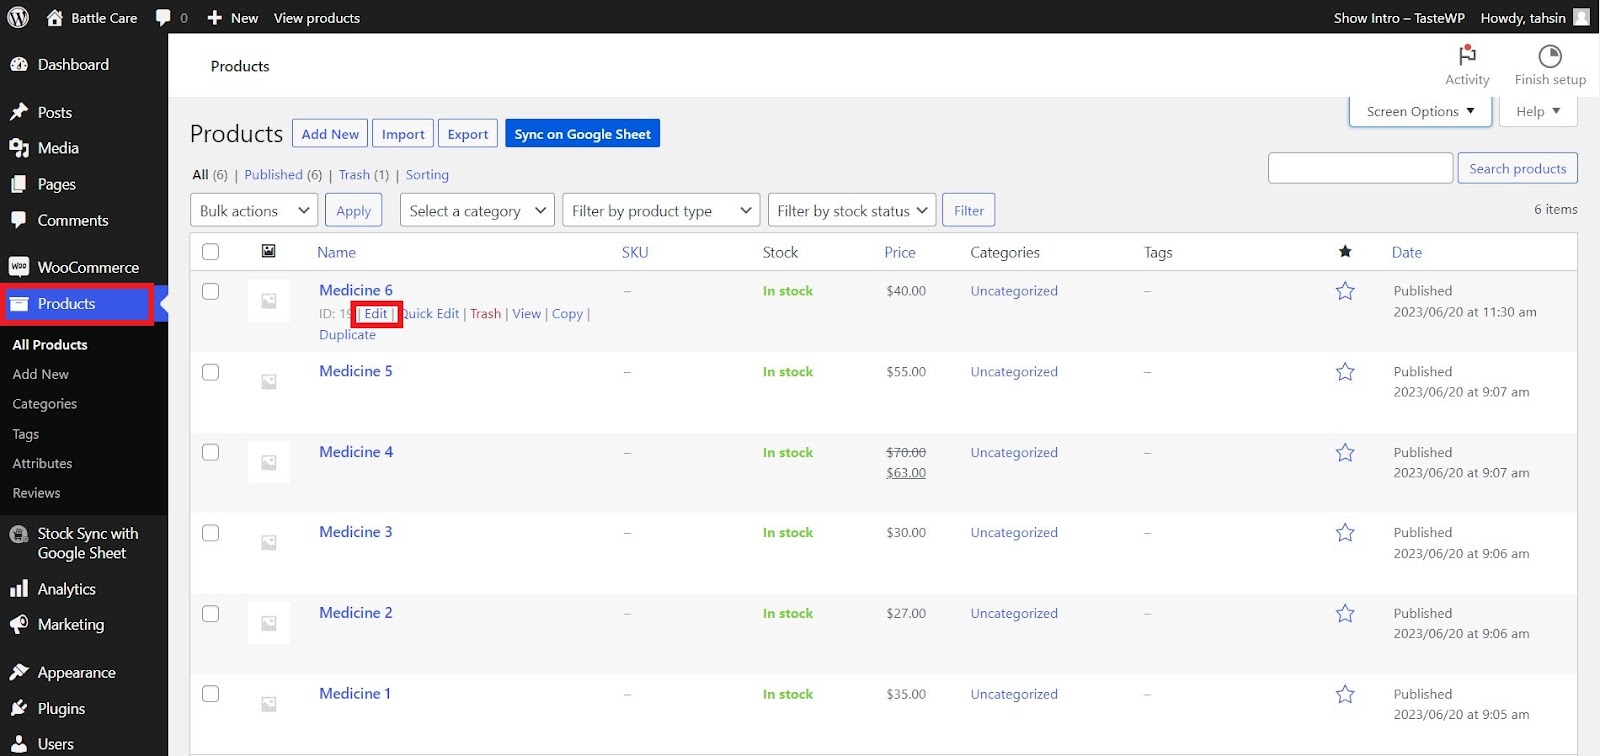
Step 1: To create a custom field for your product, click on “Edit” under the product you want to add a custom field.
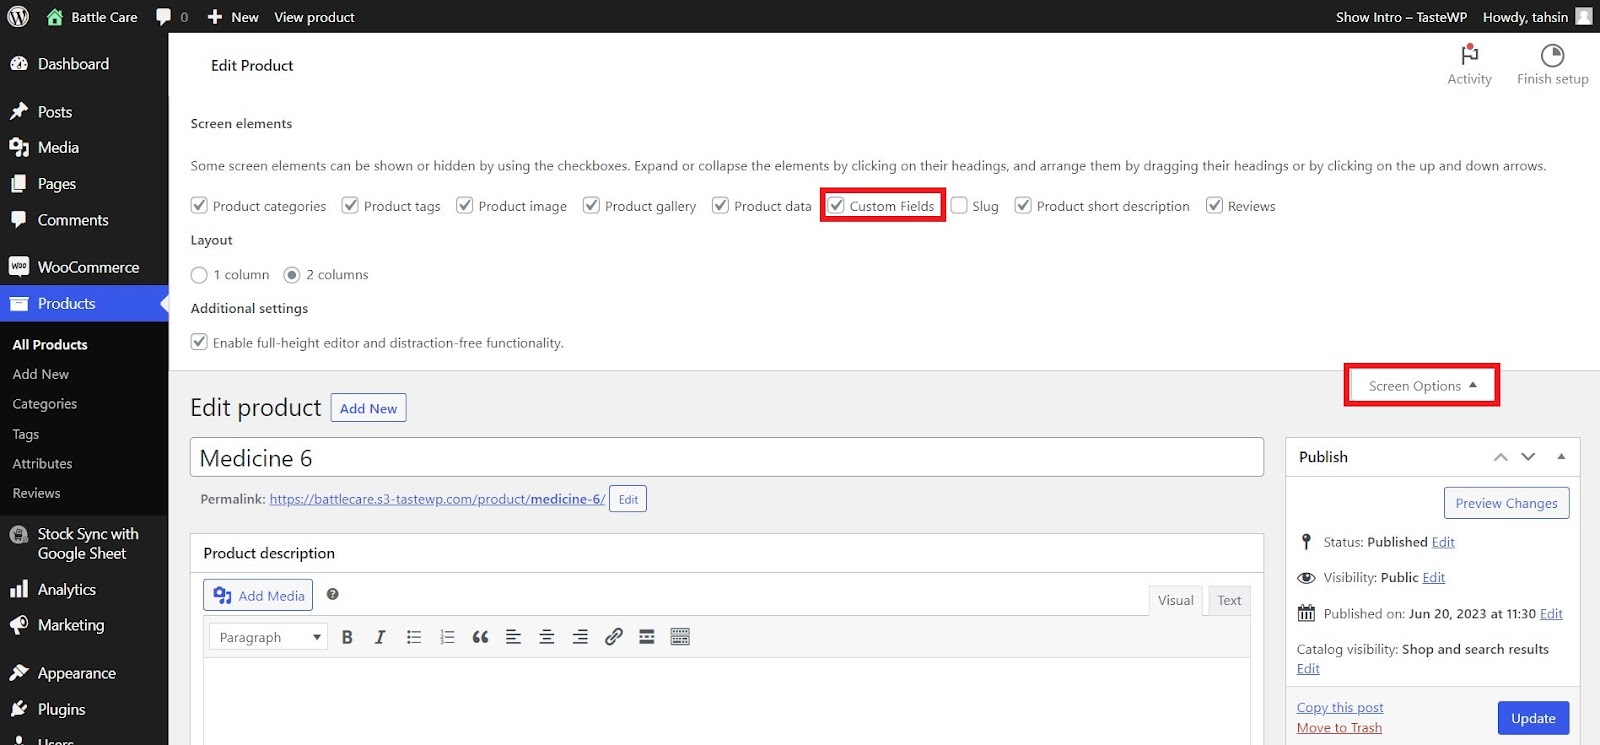
Step 2: Now check the box “Custom Fields” inside the “Screen Options”.
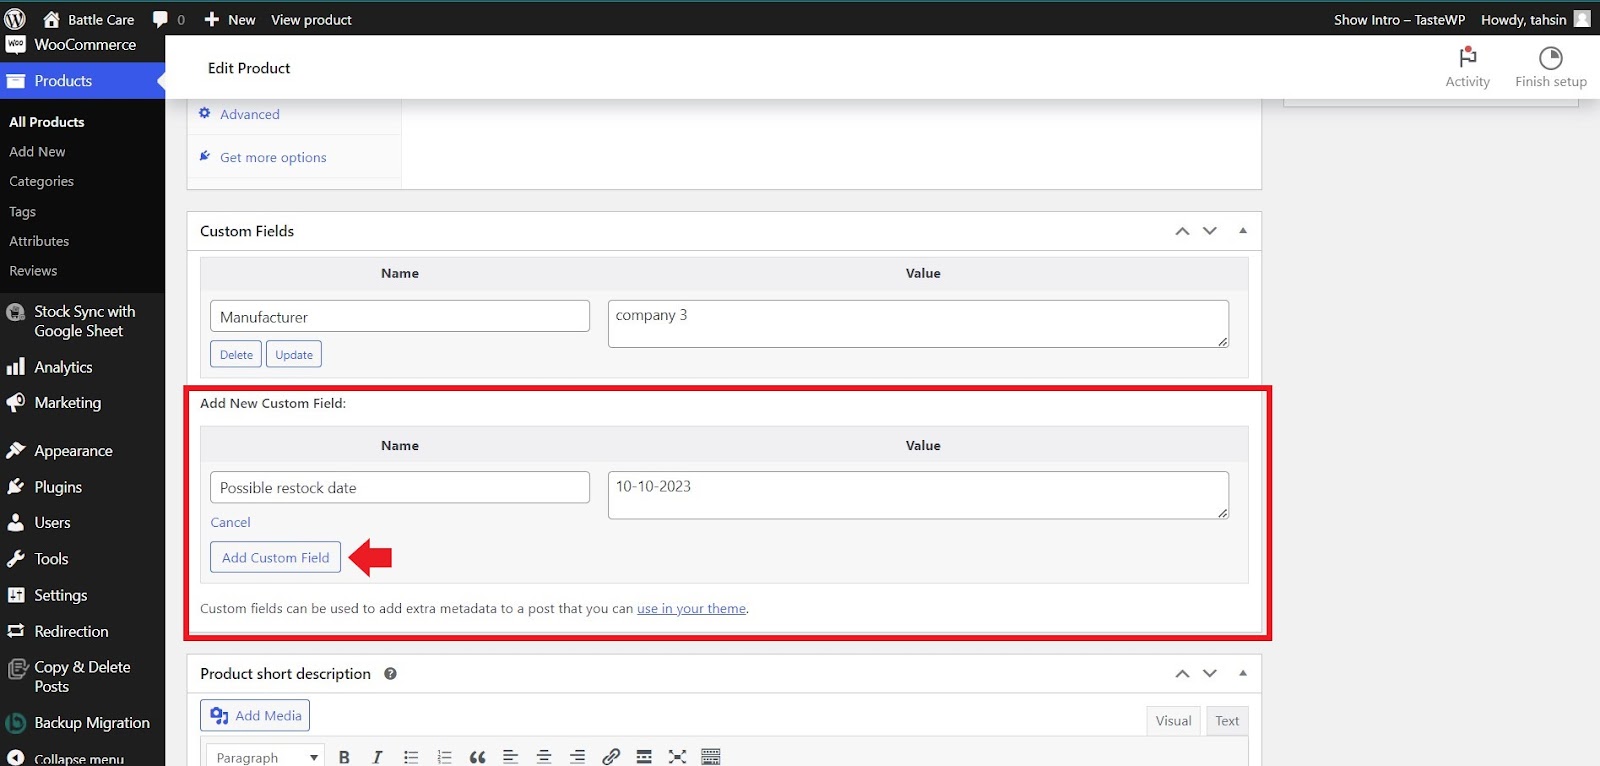
Step 3: Now scroll down to “Custom Fields” on the page. Name the field and put the value of the field you want on the “Add New Custom Field” box. Now click on the “Add Custom Field” to confirm.
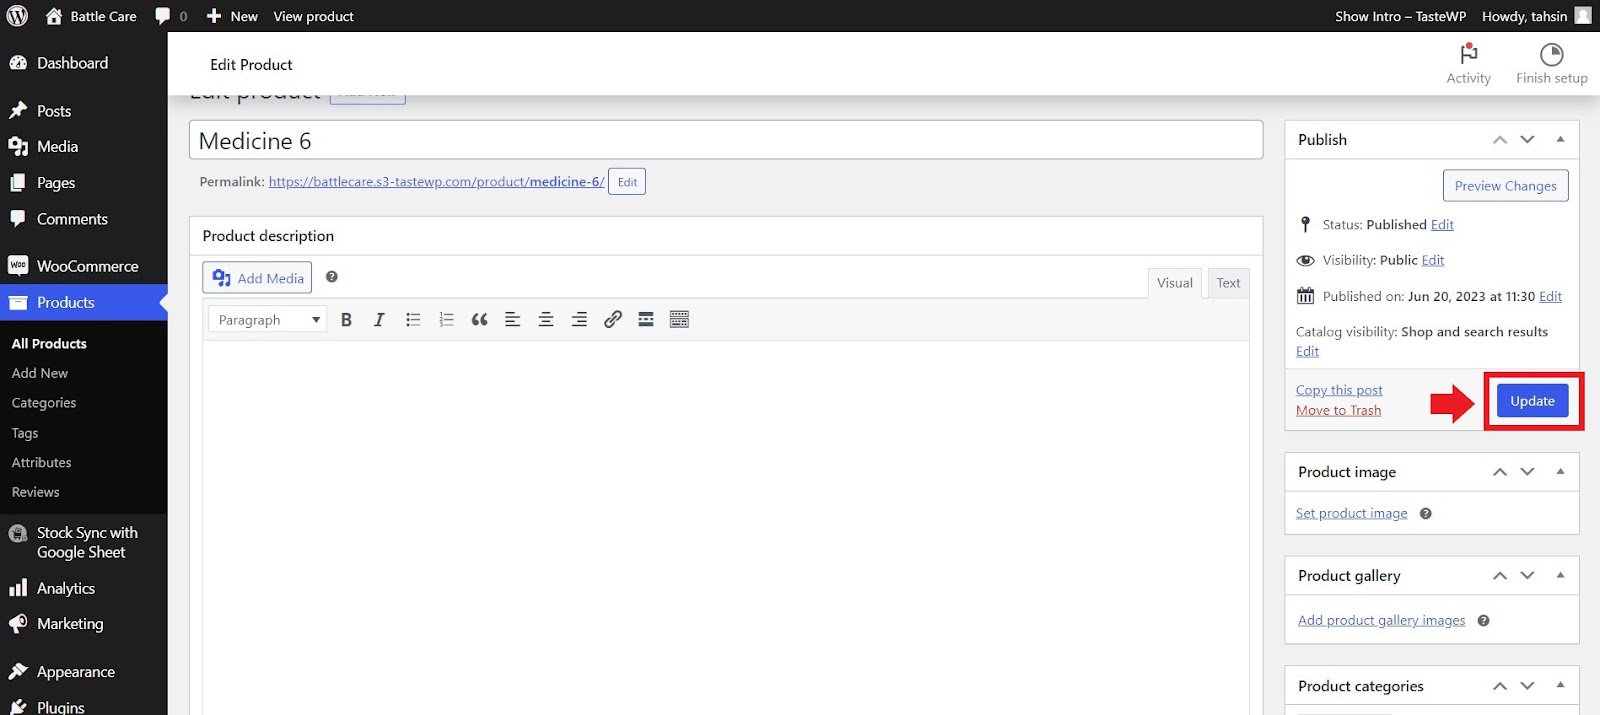
Step 4: Click on “Update” on the product to save the changes.
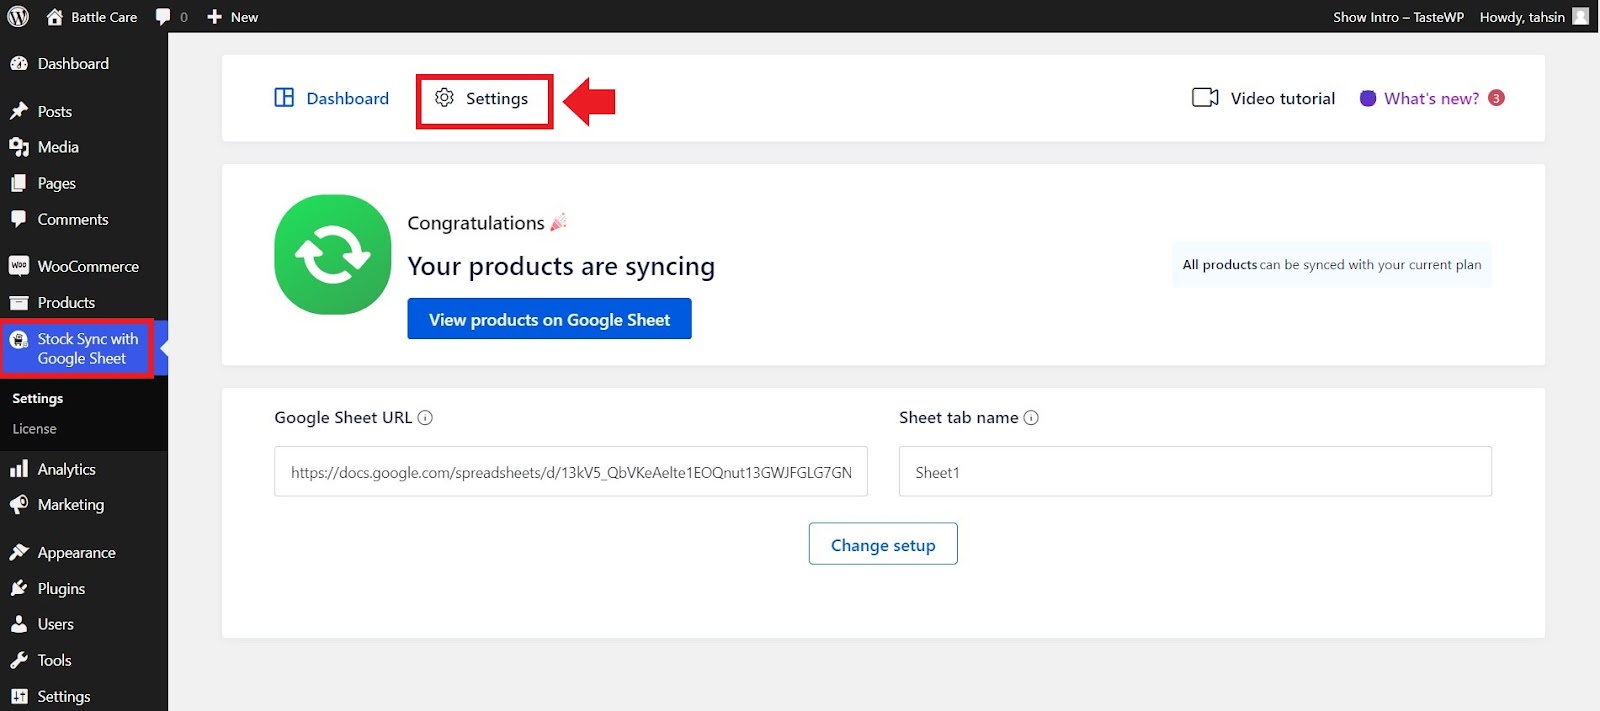
Step 5: Now, go to “Stock Sync With Google Sheet” and click on “Settings”
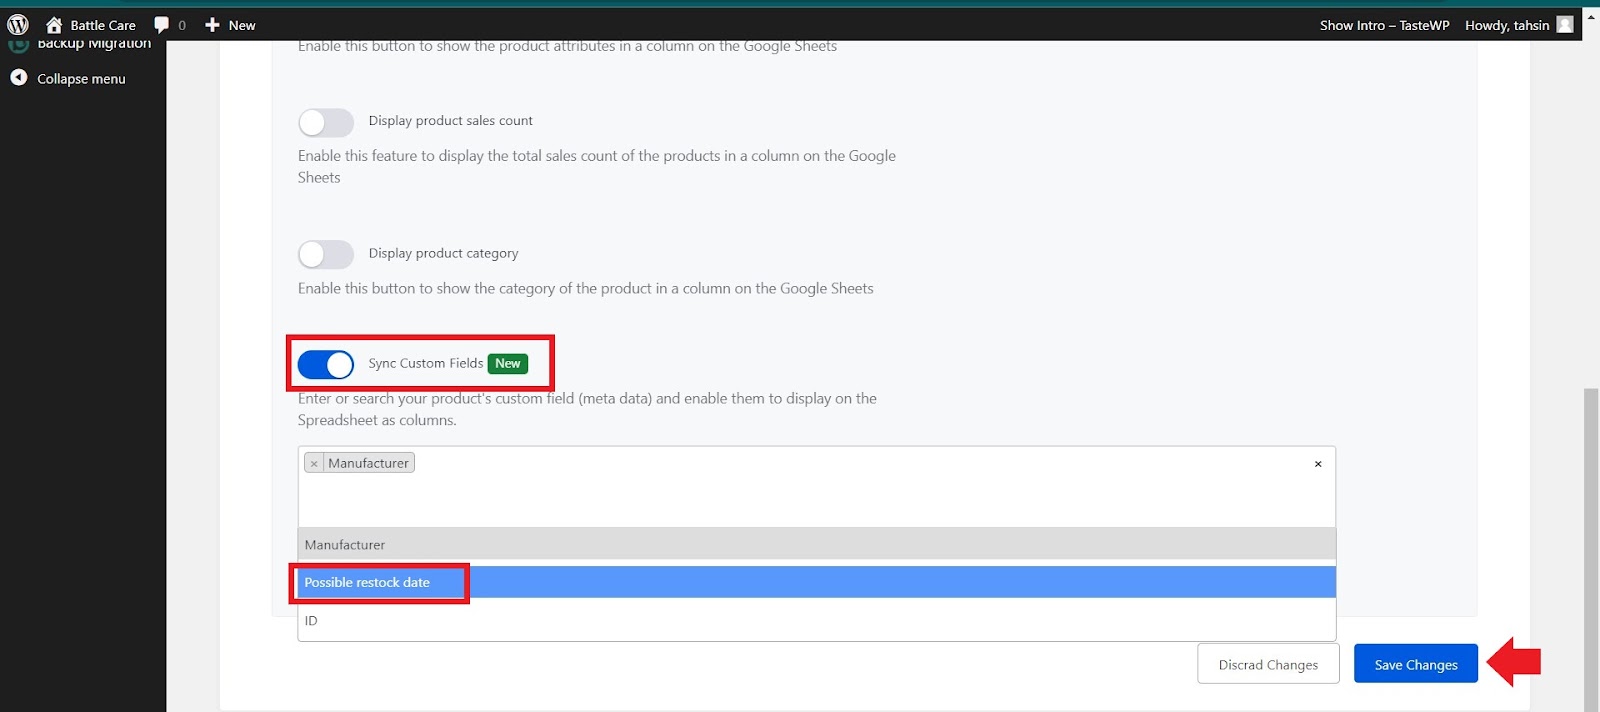
Step 6: On the settings page turn on the “Sync Custom Fields” option. Then, there you will find the custom fields you created. Choose the fields you want to sync and click on “Save Changes”
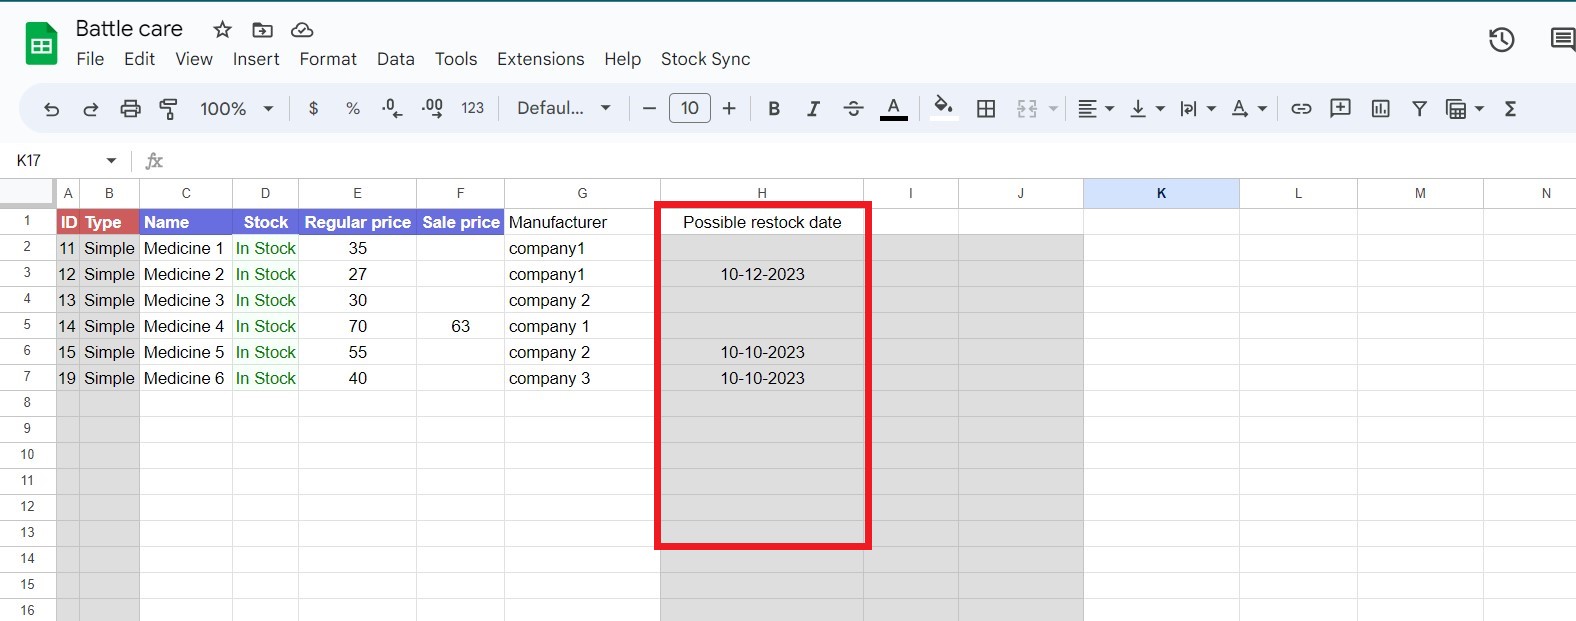
DONE! Your customs fields will now be synced bi-directionally.


Why editor WYSIWYG custom field from ACF is not supported yet?
I bought the paid version for this feature, but not having it.
We’ve added your feature request to our development backlog. Our team will work on it and provide you with an update as soon as the implementation is complete.
Hello,
Can we add brand as WooCommerce already includes Brands functionality natively ? I can’t find it under custom fields.
Yes, possible. If you need help please reach out via our support system: https://wppool.dev/contact/