Importing codes from Google Sheets #
When working with code snippets in Google Sheets, it’s essential to format the content correctly to ensure it displays well both in the sheet and when exported to WP Table. This guide will walk you through the necessary steps to import code into WP Table from Google Sheets.
Step 1: Replace Commas with Text Emojis #
Our plugin works by retrieving data from Google Sheets in CSV format, where commas separate values. Commas can interfere with the CSV export and import process.
This can lead to issues when your content contains commas, causing some data, like the “duration” column, to be removed or displayed incorrectly.
We recommend using a comma emoji (, or◞) instead of a regular comma. You can find options here.
Step 2: Handle Line Breaks with <br> Tags #
Google Sheets does not handle traditional code indentation or line breaks well. Instead of using standard line breaks or indentation in your code, you can use:
<br> Tags: Replace each line break in your code with the HTML <br> tag to maintain the code’s readability when viewed as a single line in the spreadsheet. Also, this ensures that the code appears correctly formatted within a single cell and remains readable.
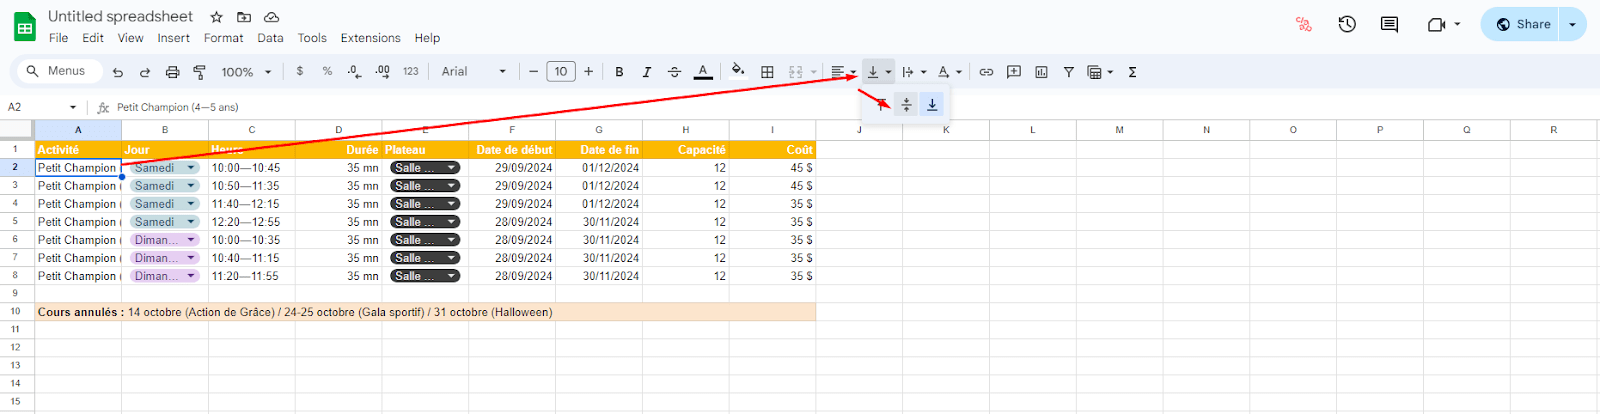
Step 3: Enable Text Wrapping #
To make sure your code is easily readable within the cell, enable text wrapping in Google Sheets. To do that, select the cell(s) containing the code on Google Sheets and go to Format > Text wrapping > Wrap.
Text wrapping ensures that the code fits within the cell and wraps appropriately, making it easier to read.
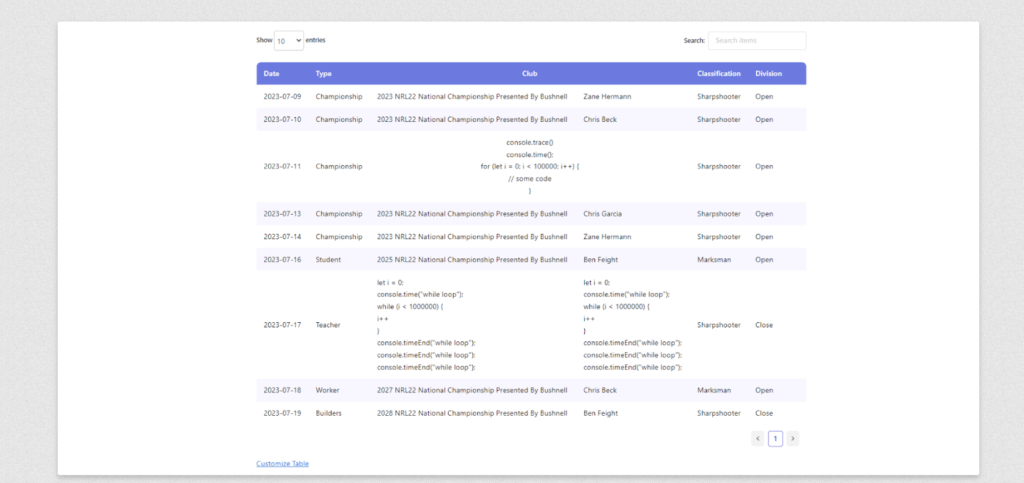
Example Code:

console.trace() <br> console.time(); <br>for (let i = 0; i < 100000; i++) {<br>// some code<br> }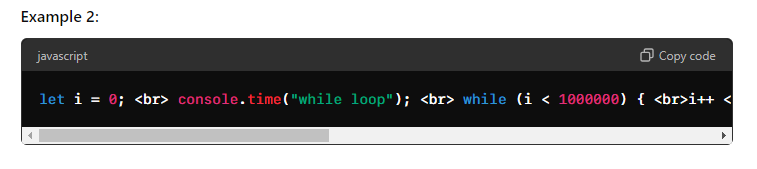
let i = 0; <br> console.time("while loop"); <br> while (i < 1000000) { <br>i++ <br>} <br>console.timeEnd("while loop");<br>console.timeEnd("while loop");<br>console.timeEnd("while loop");By following these steps replacing commas with text emojis, using <br> tags for line breaks, and enabling text wrapping, you can successfully import and format code within Google Sheets. This method ensures that the code is both readable and retains its intended structure when viewed or exported.
How to Make Table Headers Sticky with CSS #
When working with WP data tables, it’s often helpful to keep the header visible as you scroll down the page. This guide will walk you through the steps to make the table header sticky by using CSS.
Step 1: Inspect the Table on the Page #
- Open the Page with the Table: Navigate to the page where your table is displayed.
- Inspect the Table Element:
- Right-click on the table and select “Inspect” or “Inspect Element” from the context menu. This will open the browser’s developer tools.
- In the developer tools, find the table element in the HTML structure. You will need to identify the table’s unique ID or class to target it with CSS.
- Find the Table’s ID:
- Look for an ID or class assigned to the table container. For instance, if the table has an ID like gswpts_table_92, this will be the identifier you use in your CSS.
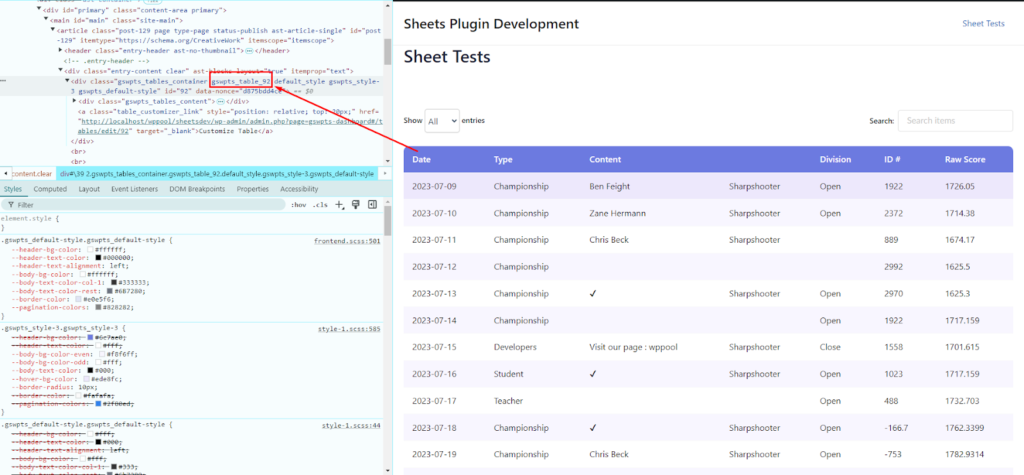
To find the ID more quickly and easily, check the table ID from the shortcode. And add it after the parent class: gswpts_table_{shortcode_ID}
Example: gswpts_table_92
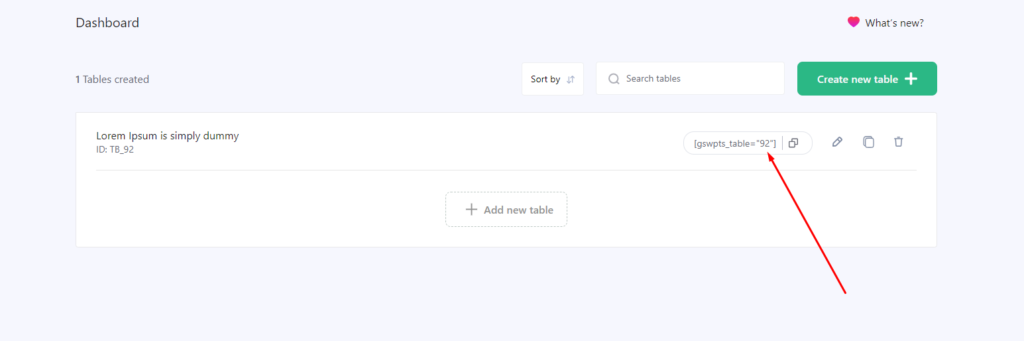
Table ID is required only to use a sticky header on a specific table but if you want to use it for all tables at the same time, then there is no requirement to include individual table ID.
Step 2: Apply the CSS for Sticky Headers #
Once you have identified the table’s ID or class, you can apply the necessary CSS to make the header sticky. Use the following steps:
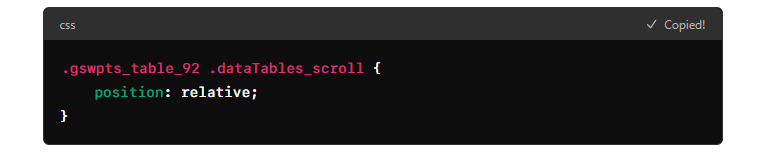
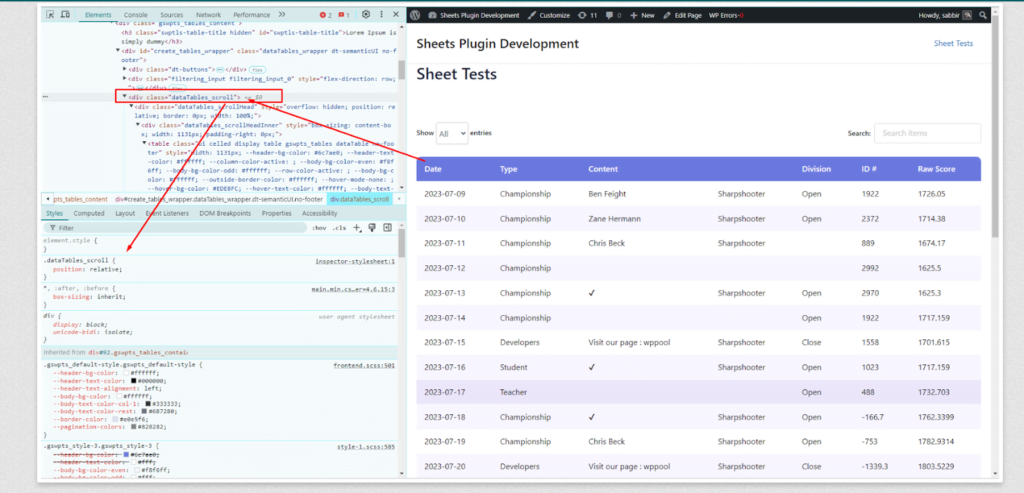
- Target the Table’s Scroll Container:
- You need to target the table’s scroll container, typically identified by the class .dataTables_scroll. This container is responsible for handling the table’s scrolling behavior.
- Set the Scroll Container to Relative Position:
- Set the position property of the .dataTables_scroll class to relative to establish a new positioning context.
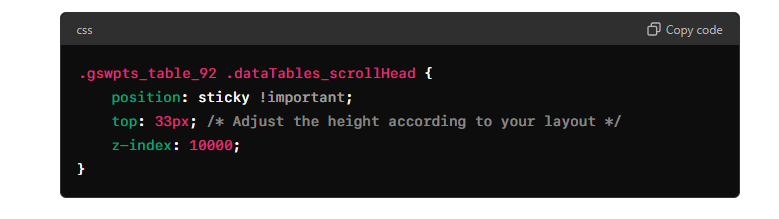
3. Make the Header Sticky:
- Now, target the .dataTables_scrollHead class within the scroll container. Set its position to sticky, specify the top offset (which determines how far from the top of the viewport the header should stay), and set a high z-index to ensure the header stays above other elements.
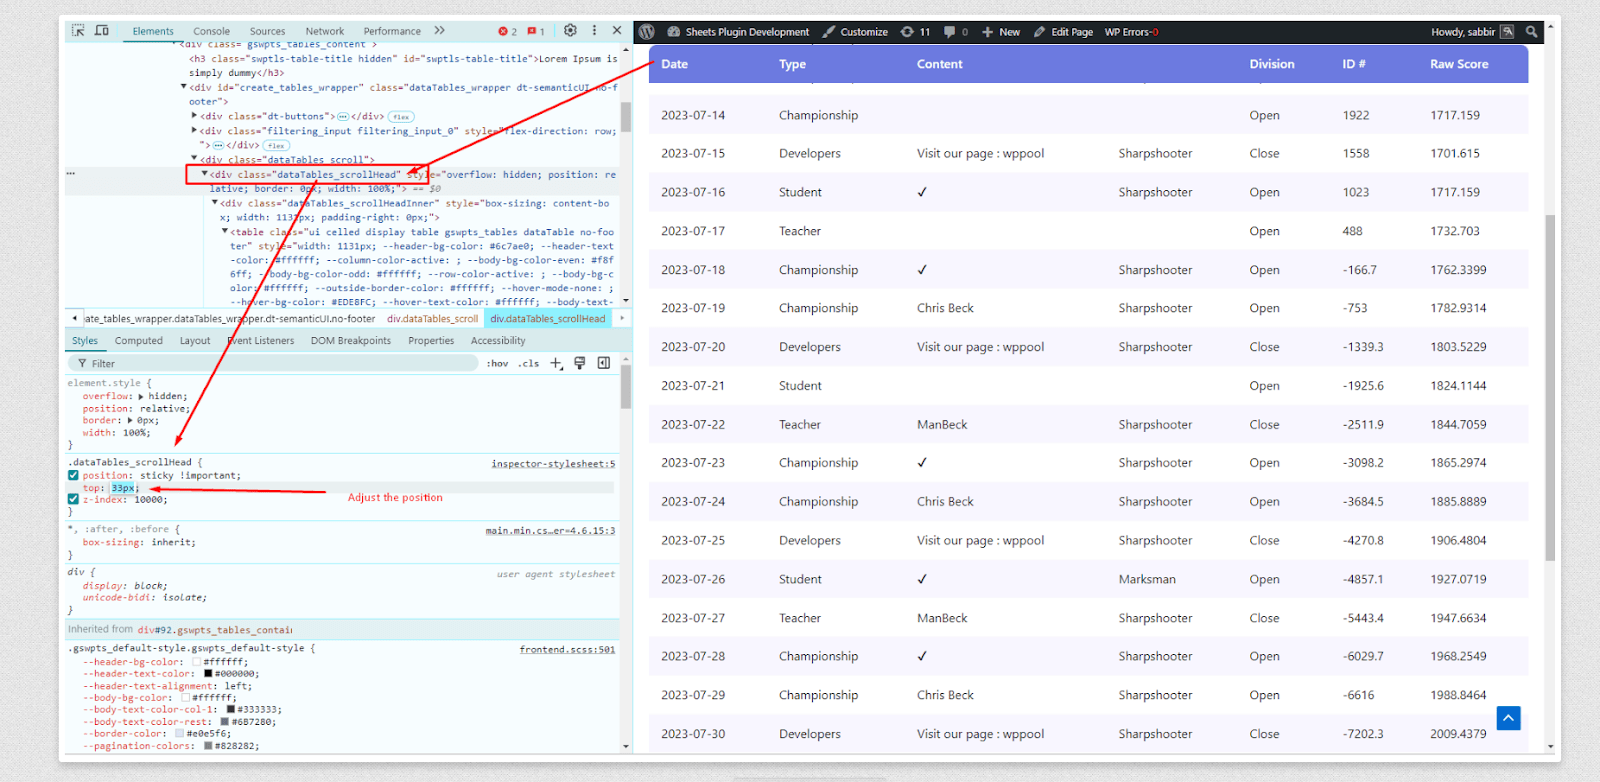
Step 3: Customize as Needed #
- Adjust the top Value: The top value in the .dataTables_scrollHead class determines how far from the top the header will stick. Adjust this to fit your layout needs.
- Test the Scrolling: After applying the CSS, scroll the page to ensure the header remains sticky and behaves as expected.

#
By following these steps, you can effectively make your table headers sticky and improve the user experience when dealing with long tables. Remember to adjust the CSS values to suit your specific design needs.
How to Create a Table from an Imported XLSX File in Google Spreadsheets #
To create a table from an imported XLSX file in Google Spreadsheets, follow these steps:
- Create a New Spreadsheet:
- Open Google Sheets and create a new blank spreadsheet.
- Import the XLSX File:
- Navigate to File > Import > Upload.
- Drag and drop your XLSX file into the upload area.
- Share the Spreadsheet:
- After importing, set the sharing settings by clicking on Share.
- Under General Access, choose the appropriate sharing option (e.g., “Anyone with the link”).
How to Add Line Breaks in WordPress Table #
When creating tables in WordPress, you might encounter situations where you need to display text on multiple lines within a single cell. This can be useful for improving readability or formatting content in a more organized manner.
But WordPress tables do not handle traditional indentation or line breaks which are added on Google sheets. So, instead of using standard line breaks or indentation in your sheets follow the steps below.
Step 1: Insert the <br> Tag #
To create a line break within a cell in your WordPress table, you need to use the <br> tag. This HTML tag is specifically designed to insert a line break, allowing the text to continue on the next line within the same cell.
Step 2: Enable Text Wrapping #
To make sure your content is easily readable within the google sheets cell, enable text wrapping in Google Sheets: Select the cell(s) containing the cell, go to Format > Text wrapping > Wrap.
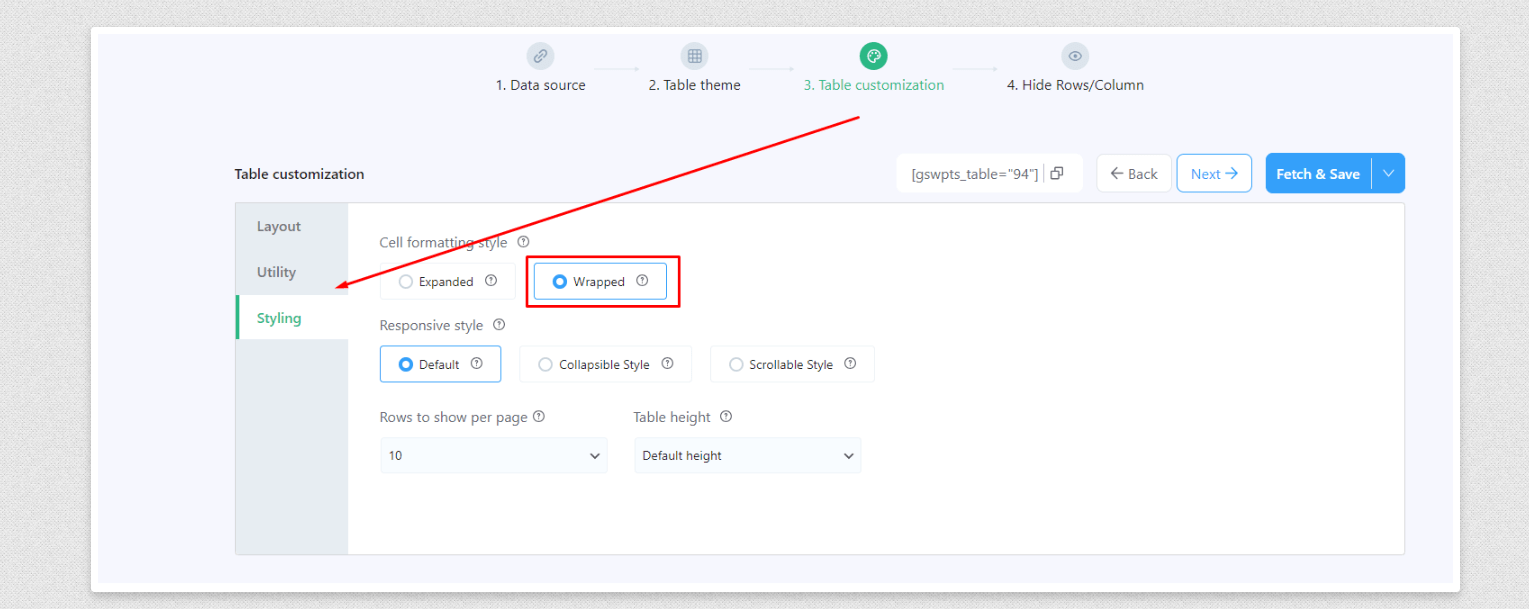
Step 3: Enable Cell formatting style #
To make sure your content is easily readable within the wp table, enable Cell formatting style from FlexTable: Select the Table(s) go to Table customization > Styling tab > Wrapped.
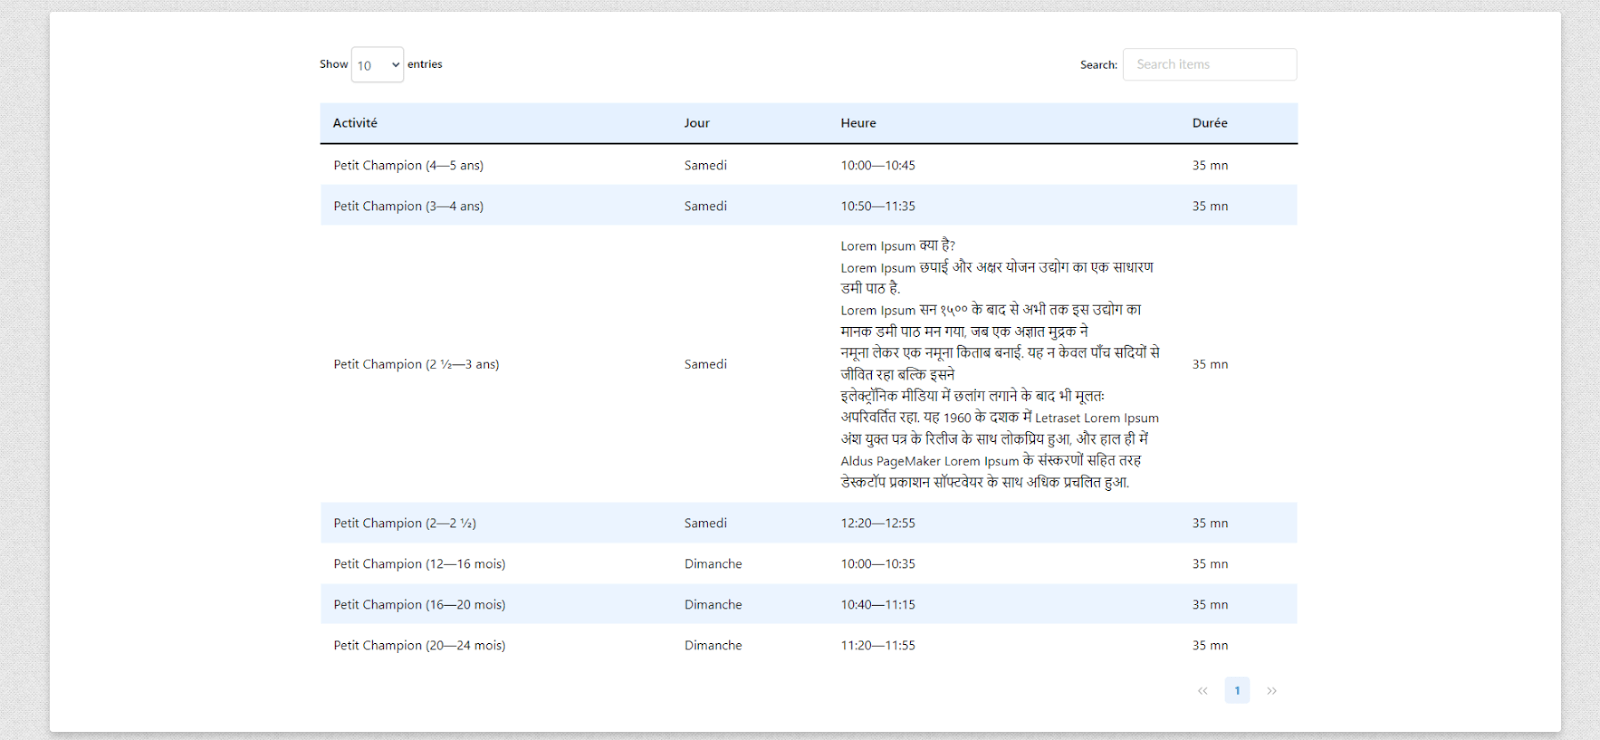
Example Table:
How to Fix Zero (0) Values Not Displaying in Google Sheets Tables Issue #
When working with Google Spreadsheets, you might notice that cells with a zero (0) value sometimes appear as blanks in your tables. This can be frustrating, especially if the presence of zeros is important for your data analysis or presentation. Here’s how to fix this issue.
Understanding the Issue: Google Spreadsheets sometimes interprets zero (0) values as empty or blank cells, returning empty strings that are not displayed in your table. As a result, these zeros can appear as missing data, disrupting the accuracy and visual integrity of your tables.
Step 1: Use Quotation Marks Around Zero #
One effective way to ensure that zero values appear in your table is to enclose the zero in double or single quotation marks. This treats the zero as a text string rather than a number, ensuring it is displayed in the table.
- Example: ‘0’ or “0”
Step 2: Use a Zero Emoji #
Another method is to replace the numeric zero with a zero emoji. This visually represents the zero without Google Sheets interpreting it as an empty value.
- Examples of Zero Emojis:
- 𝟶 (Mathematical Sans-Serif Digit Zero)
- 🅾 (Negative Squared Latin Capital Letter O)
- Where to Find the Emoji: You can copy the emoji from this page: Comma Emojis.
Using these emojis will ensure the zero appears as intended in your table.
Step 3: Apply the Fix to Your Spreadsheet #
To implement these fixes in your Google Spreadsheet:
- Select the cell(s) with the zero value.
- Replace the zero with either:
- A zero inside quotation marks: ‘0’ or “0”.
- A zero emoji: 𝟶 or 🅾.
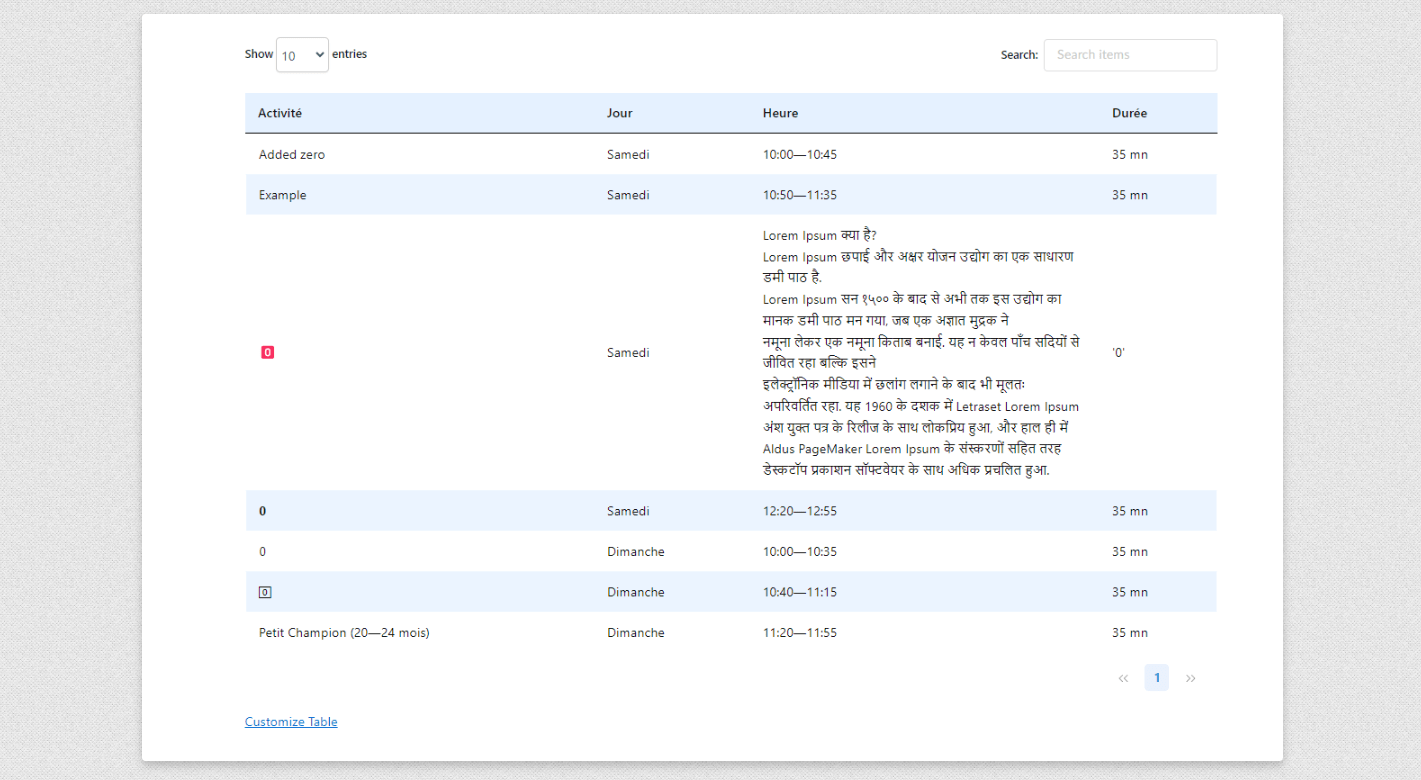
Example Table:
How to Display Specific Rows/Columns/Cells Without Headers in a WordPress Table #
When working with tables in WordPress, you may sometimes need to display only specific rows, columns, or cells without showing the headers or other elements. This guide will walk you through the steps to achieve that by using built-in table customization options and custom CSS.
Step 1: Hide Unnecessary Columns #
To display only the columns you want:
- Hide Columns:
- Go to the Hide Rows/Columns option and select Hide Columns.
- Hide all columns except the one(s) you want to display.
Step 2: Hide Unnecessary Rows #
To display only the rows you want:
- Hide Rows:
- Go to the Hide Rows/Columns option and select Hide Rows.
- Hide all rows except the specific row(s) you want to display.
Step 3: Customize Table Layout to Hide Pagination, Entries, and Search #
To remove additional elements like pagination, entries, and search bars:
- Access Table Customization:
- Go to the Table Customization section.
- Under the Layout tab, uncheck all options in both the Table Top Elements and Table Bottom Elements sections.
This will remove unnecessary elements and leave only the table content you want to show.
Step 4: Apply Custom CSS to Hide Headers and Other Data #
Now, you need to use CSS to hide the table header and other elements:
- Open the Page with the Table: Navigate to the page where your table is displayed.
- Inspect the Table Element:
- Right-click on the table and select “Inspect” or “Inspect Element” from the context menu. This will open the browser’s developer tools.
- In the developer tools, find the table element in the HTML structure. You will need to identify the table’s unique ID or class to target it with CSS.
- Find the Table’s ID:
- Look for an ID or class assigned to the table container. For instance, if the table has an ID like gswpts_table_92, this will be the identifier you use in your CSS.
- Use this ID or class to target specific elements you want to hide, such as the header.
- Hide Table Headers:
- Use the following CSS to hide the table header and the table customizer backend link:
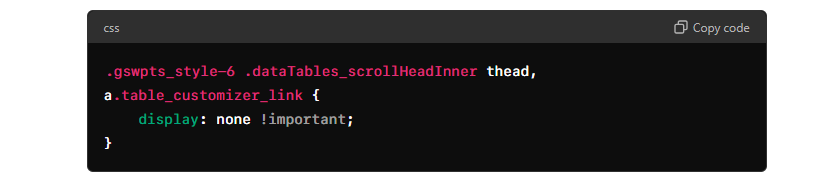
- Make Sure to use it with !important tag
- This CSS will hide the table headers and the table customizer link. The !important tag ensures that the CSS overrides any other styles.
Step 5: Add CSS to FlexTable Settings #
To apply the custom CSS:
- Navigate to the Settings Menu:
- Go to Settings > Custom CSS in your WordPress admin dashboard.
- Paste the CSS:
- Paste the custom CSS code provided above into the Custom CSS field.
- Save Your Changes:
- Click Save settings to apply the changes.
Step 6: Verify the Changes #
After saving, preview your table to ensure that only the desired rows, columns, and cells are displayed, and that headers and other unnecessary elements are hidden.
Example Table #
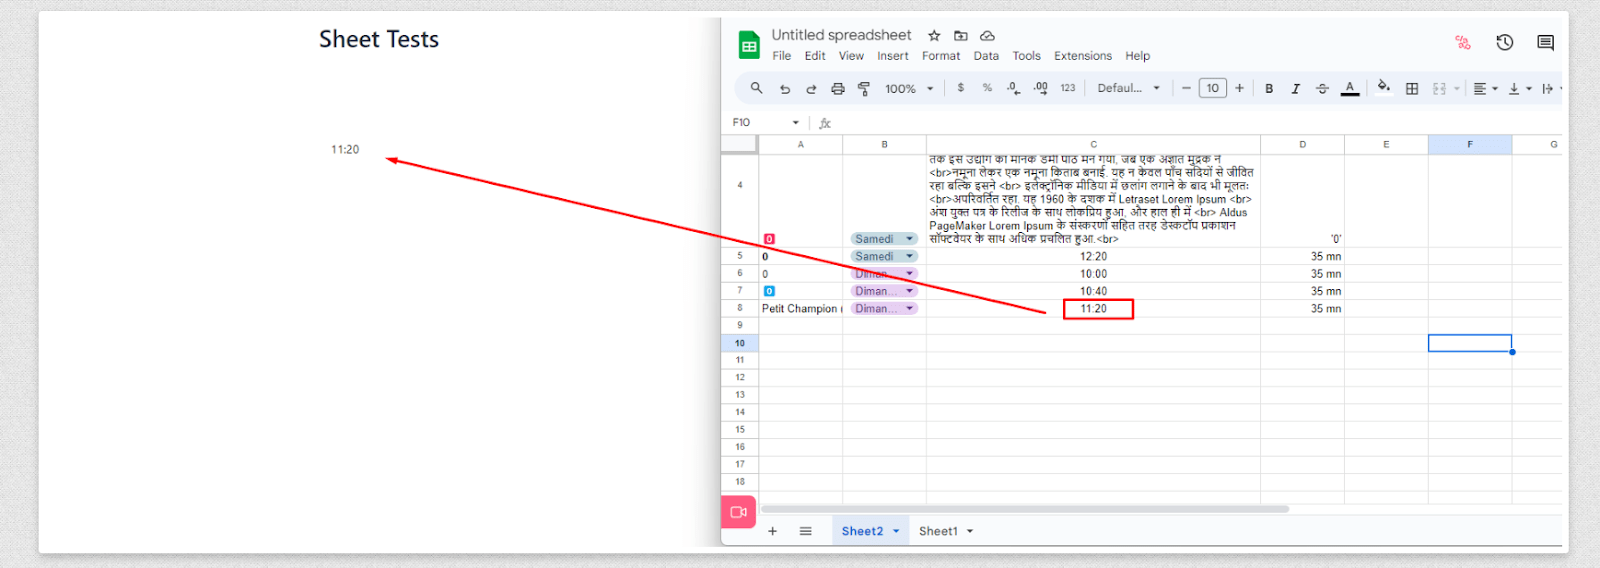
By following these steps, you can effectively display only the specific parts of your table that you need, without showing headers or other unwanted elements. This method allows for clean, targeted presentation of data within your WordPress tables.


Add your first comment to this post