Table of Contents
Give your WordPress tables a polished look by replacing boring links with button-style for better accessibility and design.
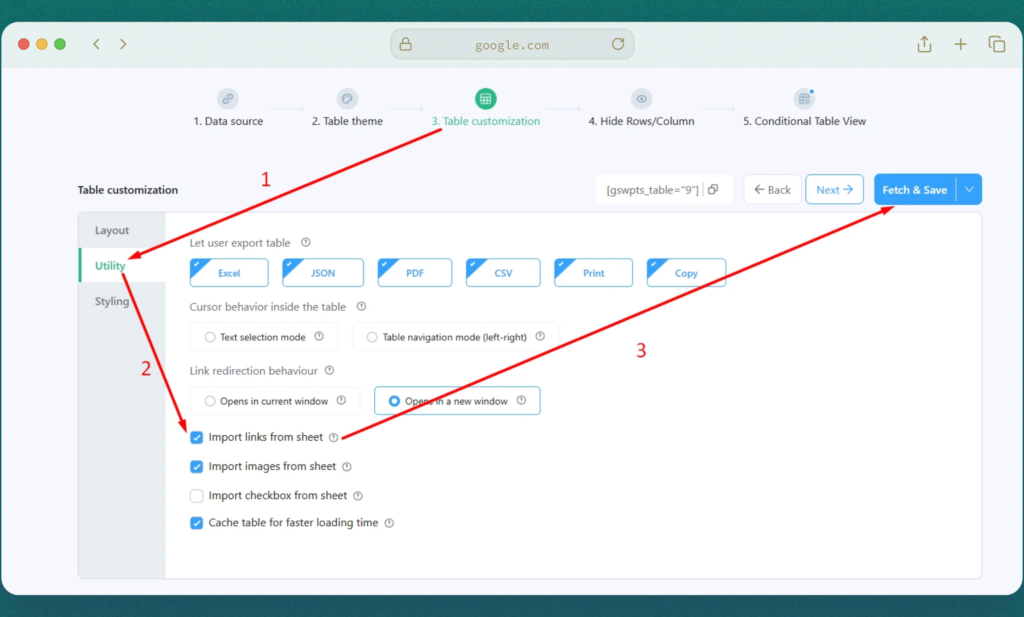
Step 1: Enabling the Link Import Feature #
- Go to the “Table Customization” tab from the Dashboard.
- Select the “Utility” tab.
- Check the box labeled “Import links from sheet” to enable the feature.
- This feature retrieves all embedded data from the “Links” column.
- Click “Fetch & Save” to update the table with the imported links.
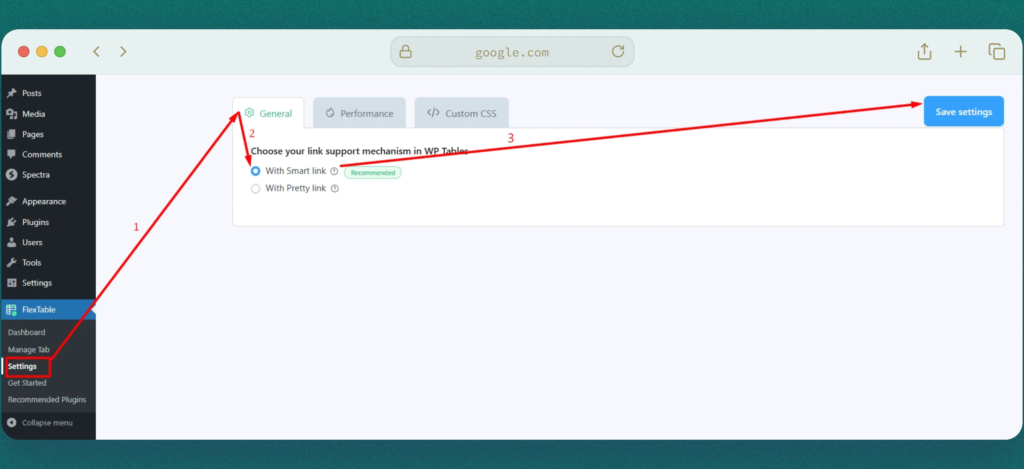
Troubleshooting: If Links Are Not Imported #
- Navigate to the “Settings” page.
- Under the “General” tab, locate “Activate the Link Support Mechanism”.
- Set it to “With Smart Link” and click “Save”.
- Refresh the table to import the links successfully.
Step 2: Styling Links as Buttons #
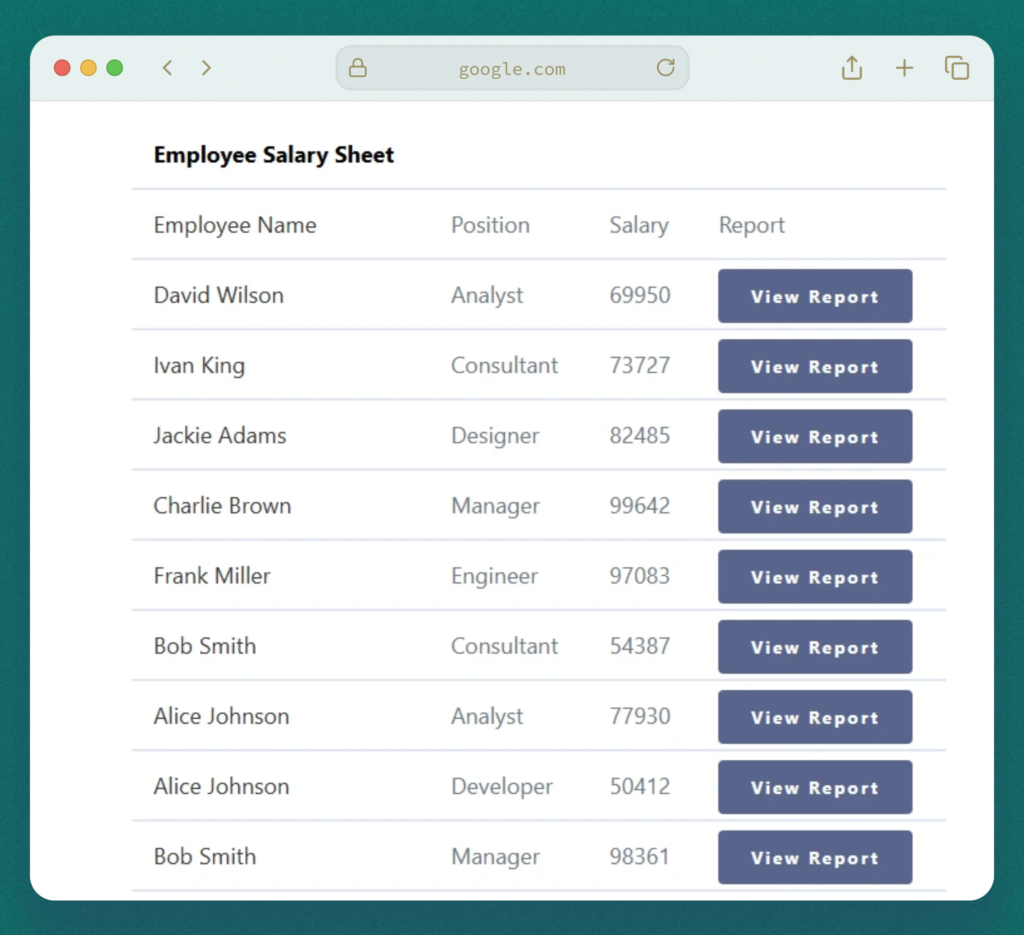
To improve the table’s visual appeal, you can convert the links into buttons.
Identifying the Link Class #
- Open the table page.
- Press CTRL + Shift + I or right-click and select “Inspect” to open the developer tools.
- Locate the Elements panel and identify the class for the link column data.
- The class should be .cell_div a.swptls-table-link.
Still confused? Watch this video
Step 3: Saving Custom Styles #
- Navigate to Settings > Custom CSS tab.
- Add custom CSS targeting your specific table ID or If you want the button style applied to all tables, remove the table ID.
- Click “Save Settings”.

Refresh your page to view the changes. #
Your table now features beautifully styled button links! 🎉


Add your first comment to this post