The User-Specific Display feature in FlexTable allows you to show personalized table data to logged-in WordPress users while keeping all other records hidden.
This feature works by matching a WordPress user field (such as username or email address) with a corresponding value stored in your Google Sheets data. Once matched, FlexTable displays only the rows that belong to the currently logged-in user.
This is ideal for creating secure dashboards, private portals, and personalized data views directly inside WordPress.
What Does User-Specific Display Do? #
User-Specific Display is a conditional table-view mode that:
- Shows data only to logged-in users
- Matches users using a unique identifier such as:
– Username
– Email address
– Employee name - Displays only rows assigned to the currently logged-in user
- Prevents searching through other users’ records
- Adds optional login protection for visitors who are not signed in
This mode is useful for creating secure, personalized dashboards and private data views inside WordPress.
How to enable the User-Specific Display Feature #
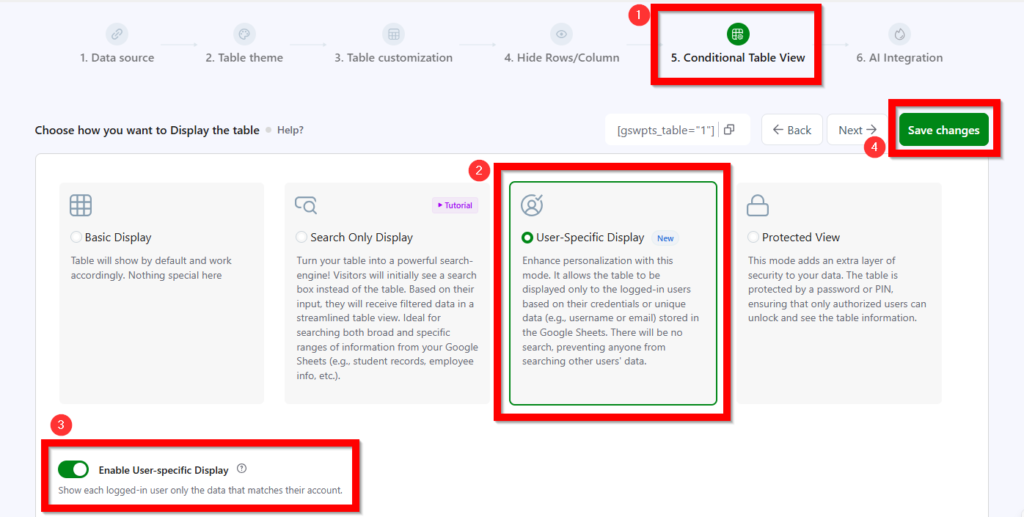
To configure this feature:
- Open your FlexTable table editor
- Go to Step 5: Conditional Table View
- Select User-Specific Display
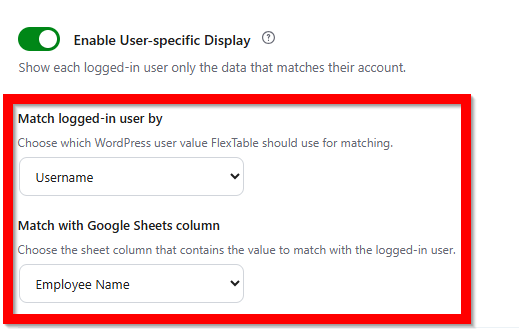
Configuration Guide #
Match Logged-In User By #
Choose which WordPress user field FlexTable should use for matching.
Available matching options may include:
- Username
- Email Address
- Employee Name
N.B: If your sheet uses emails, select Email Address so each user only sees their own data based on their login email.
Example #
If your Google Sheets contains WordPress usernames, configure:
- Match logged-in user by: Username
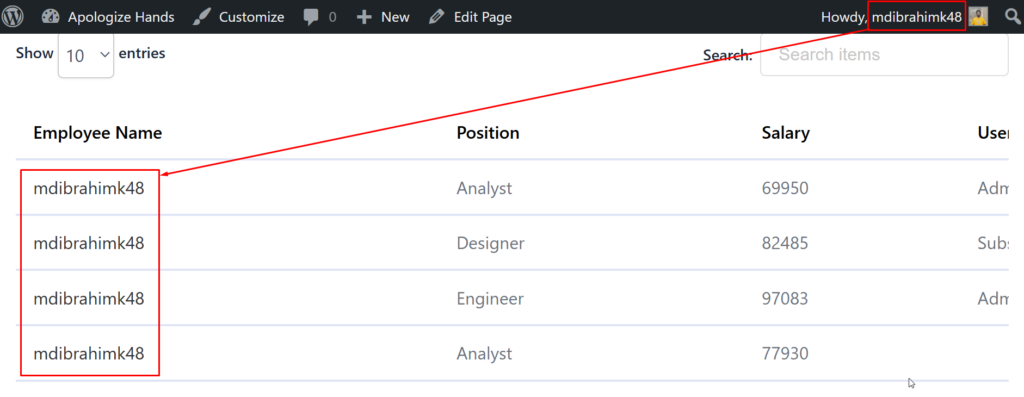
FlexTable will then compare the logged-in WordPress username with the values stored in your selected Google Sheets column.
Visitor Access Settings #
You can control how FlexTable behaves when a visitor is not logged in.
Available Option: Button Label & Login URL Change
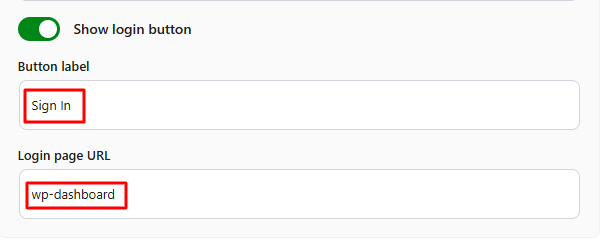
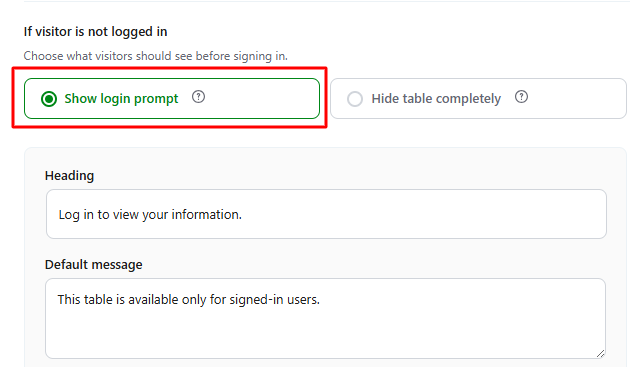
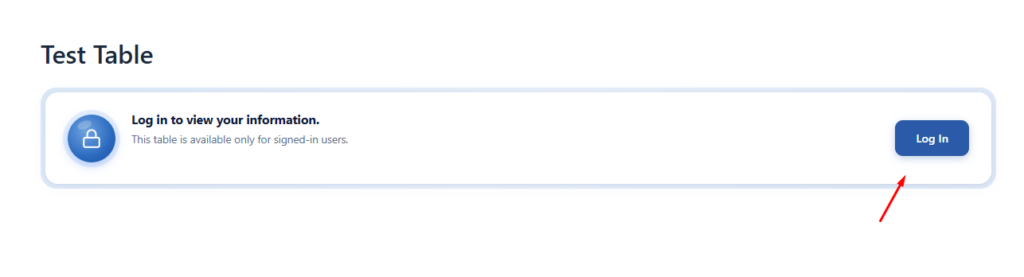
Option 1: Show Login Prompt #
Displays a custom login message instead of the table.
Use this option when users must sign in before viewing their personal data.
How it will be shown on Frontend:
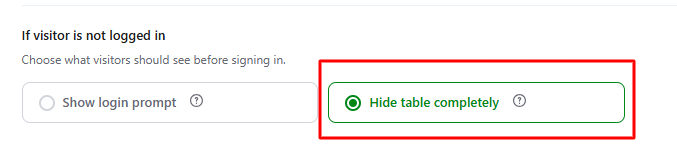
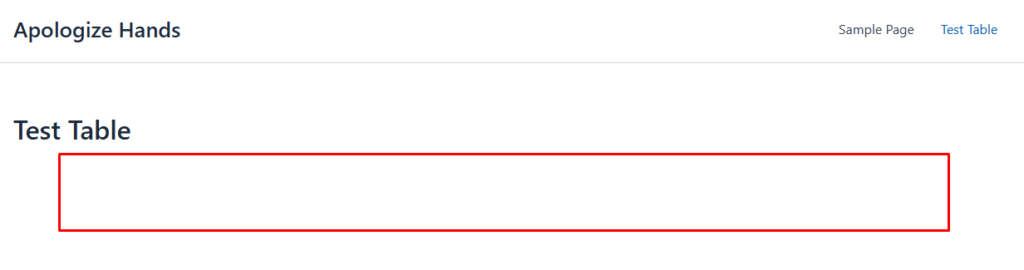
Option 2: Hide Table Completely #
Completely hides the table from visitors who are not logged in.
No message or table content will be shown.
How it will be shown on Frontend:
Important Behavior Notes #
Search Is Disabled #
In User-Specific Display mode:
- The table search box is removed
- Users cannot search or browse other records
This helps maintain privacy and prevents unauthorised data discovery.
Important Note: If you use the Enable Filter feature, the Filtering feature takes priority, and User-Specific Search will not work.
Multiple Matching Rows #
If multiple rows match the same user identifier, then all matching rows will be displayed to that user.
Exact Matching Required #
The WordPress user value and Google Sheets value must match exactly.
Recommended Best Practices #
- Keep usernames/emails consistent
- Avoid extra spaces
- Use standardized formatting
- Prefer email matching for better uniqueness
Practical Use Cases #
1. Employee Portals #
Show employees:
- Salary information
- Leave balances
- Attendance records
- Performance reports

Each employee only sees their own information.
2. Student Result Dashboards #
Educational institutions can display:
- Exam results
- Attendance
- Grades
- Assignment progress
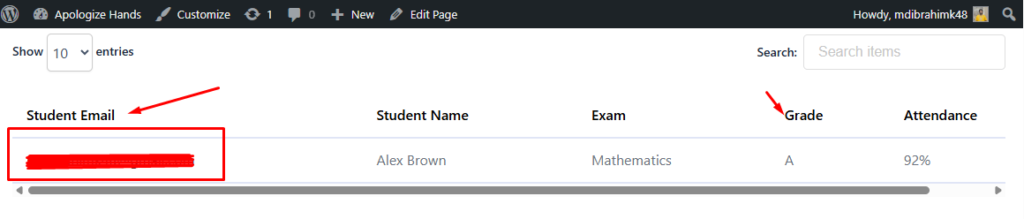
Students can only access their own academic records.
3. Customer Order Tracking #
Allow customers to view:
- Orders
- Invoices
- Subscription status
- Delivery information
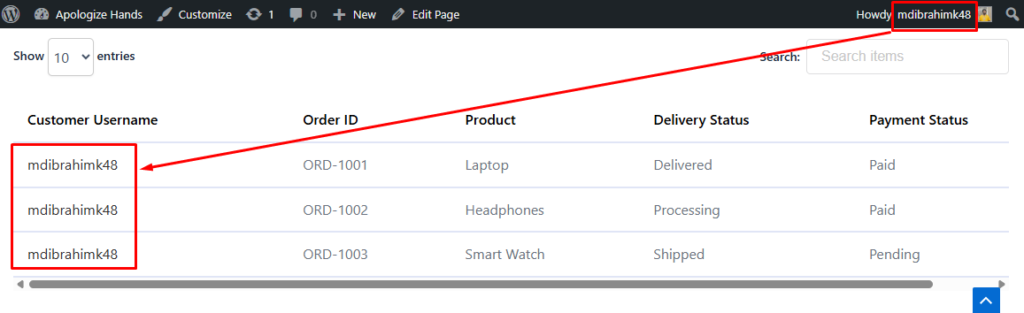
Without exposing other customers’ data.
4. Client Project Dashboards #
Agencies and freelancers can share:
- Project updates
- Task progress
- Reports
- Billing summaries
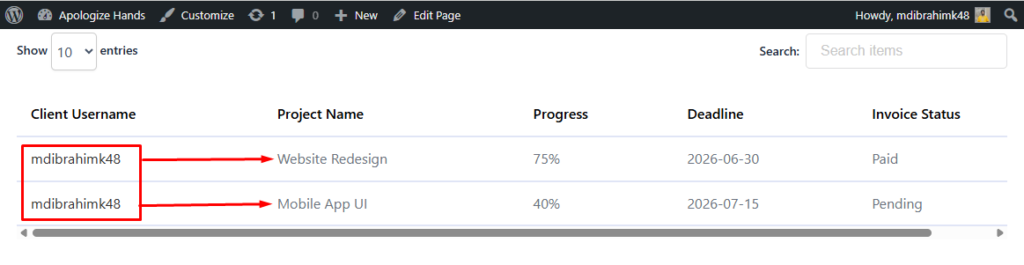
With each client individually.
5. HR Management Systems #
Provide employees with:
- Payslips
- Tax records
- Appraisal summaries
- Internal notices
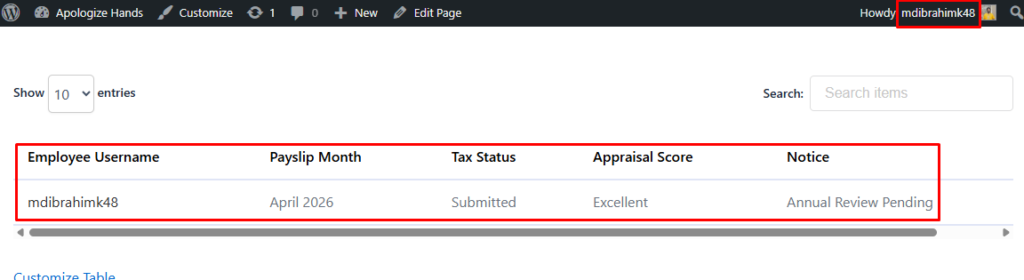
Securely inside WordPress.


Add your first comment to this post