Starting with Webinar & Video Conference with Jitsi Meet 2.2.0, you can now create and sell webinars from the Dokan Multivendor plugin for WordPress. This feature provides a new way to scale up your business and provide the luxury to your store owners to sell video meetings as products.
Before we start, make sure you have already installed and activated WooCommerce and Dokan Multivendor Plugin on your website.
Also, Multivendor Addon is a premium feature and is now available with the Jitsi Meet Ultimate package.
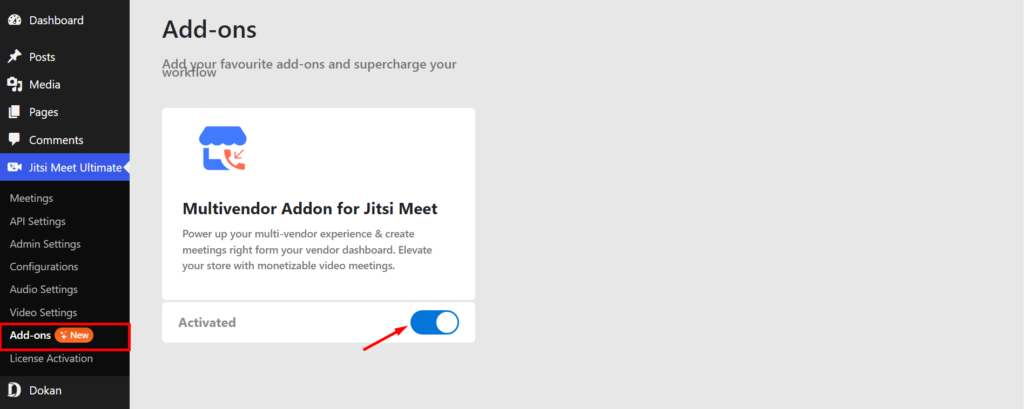
First, navigate to the new Add-ons menu from Jitsi Meet Ultimate and install and activate the Multivendor Addon for Jitsi Meet.
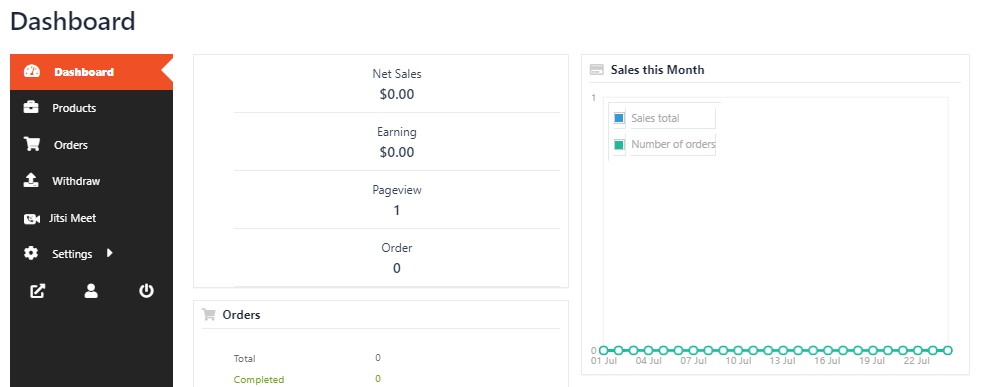
Next, go to your Dokan vendor dashboard by signing in to your store dashboard.
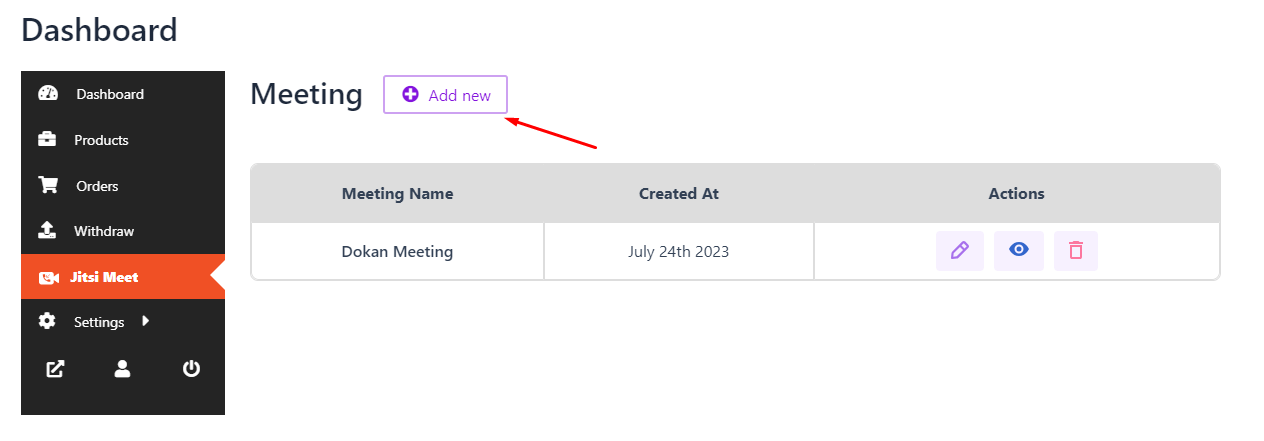
Here, you’ll find the new Jitsi Meet icon. Click on it to access the meeting menu and select “Add New”.
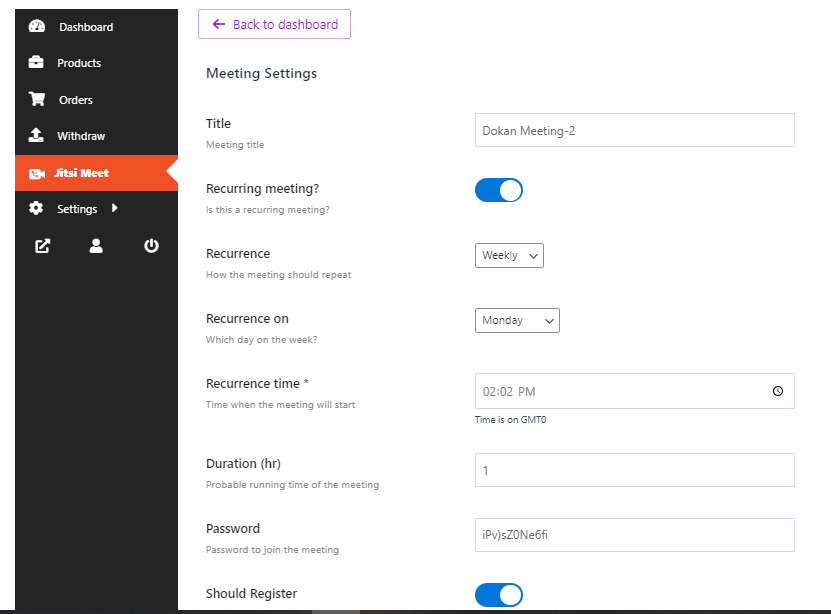
Provide a meeting title and change other settings as required. Click on “Save Meeting” to go to the next step.
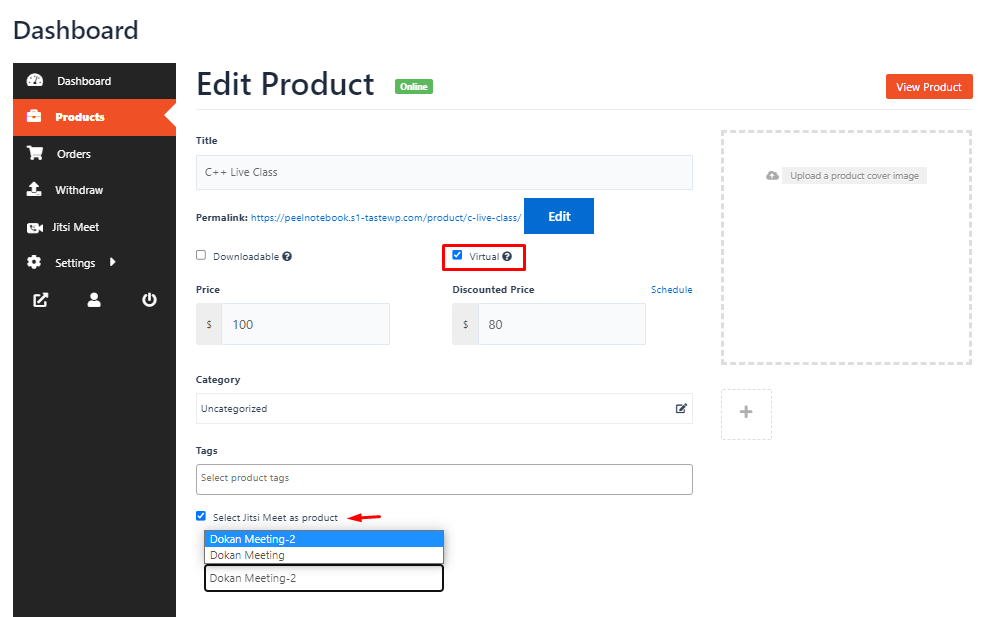
Navigate to the Products menu from the vendor dashboard. Here you can create a new product or edit an existing one.
Check the “Select Jitsi Meet as product” and choose the meeting you just created. You can now sell your meeting as a product in your store.
Note: Enable the “Virtual product” option.
That’s it, you are now ready to monetize your webinars.


Add your first comment to this post