Getting started with ArchiveMaster requires a secure database connection. If you haven’t created a database yet, please refer to this guide on How to Create an Amazon RDS Database for ArchiveMaster. Once your database is set up, follow the step-by-step instructions below to configure your database connection and securely integrate with ArchiveMaster.
Begin by opening ArchiveMaster from the WordPress dashboard.
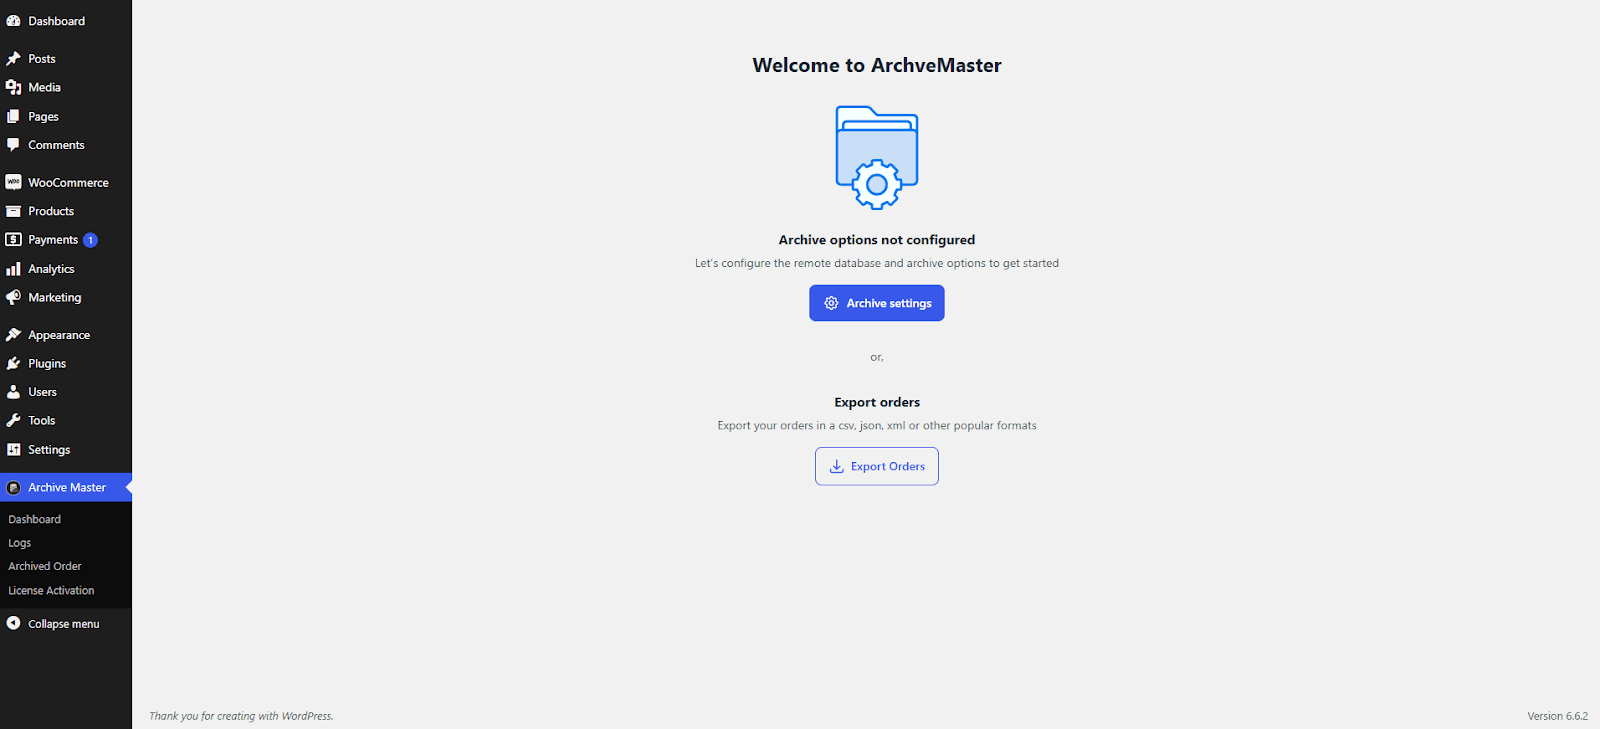
Once inside, navigate to the Database Connections option in the main menu to access the configuration screen.
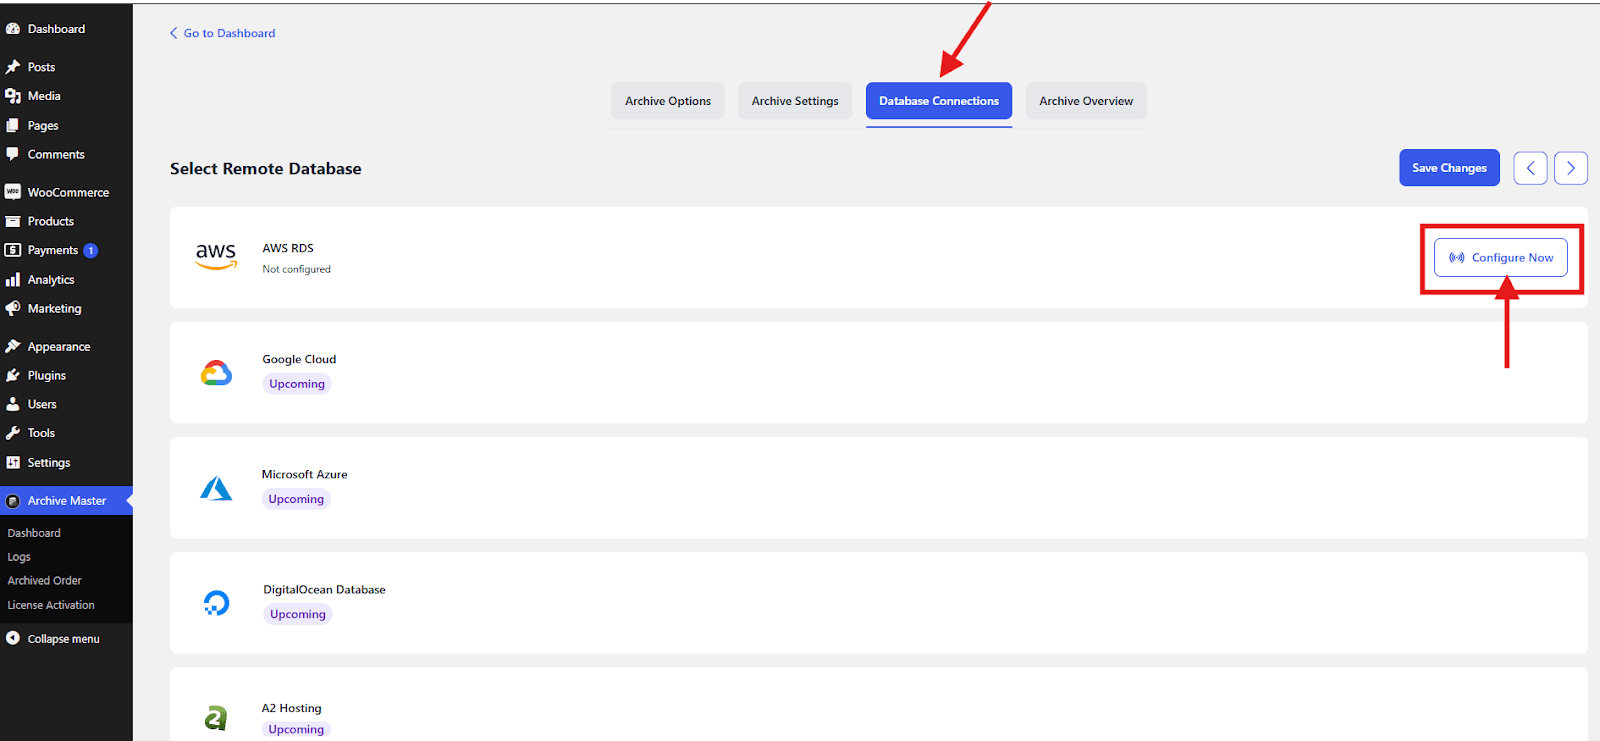
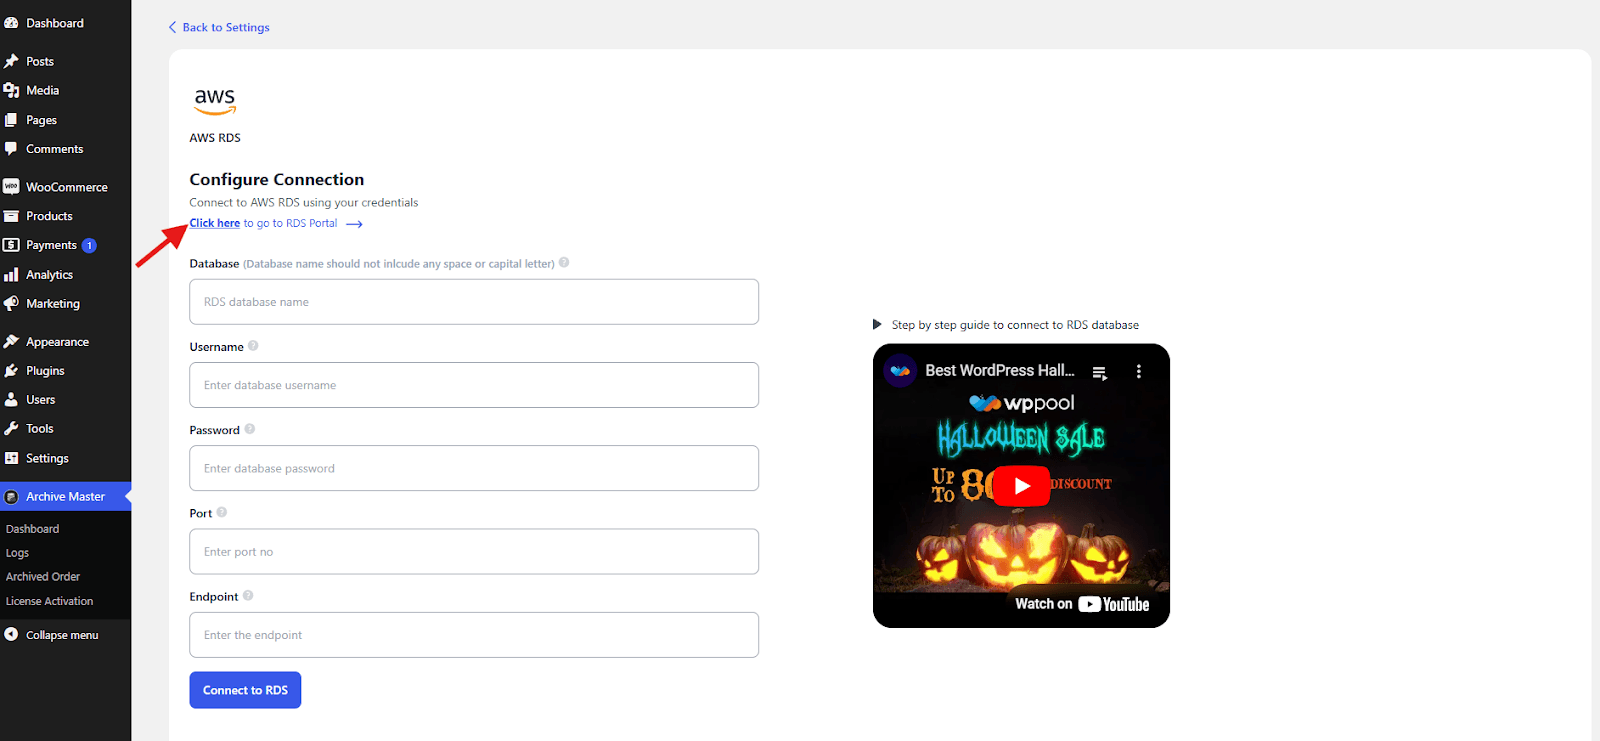
Click on “click here” and Navigate to the RDS Console, to create or access your database.
To log in to the RDS Console, you need to have an AWS account. There are two types of accounts that you can use to log in:
Login with Root account.
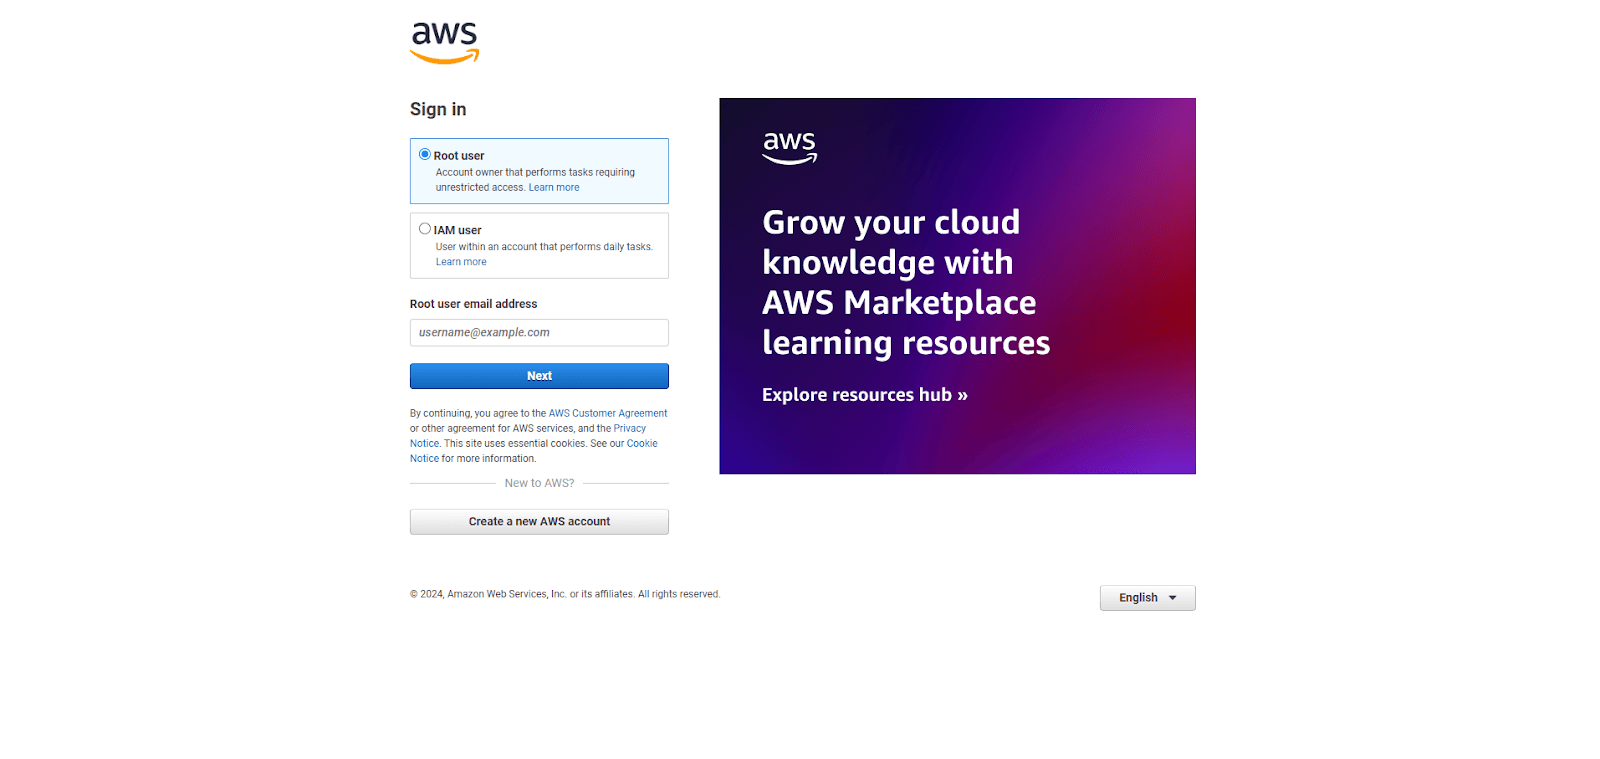
Or login in with an IAM account.
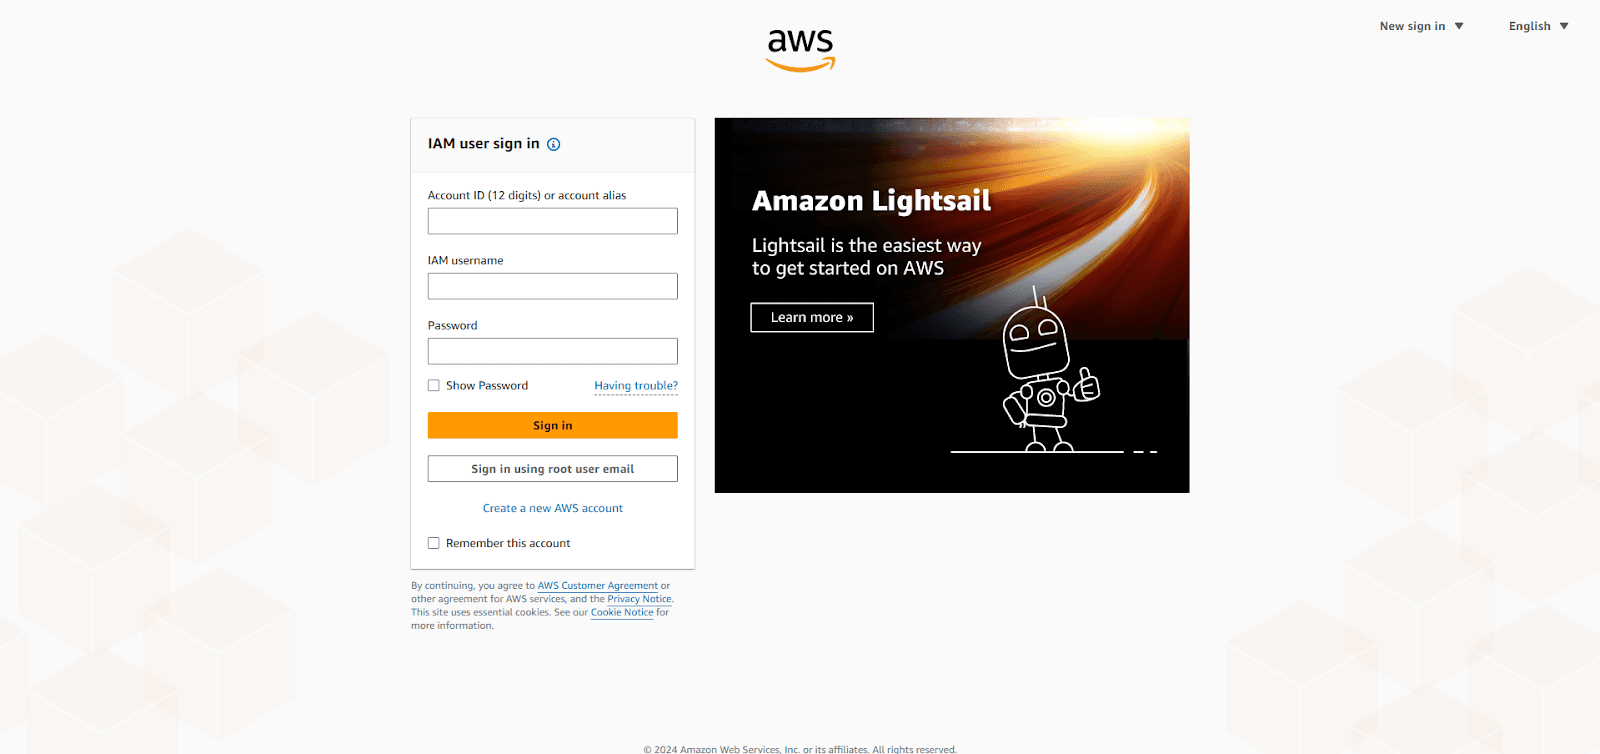
Before proceeding further, ensure that the inbound rules for your RDS instance are properly configured. If they are not, your connection may fail. For guidance on how to configure these inbound rules correctly, please refer to our detailed instructions in How to Create an Amazon RDS Database for ArchiveMaster.
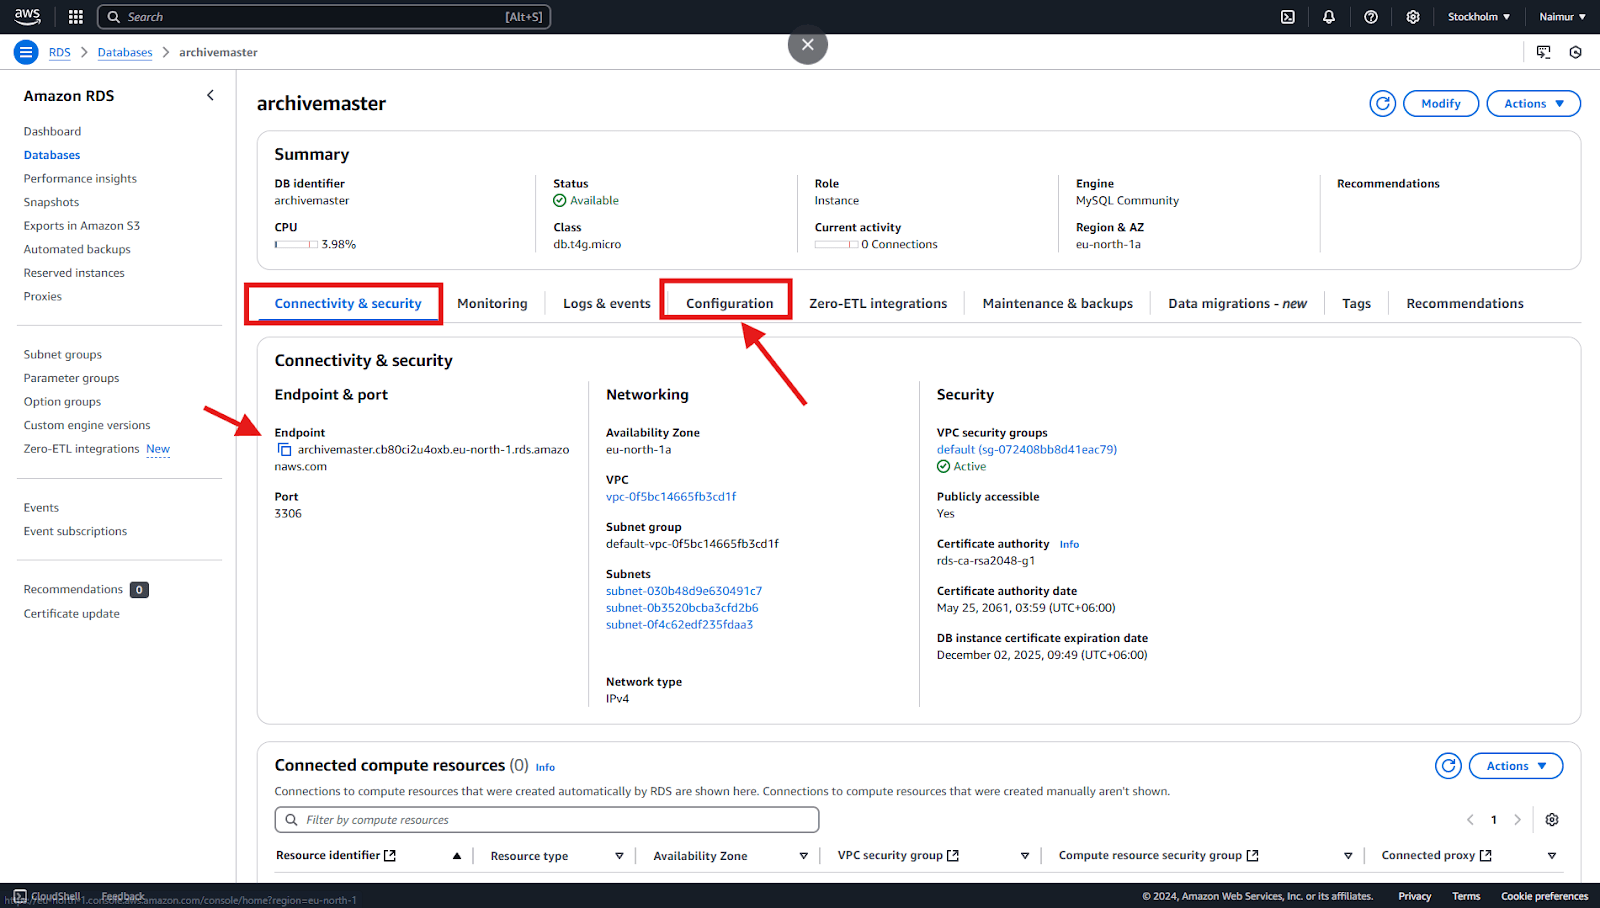
Next, find your database’s configuration details, including the endpoint and port. You can find this information in the RDS Console under the Connectivity & Security tab.
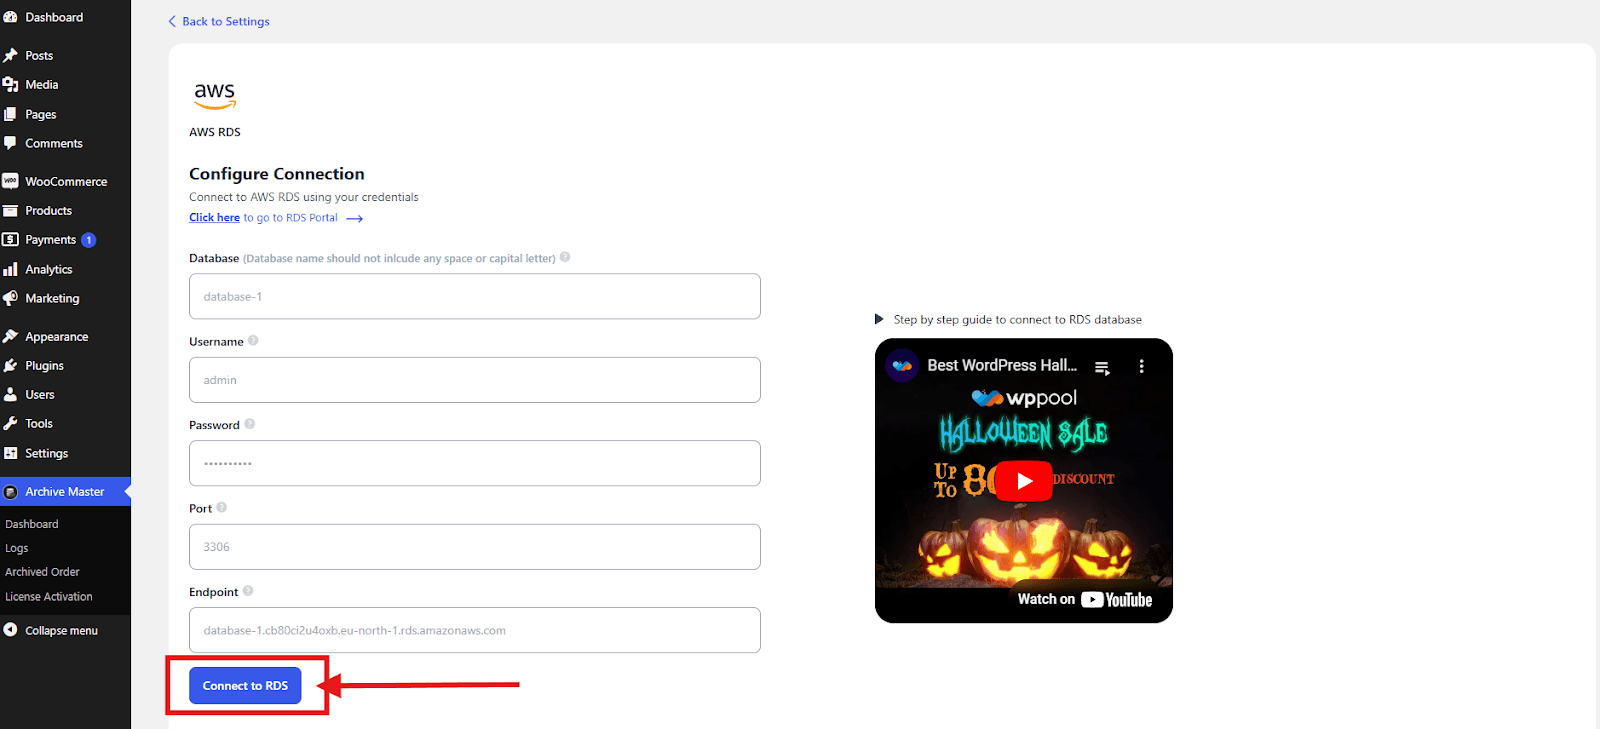
Finally, enter your configuration details and credentials in the Configure Connection form, then click Connect to RDS.
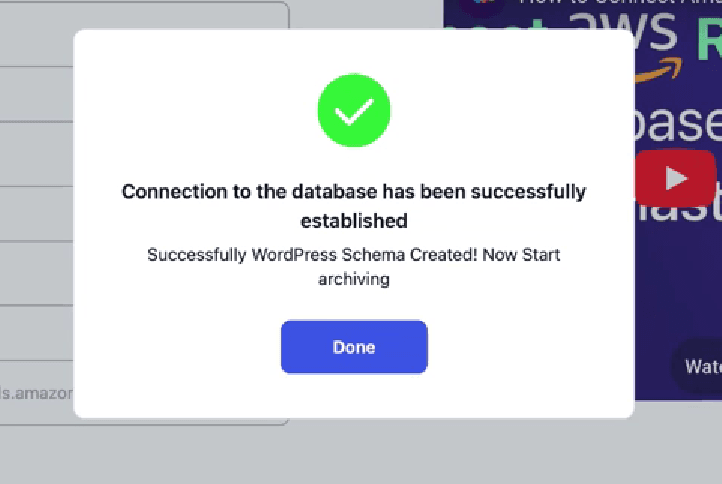
You will receive a confirmation message indicating that the connection to your Amazon RDS database has been successfully established. This means ArchiveMaster is now securely linked to your RDS database.
If the database is not connecting, please check the inbound rules and region settings, and ensure that all connection details (endpoint and port) are correct. For further assistance, you can refer to the guide How to Create an Amazon RDS Database for ArchiveMaster.


Add your first comment to this post