Activating the Free version #
Go to your WordPress Dashboard. Then go to Plugins and click on ‘Add New‘ and search for ‘Sheets to WP Table Live Sync’.
Click Install and then Activate to activate the plugin.

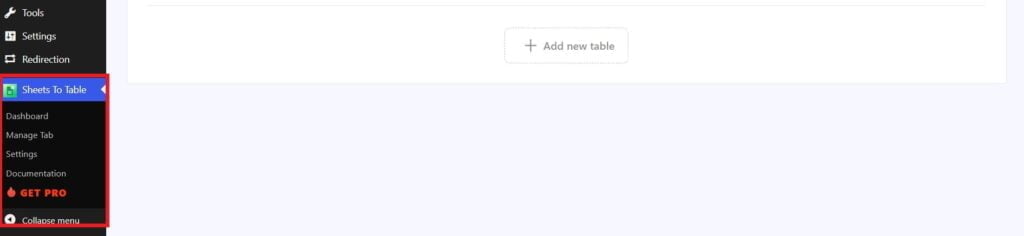
Now, you will see a dashboard for Sheets to Table on your WordPress dashboard. From there you can add tables, customize them, and sync them to your website.
Activating the Pro version #
To activate Sheets to WP Table Live Sync Pro, buy the plan you want from our website. Now log in to your WPPOOL account with your credentials.
Then go to ‘My Licenses‘. There you will find the Pro version file and license key of the plugin.

Download the Pro version zip of the plugin by clicking the Download button beside the key. You can also download it from the Downloads tab underneath My Licenses.
Also, copy the license key.
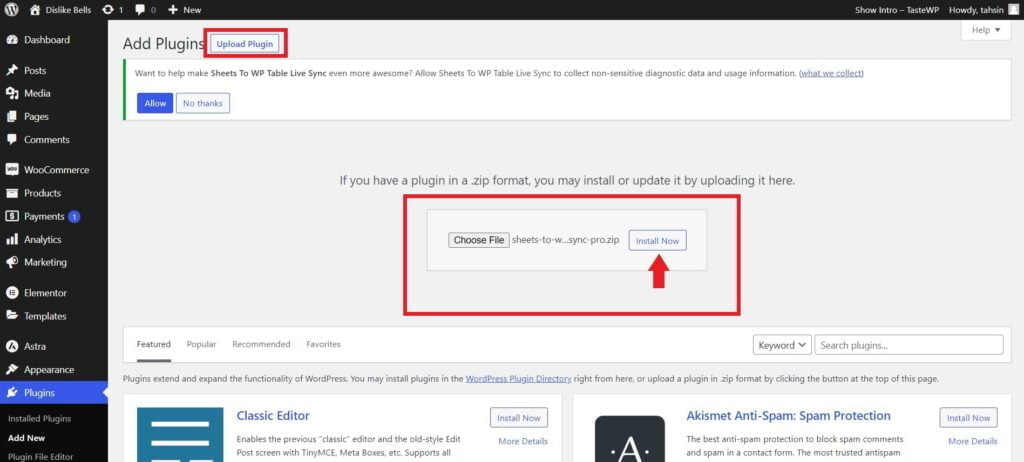
Now, go to Plugins and click on ‘Add New‘ again. Then click on Upload Plugin and upload the PRO version of the plugin there. After that, click on Install Now.
Upon activating the plugin, you will see an option to activate your pro version license.
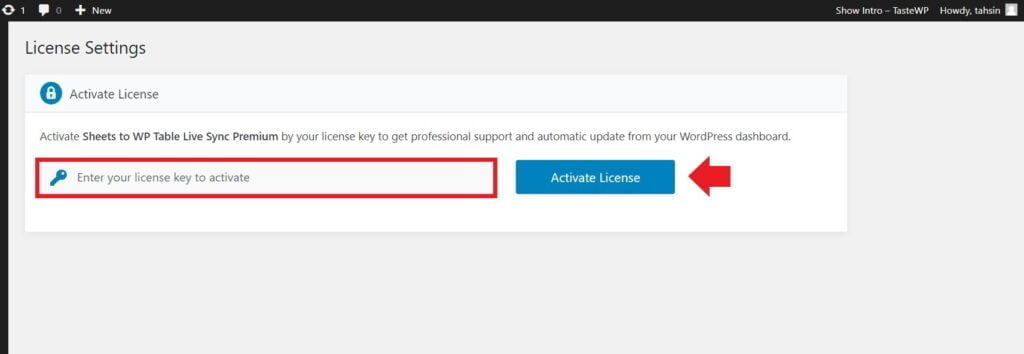
Paste the license key you copied from your WPPOOL account in the box and then press Activate License.
Your Pro version of the plugin is now activated. Enjoy!
Video Tutorial:


Hello
When I want to activate the plugin, I have the following message that appears when loading the page or I have to put the key: you do not have permission to access this page.
I don’t know what to do …
Thanks in advance
To activate the premium version of the plugin, please make sure that both the free and pro versions of the plugin are installed and activated. Once both versions are active, you’ll have the option to enter and activate the plugin with your license key.
If you run into any issues during the process, please don’t hesitate to let us know. We’ll be happy to assist you further.