First, install and activate WooCommerce if it’s not already activated on your website.
Video Tutorial: #
You can follow this video to learn the installation & activation process of the plugin.
Install & Activate The Plugin #
You can activate and setup the plugin by following these steps:
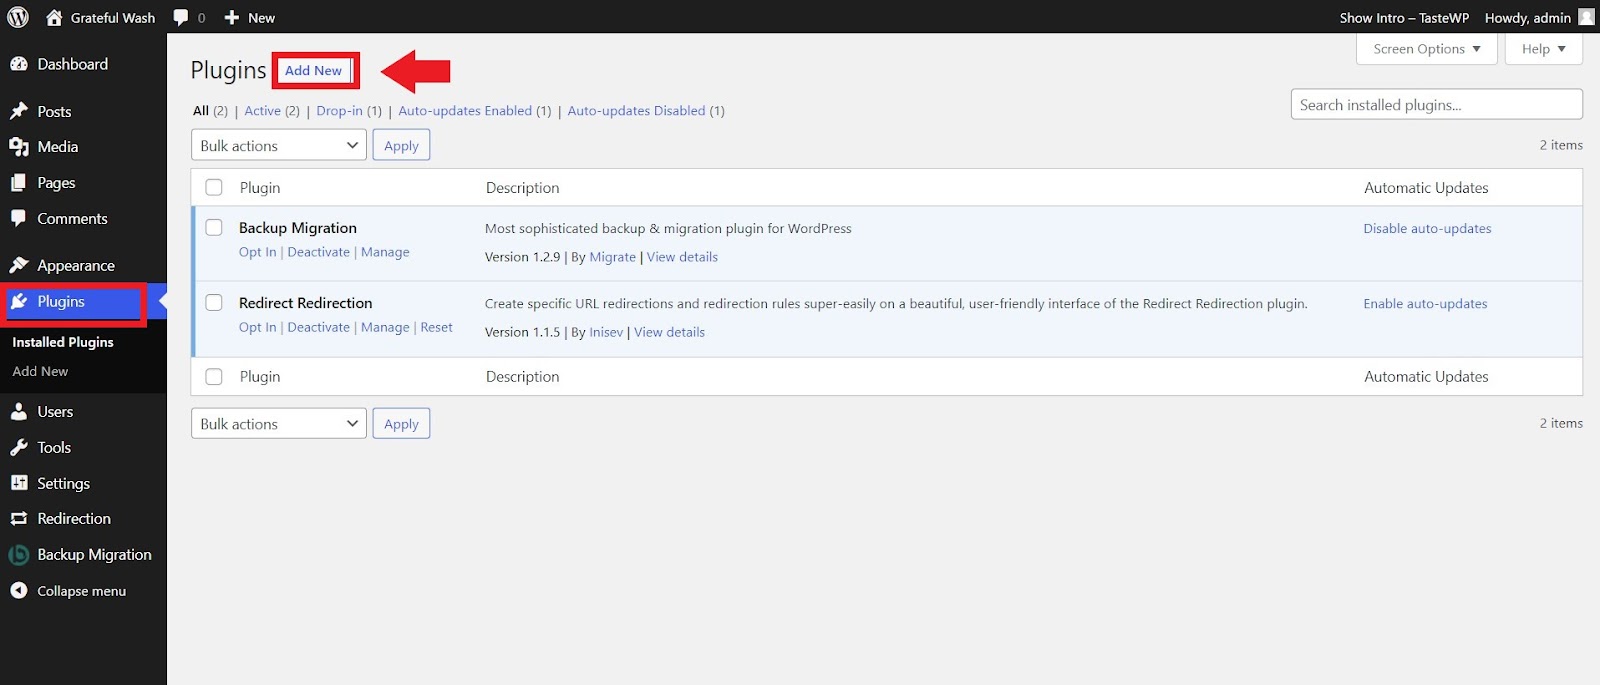
Go to your WordPress admin dashboard. Navigate to the “Plugins” menu and click on the “Add New” button.
Now, search for “Stock Sync for WooCommerce with Google Sheets“.
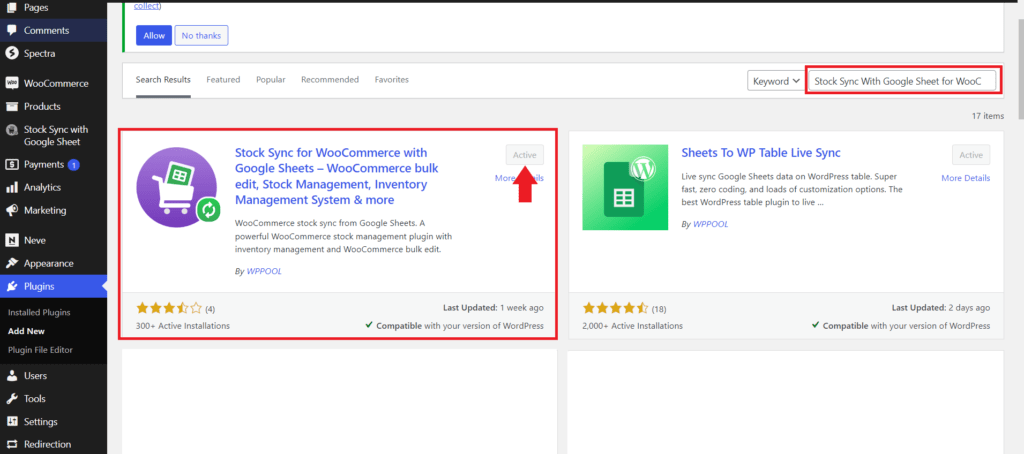
Click on the “Install Now” button and then activate the plugin by clicking the “Activate” button.
Now Stock Sync with Google Sheets is activated for you to set up and enjoy.
How To Set Up Stock Sync with Google Sheets for WooCommerce #
Set Up Credentials: #
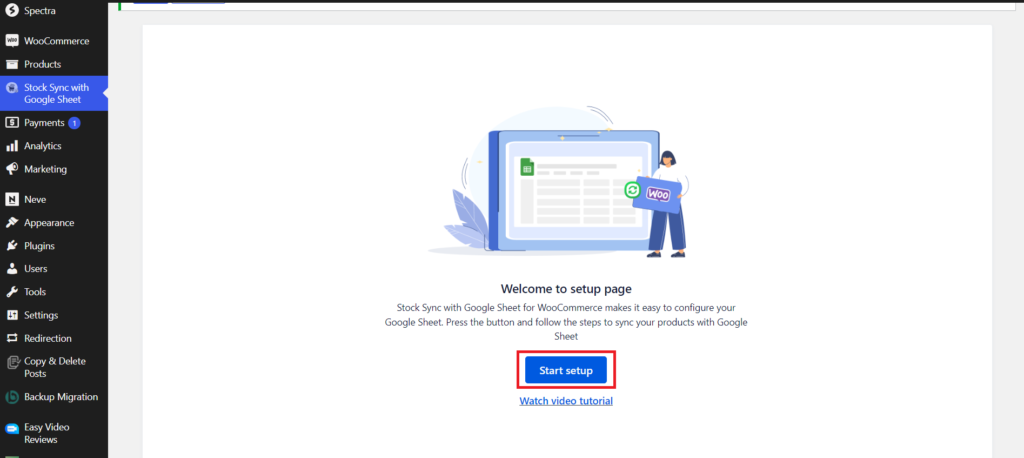
After activating the plugin, it will take you to a page to set up. Click on “Start setup”
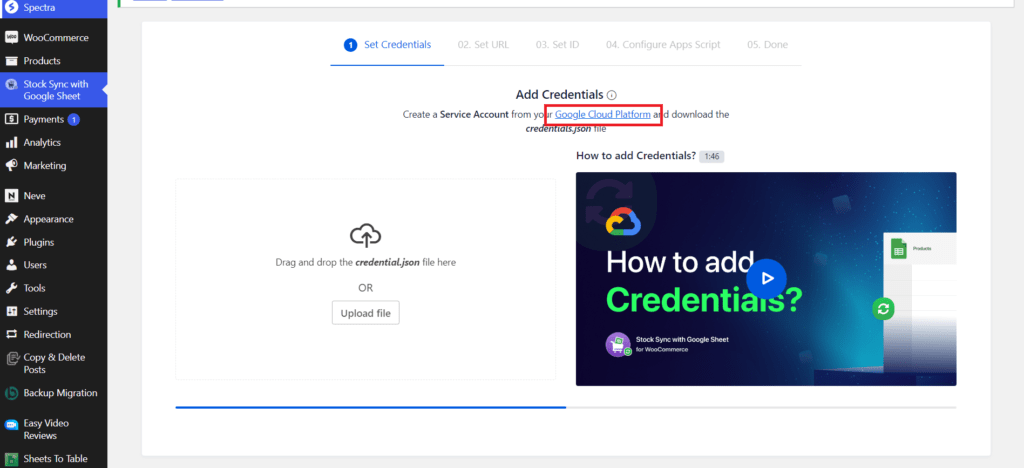
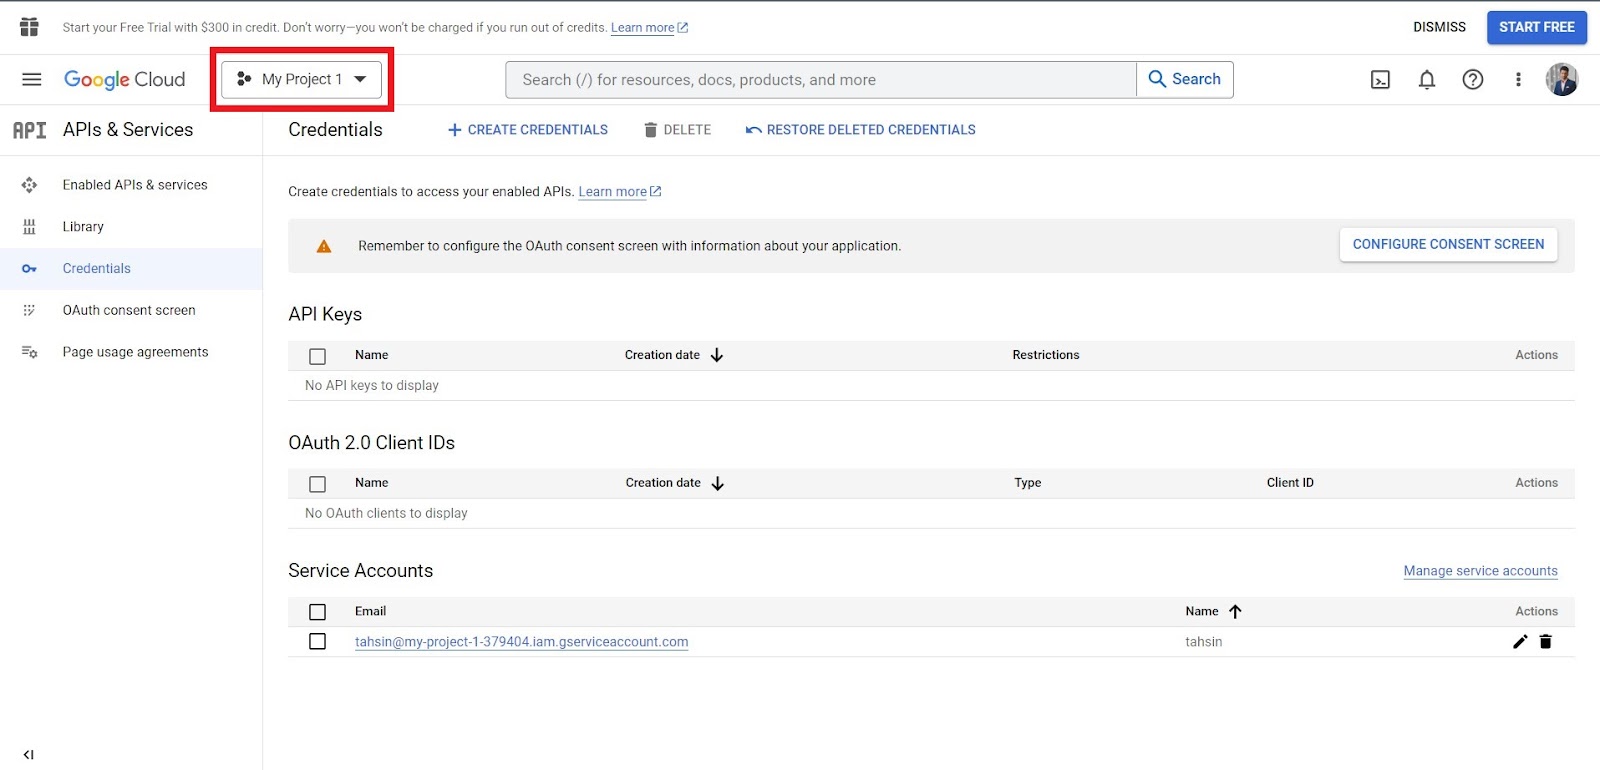
There, click on “Google Cloud Platform” to create a service account.
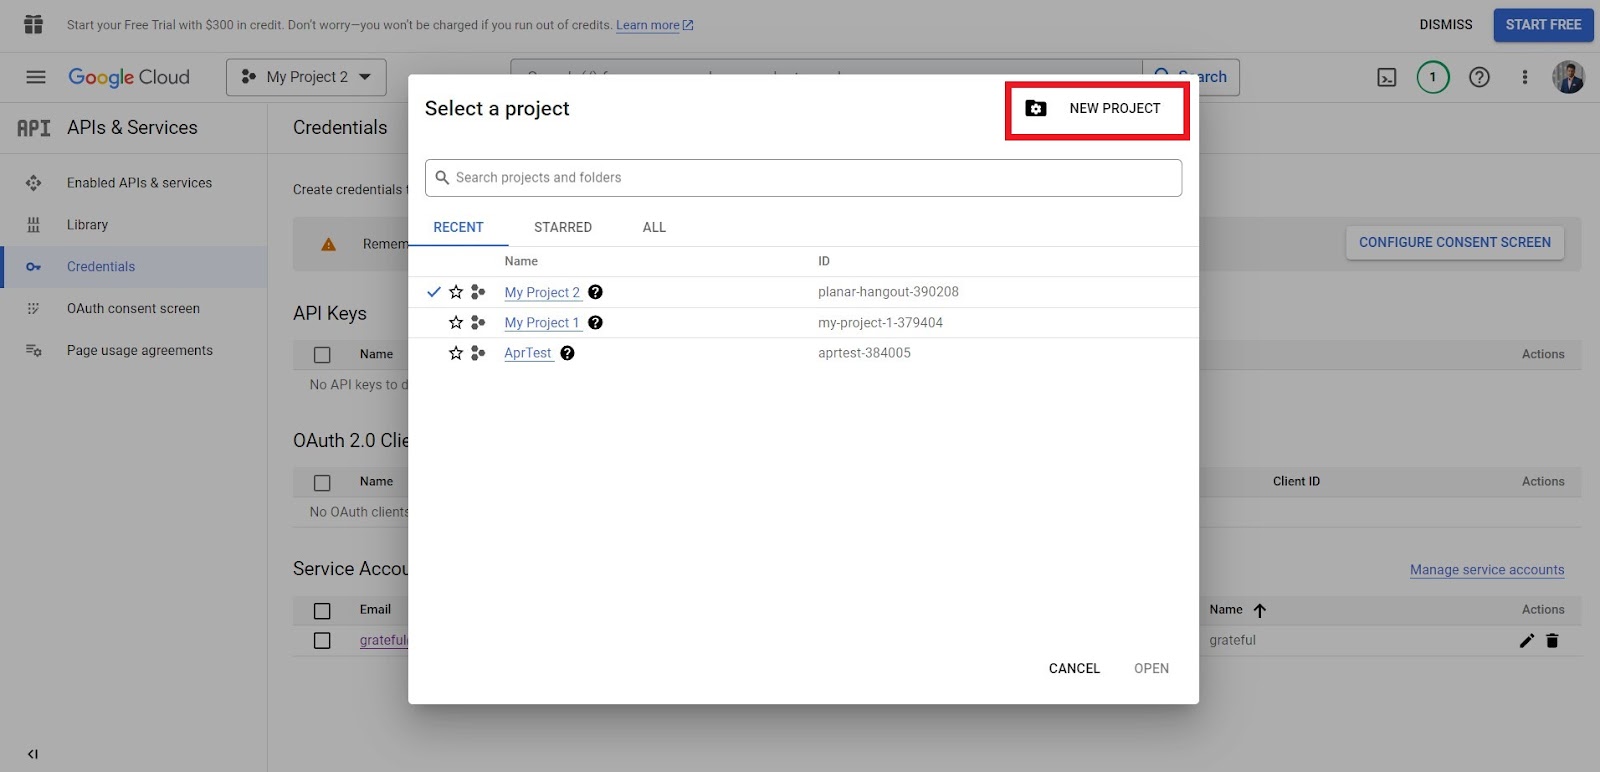
Now, you need to create a new project from the option shown below and you can skip this step if you’ve already created one.
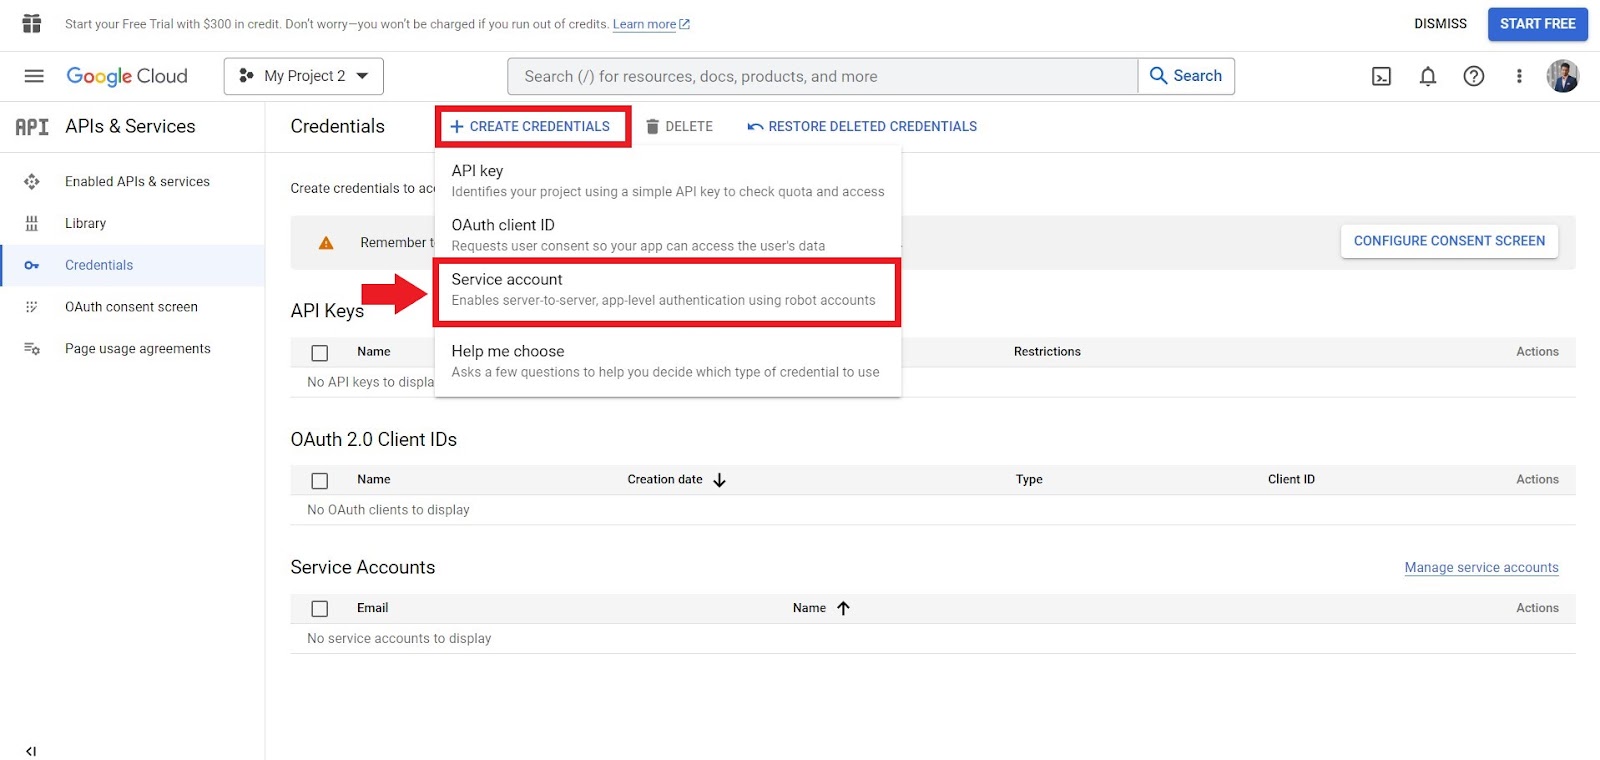
Next, click on the Service account under the Create Credentials button.
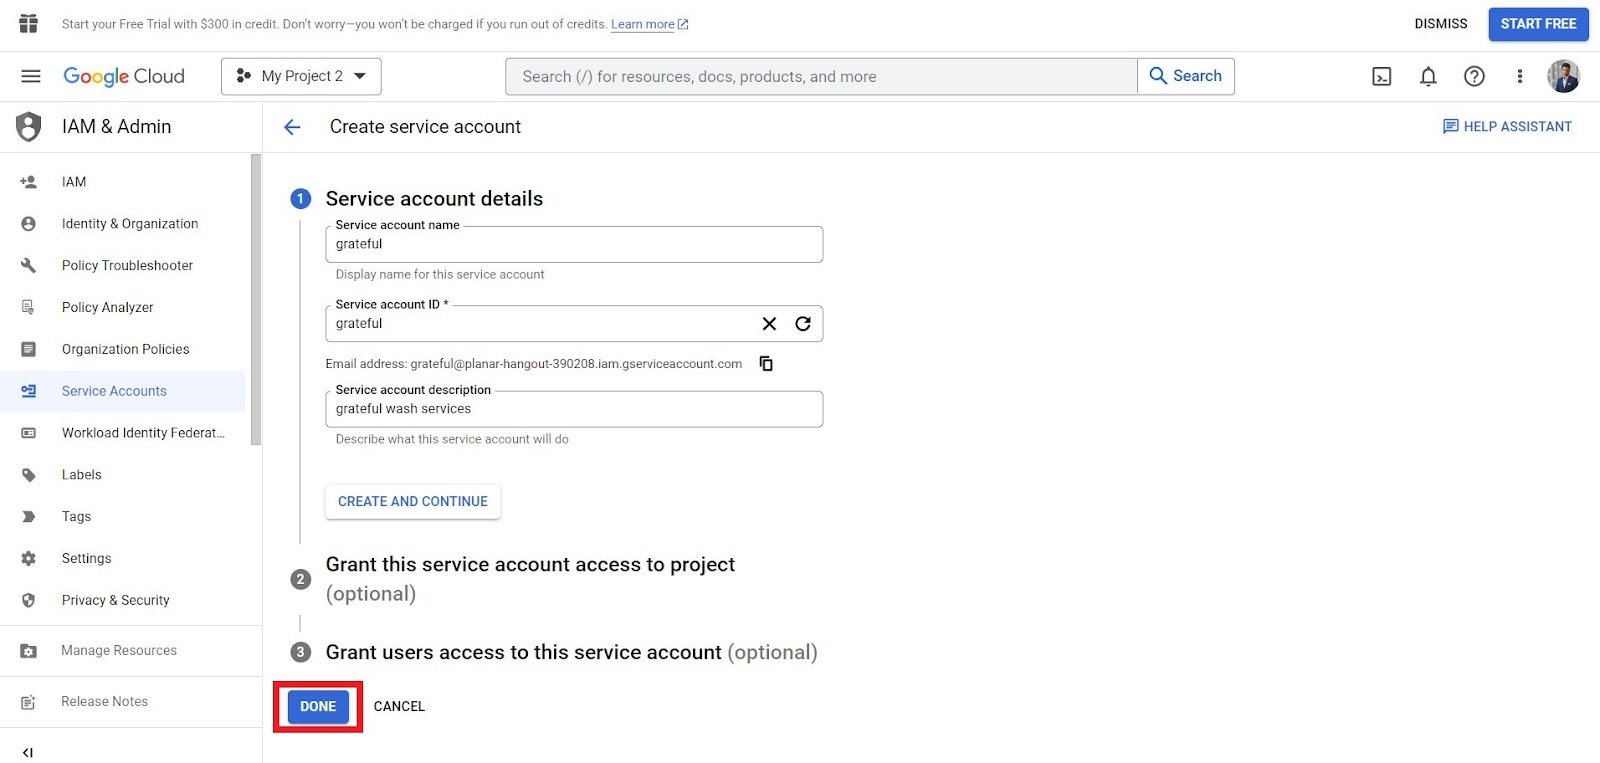
Here, set your account information by clicking on the Continue button and then finish with the Done button.
Now click on the service account you created.
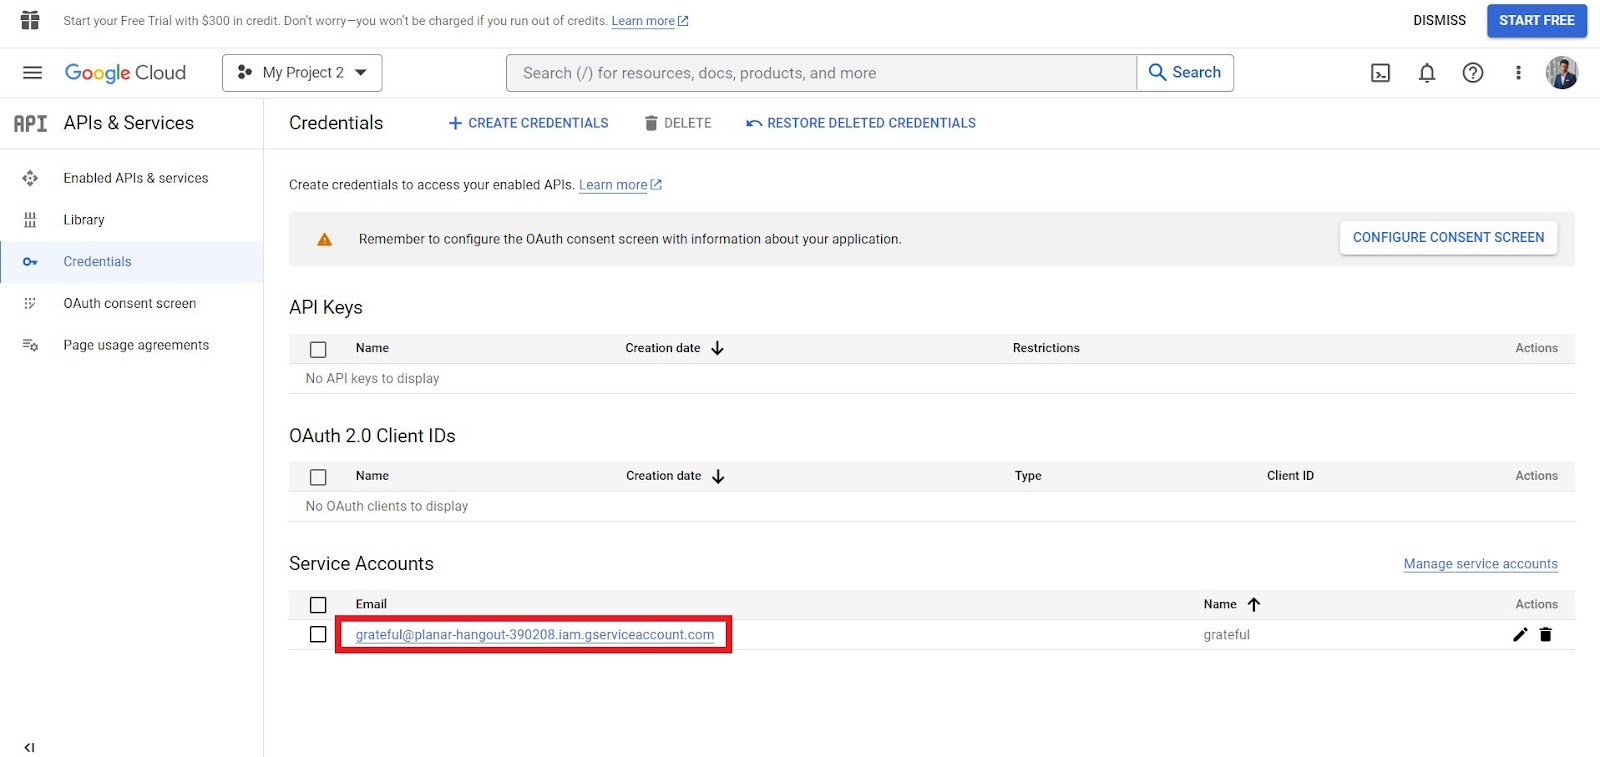
Then go to the KEYS tab to click on the ADD KEY.

Next, click on ‘Create new key‘.

Now, set the key type to JSON and click on “CREATE”.
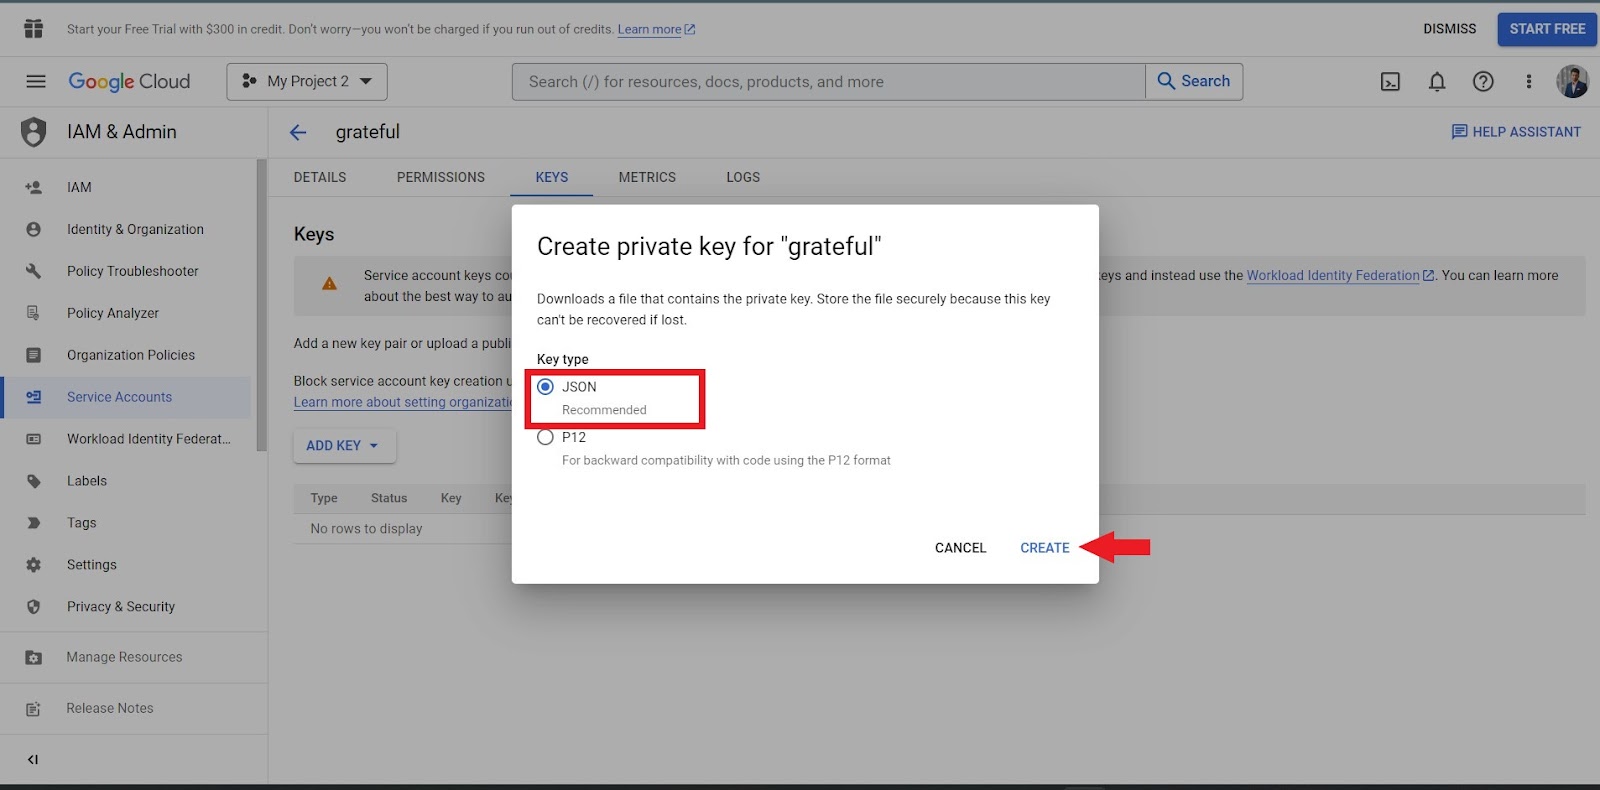
Upon clicking, the credentials will be downloaded to your PC.
Now go to your plugin section and upload the JSON file

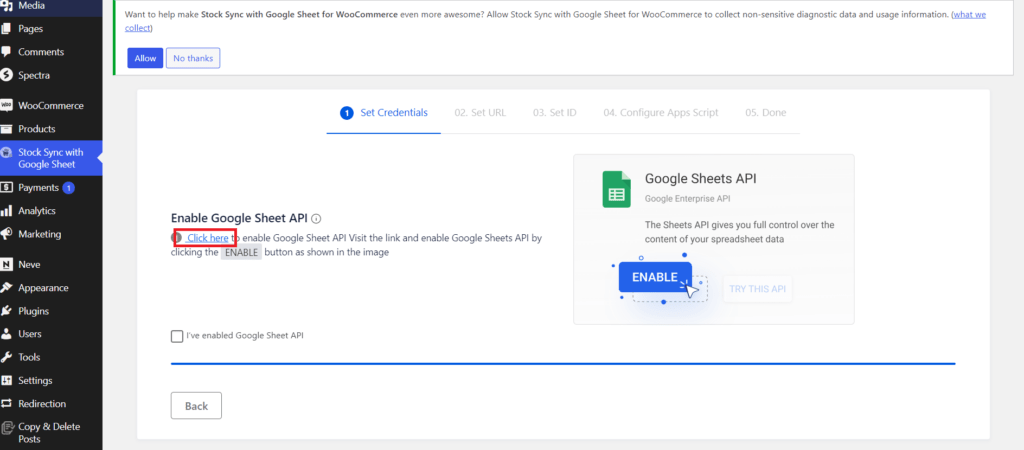
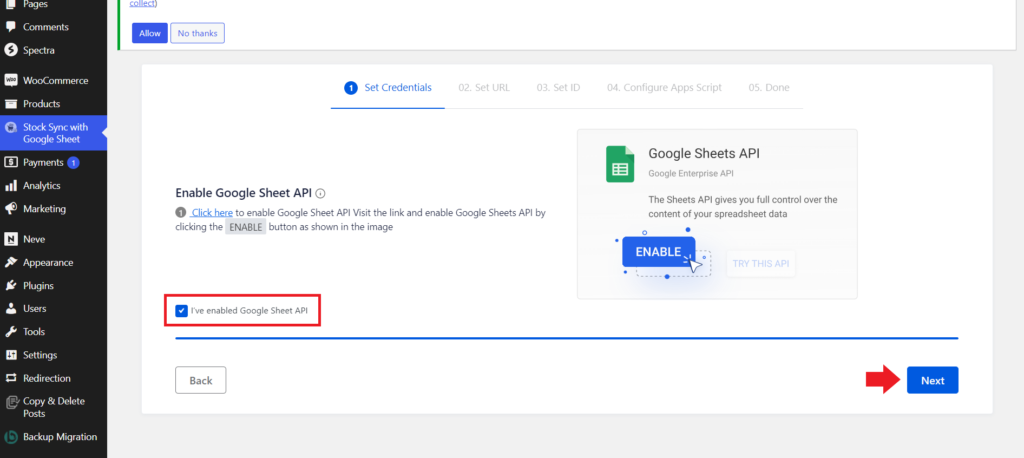
Then click on the link that says click here so that you can enable the API for Google Sheets.
Enable the Google Sheets API
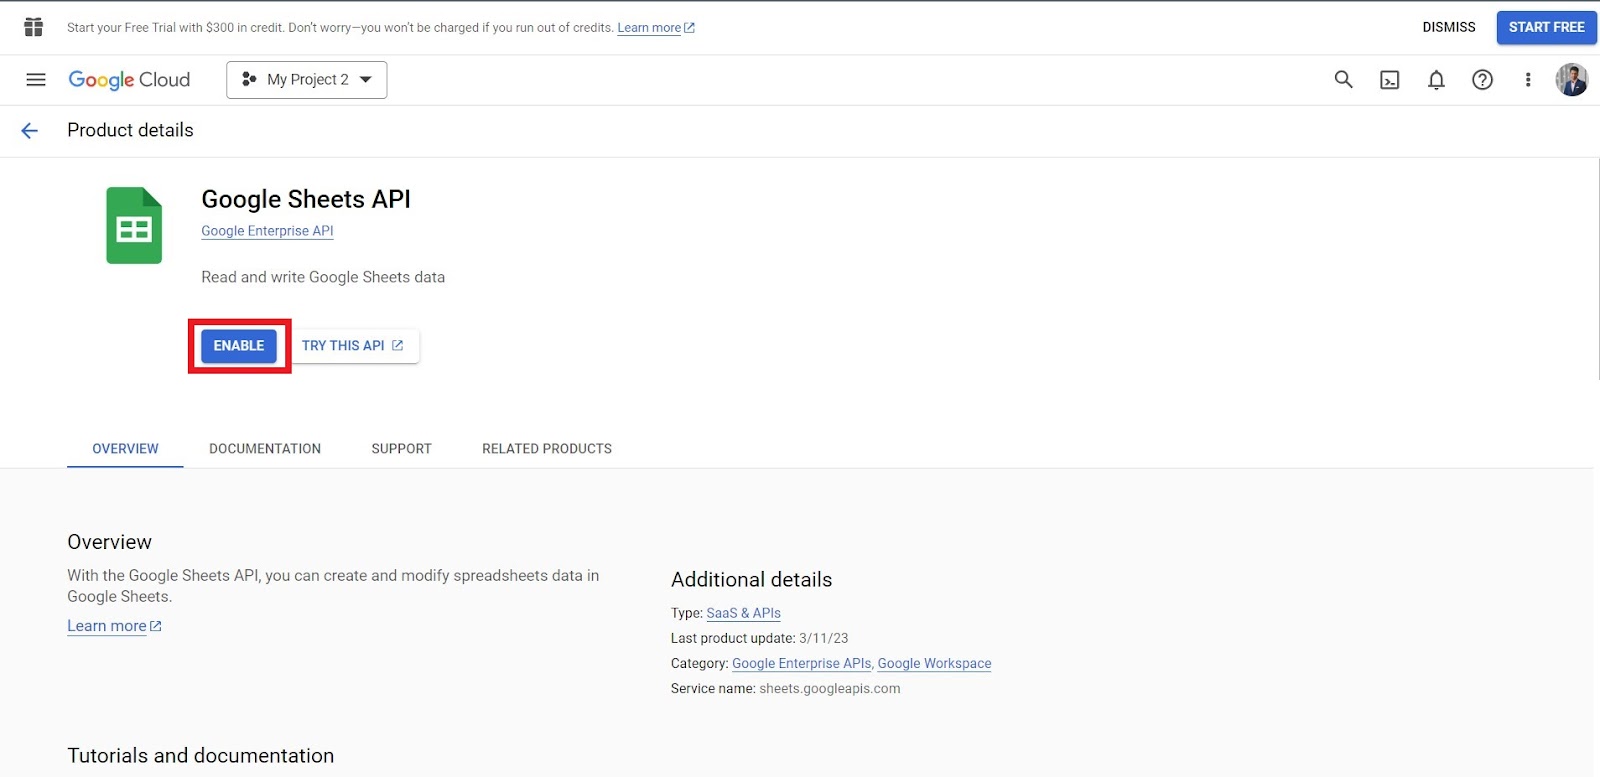
Now go back to the plugin, check the box to confirm that you have enabled the Google Sheets API and hit next.
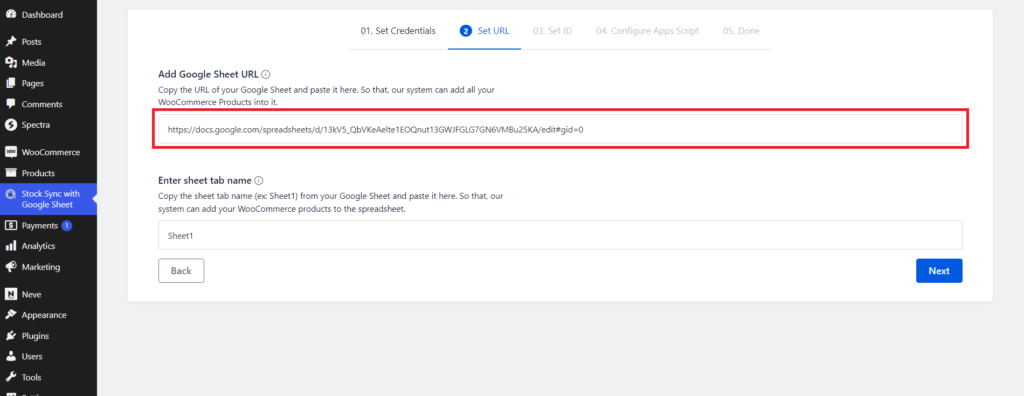
Add Google Sheets URL & Sheet Tab Name #
To add Google Sheets to the plugin, create a new spreadsheet, set a title, and copy the URL of the spreadsheet.

Paste the sheet URL in the URL field of the plugin.
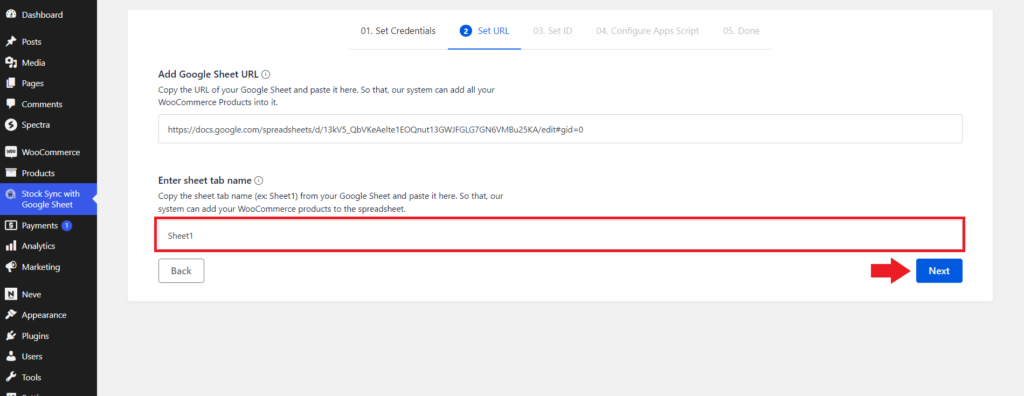
Also, copy the sheet tab and paste the tab name. Finally, click on “next”
Add Editor Access to The Plugin #
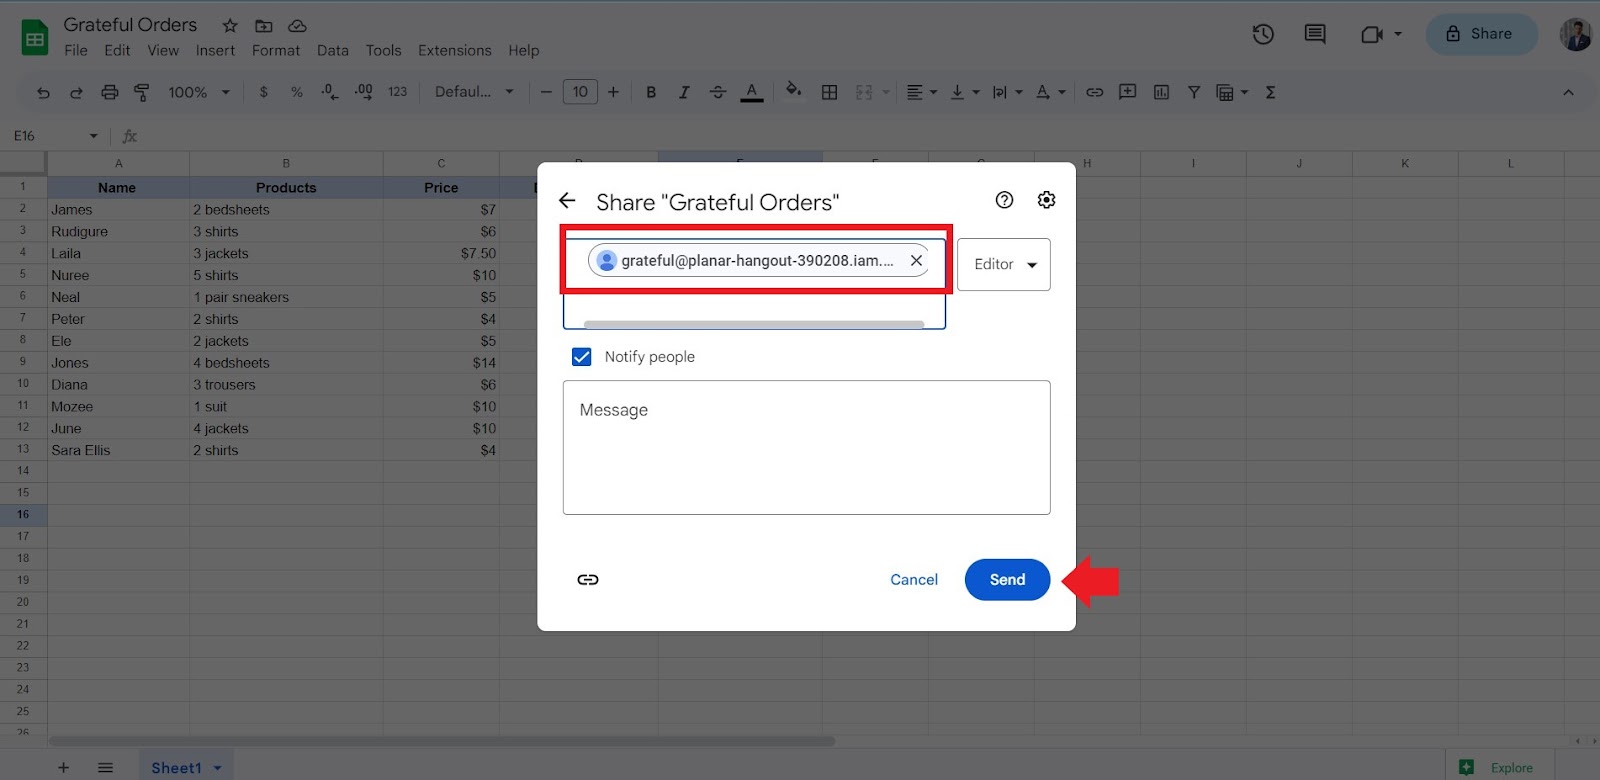
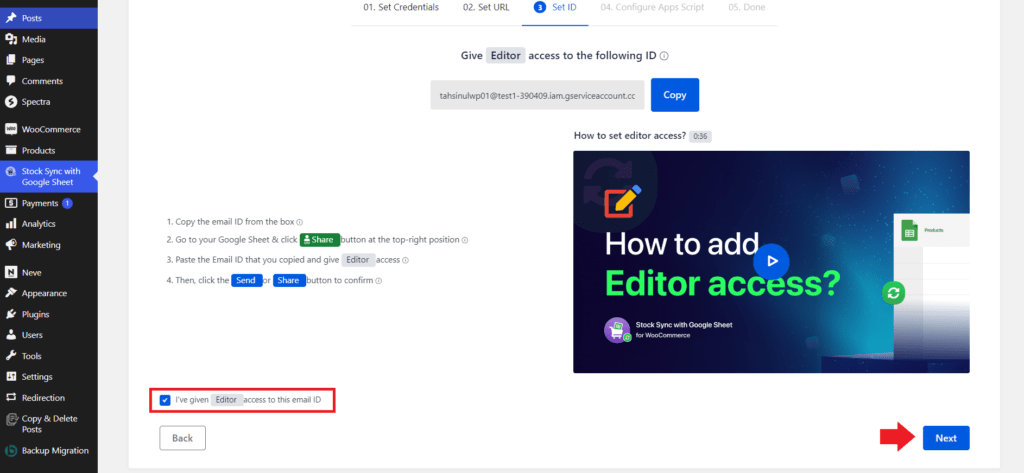
In the next step, copy the provided ID to share editor access to this ID from your Google spreadsheet.
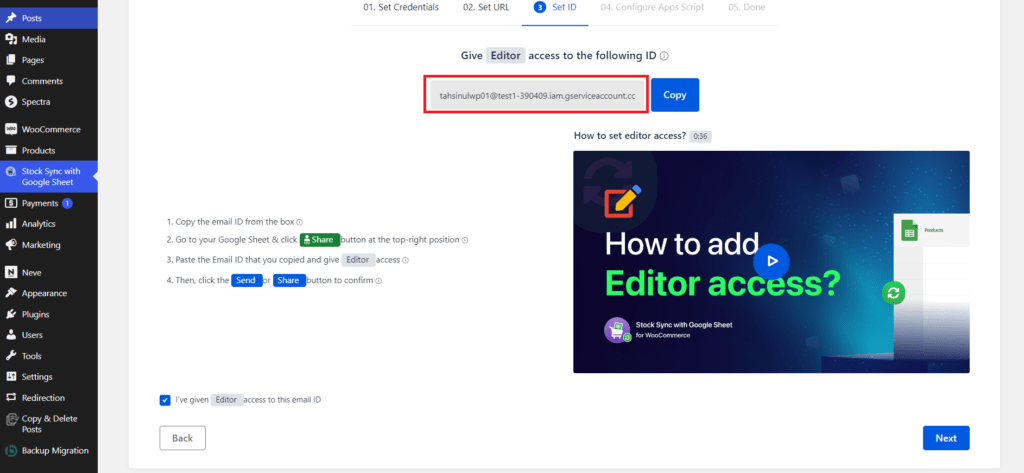
Share the editor access of the spreadsheet to the ID.
Now, go back to your plugin and confirm that you’ve provided the editor access.
Add Script Code on Editor #
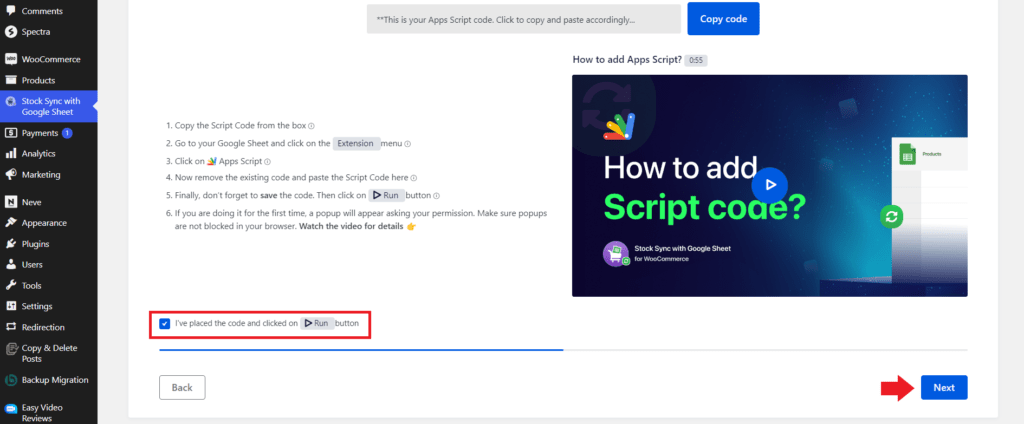
In this step, copy the Apps Script code.
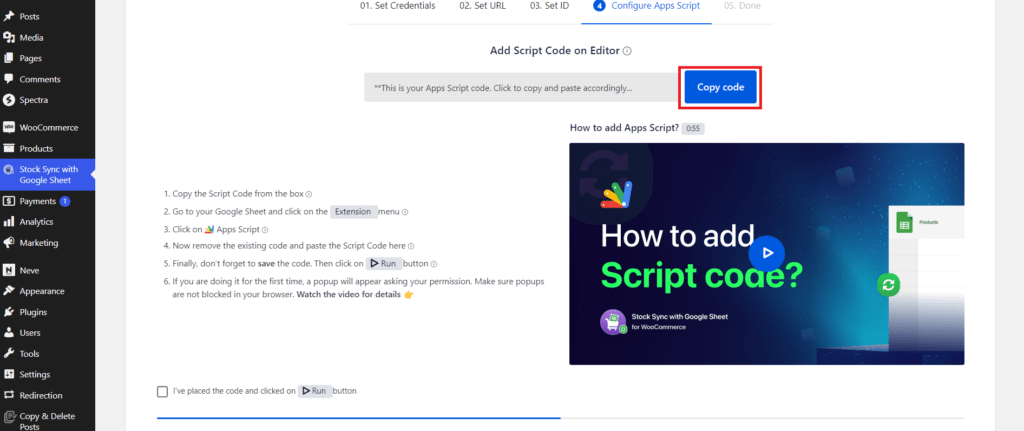
Then go to “App Script” under the extensions menu of the Google Sheet you created.
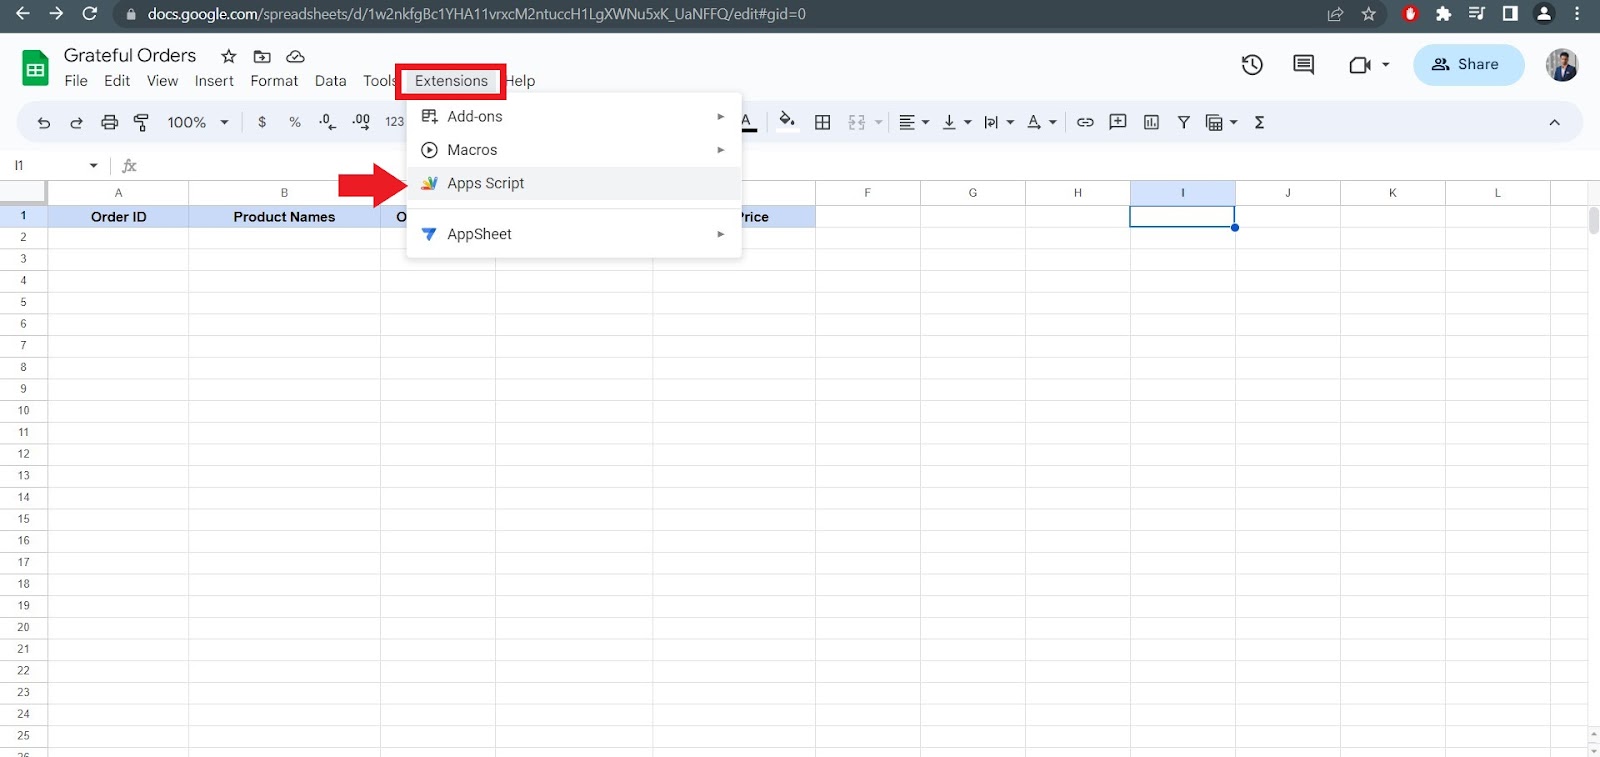
Remove the existing code and paste the code you just copied and hit save and then the “Run” button.

Now, give permission by setting your email.
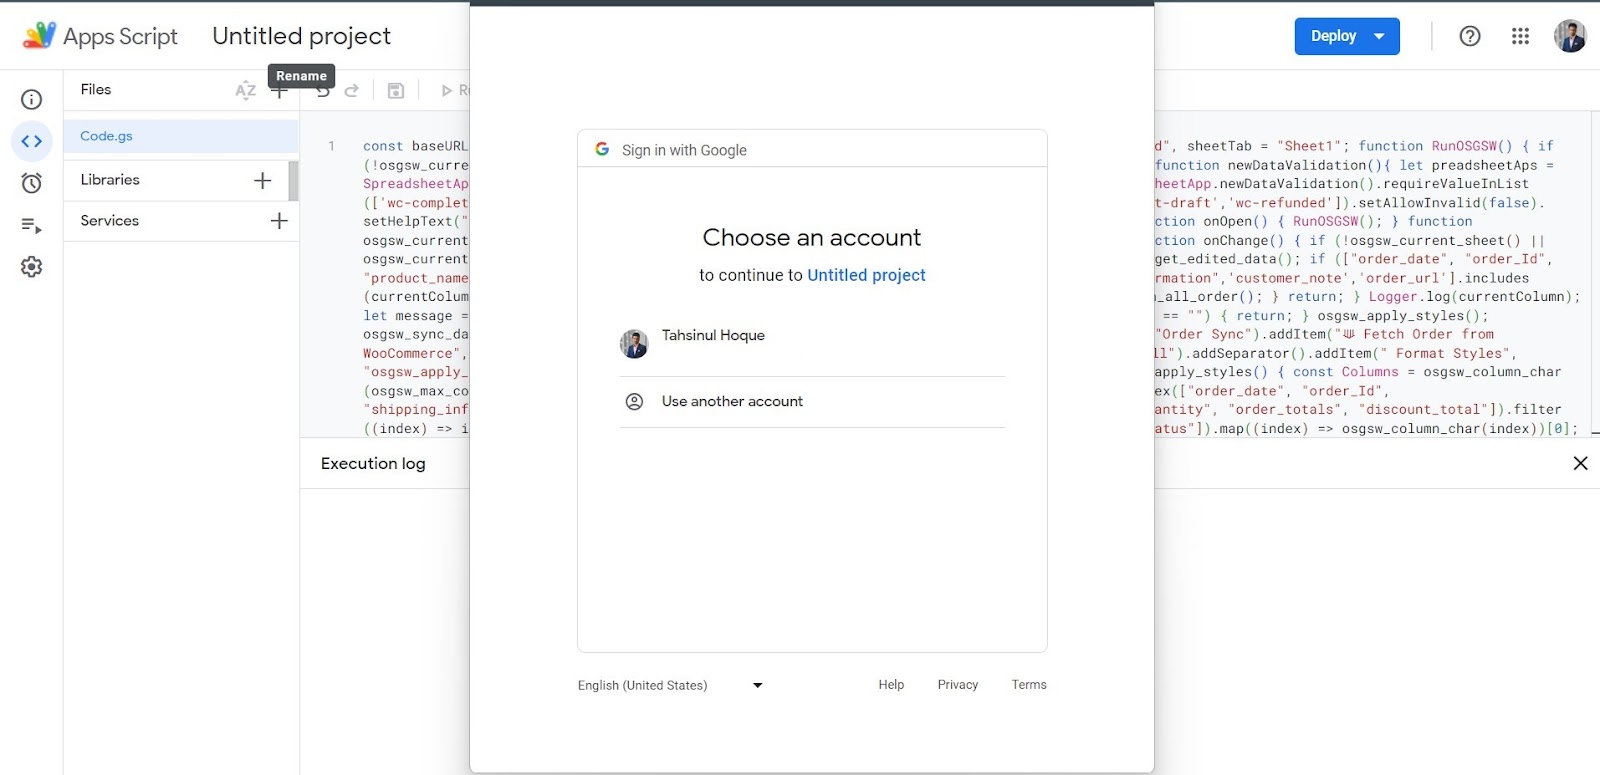
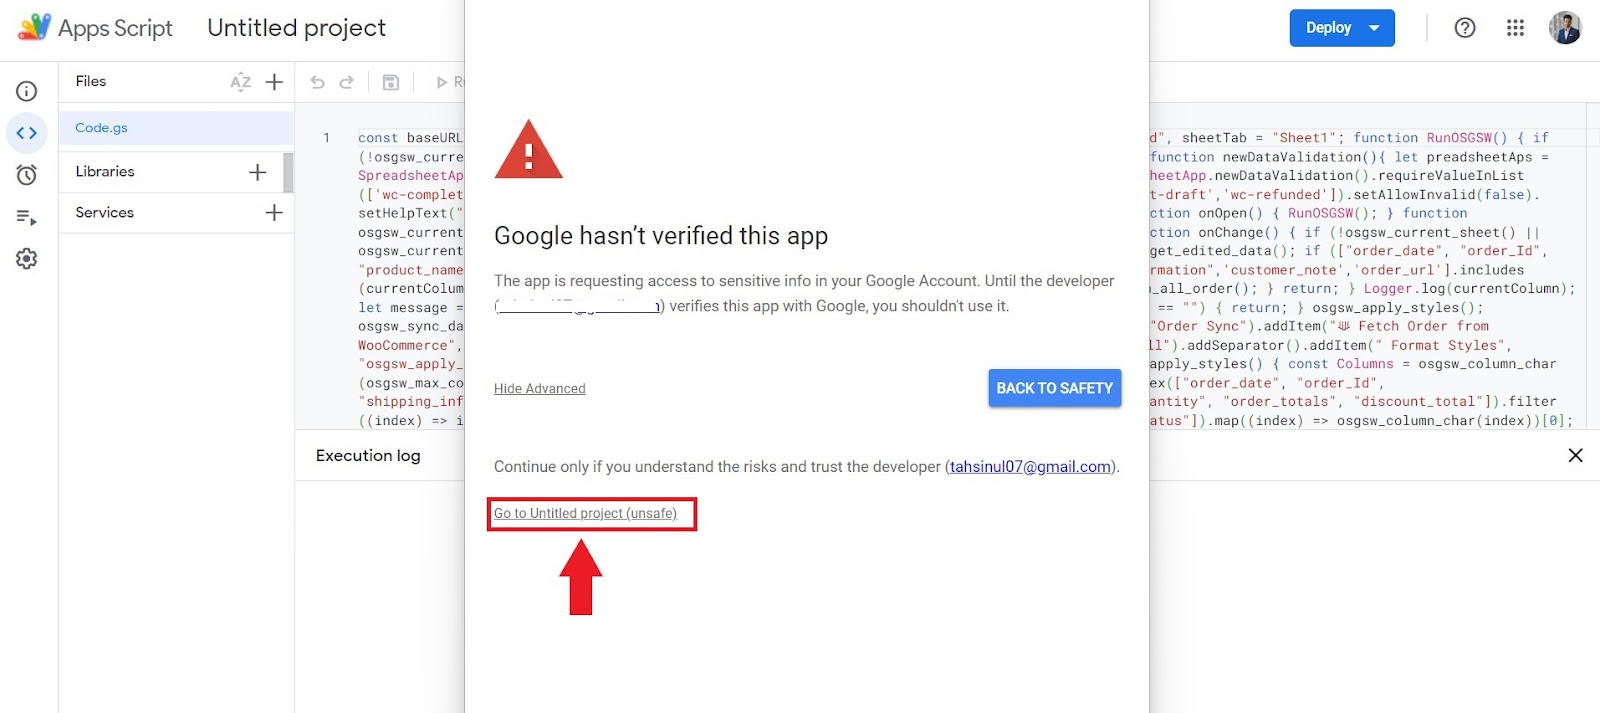
Click on Advanced and click on Go to the untitled project.

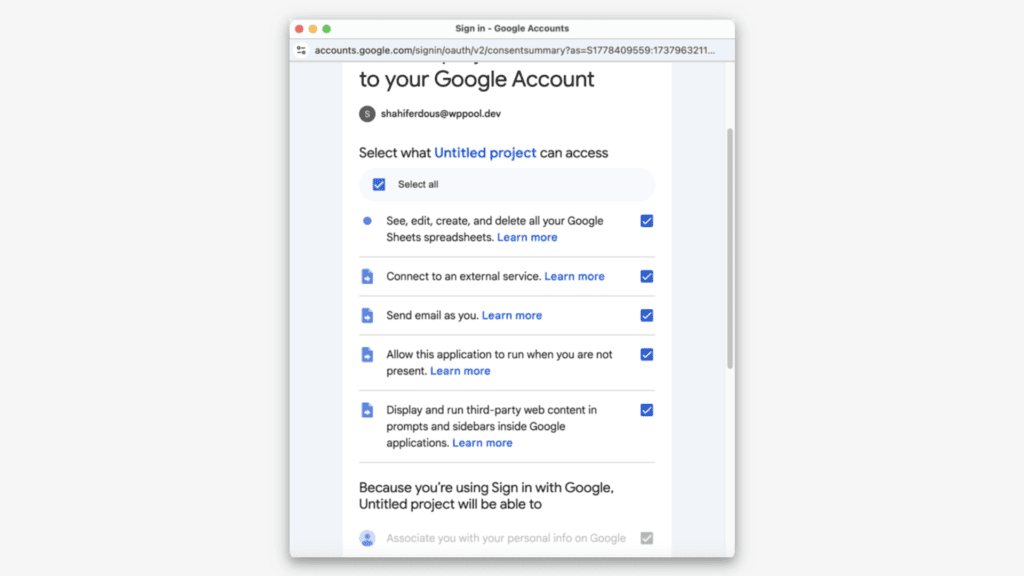
Then, allow Google to access your account.
Learn more about providing access
Now go back to your plugin and confirm that you have added the code script.
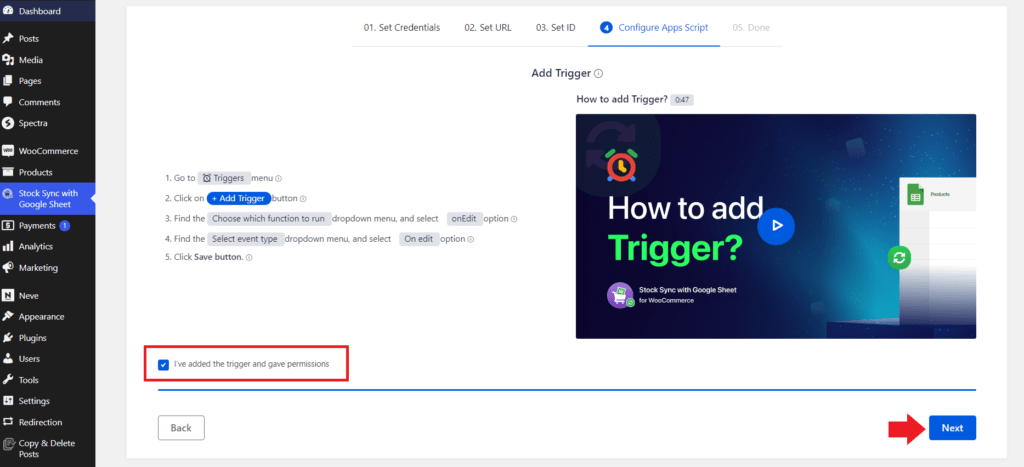
Add The Triggers #
To set the trigger, go to the app script, and under trigger click on “add trigger”.

Now, Set the function to “onEdit” and then set the event type to “onEdit” and hit save.
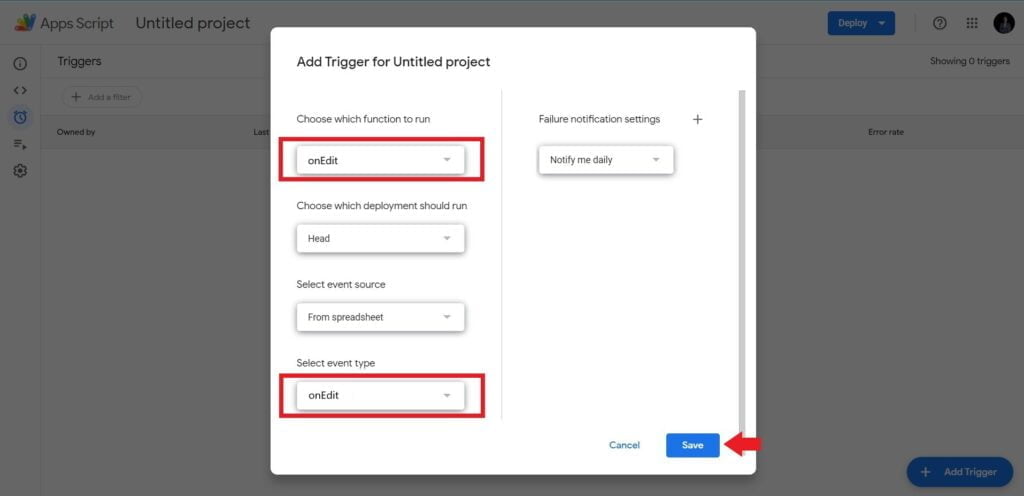
Go back to your plugin and confirm the trigger and the permission and hit next.
Complete The Setup #
Finally, click on “Sync with Google Sheet” to complete the setup.

And your WooCommerce orders will be synced on Google Sheets.


