Table of Contents
Before using the AI features of FlexTable, you must connect your AI provider.
4 Steps to Connect: #
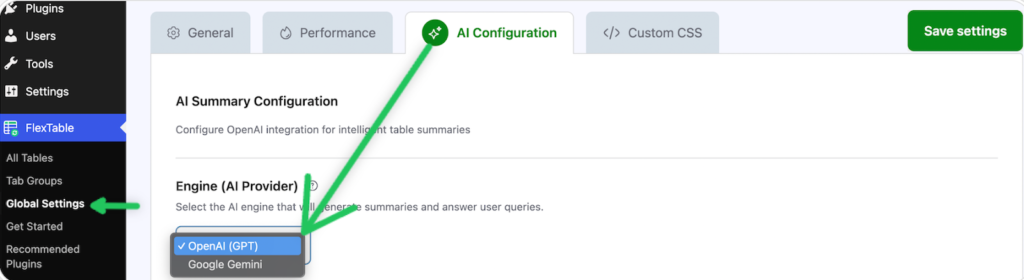
1. Navigate to FlexTable → Open Global Settings → AI Configuration #
2. Select AI Engine: Choose your preferred AI provider: #
- ChatGPT (OpenAI)
- Gemini (Google AI)
3. Configure API Key #
- Obtain your API key from your provider dashboard.
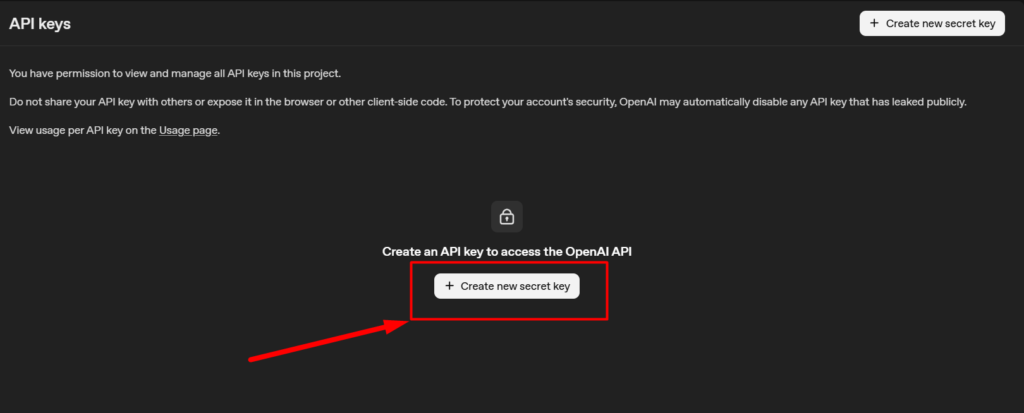
For ChatGPT: https://platform.openai.com/account/api-keys #
- Click on “Create new secret key.“
- Give your secret key a name
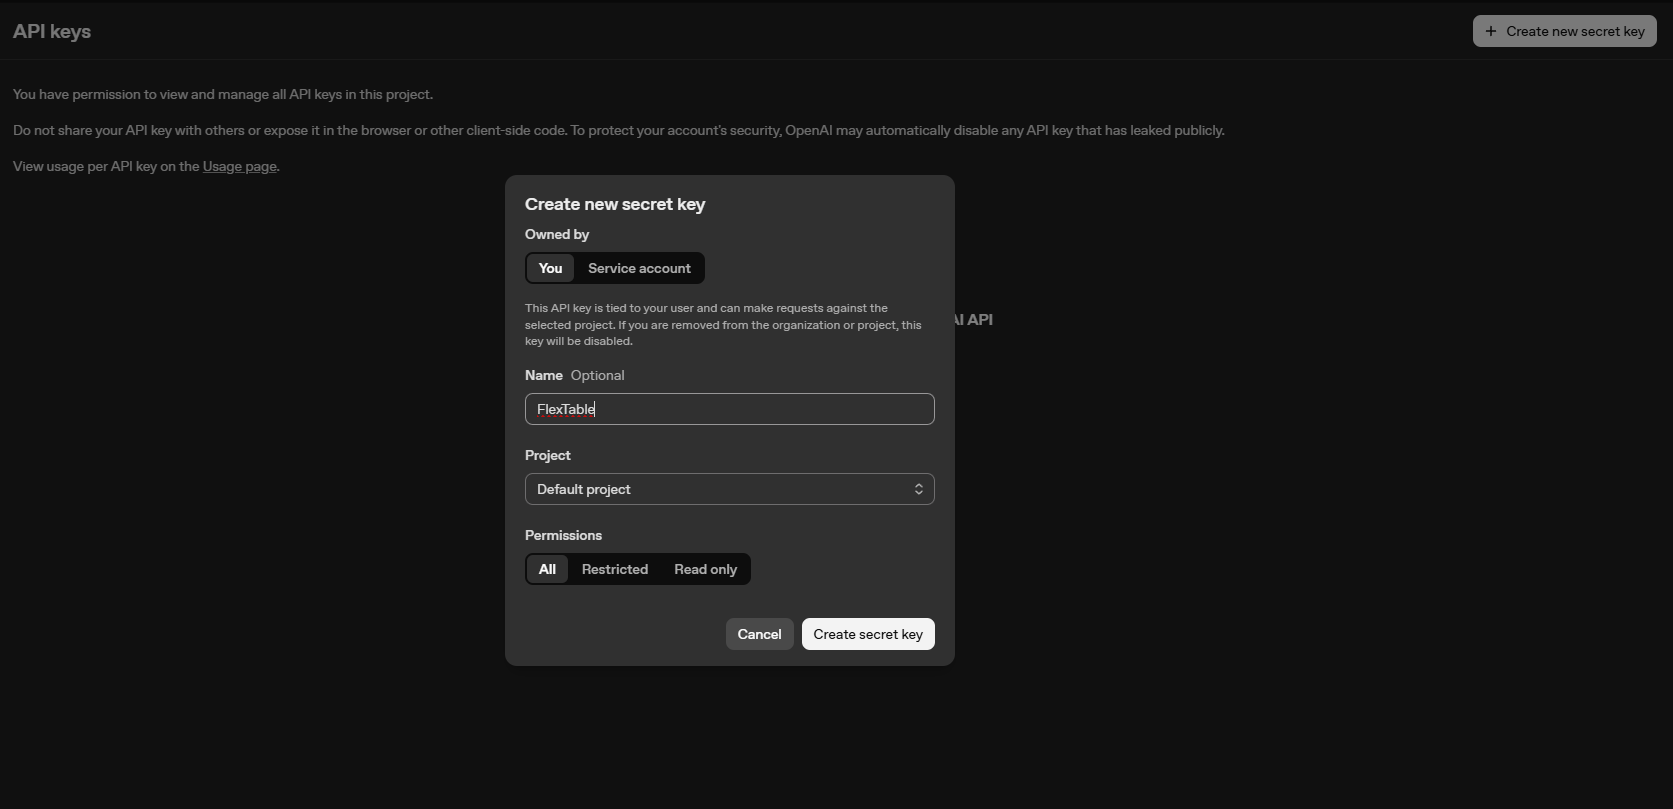
- Click “Create secret key.”
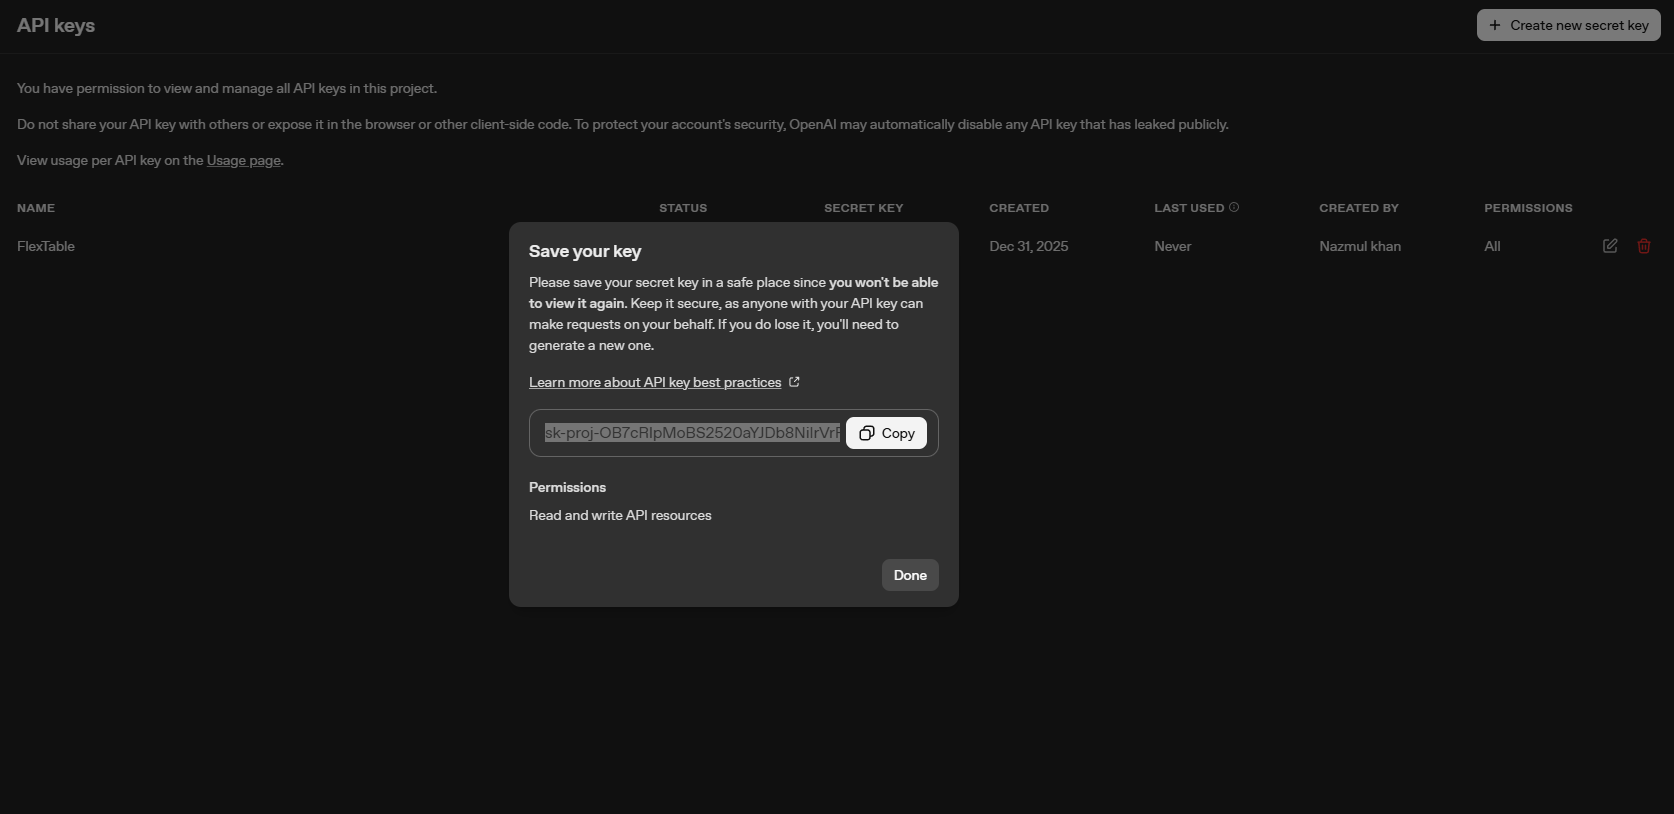
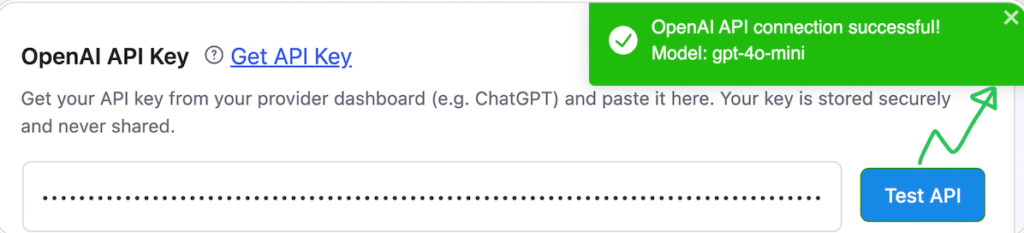
- Copy the key and paste your key in the OpenAI API Key field. Your API key is stored securely and never shared.
- Click the ‘Test API’ button to check the connection. If the connection is successful, a success pop-up will appear.
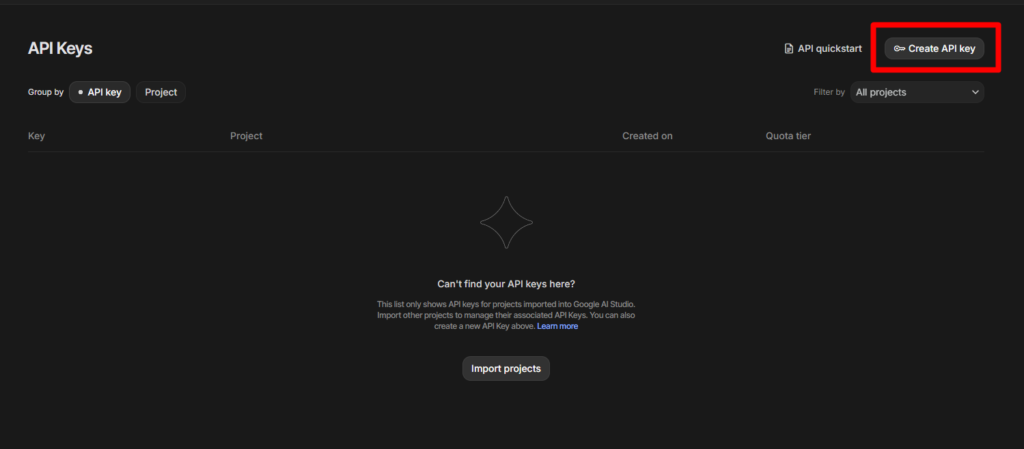
For Gemini: https://aistudio.google.com/api-keys #
Select the “Create API Key” option.
- Give your API Key a name
- Choose an existing project from the dropdown, or create a new project if you don’t have one
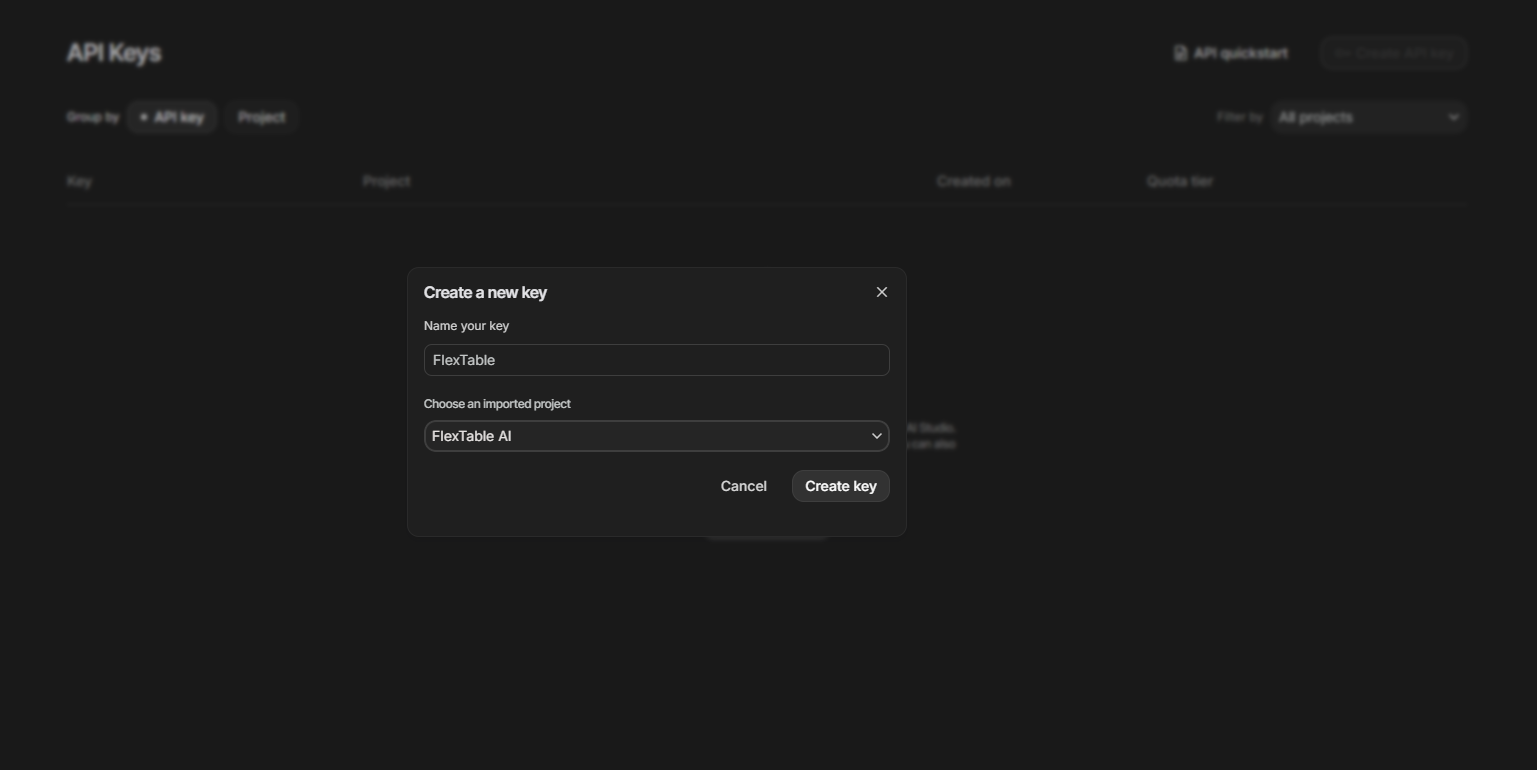
- Click on Create Key to generate your API Key
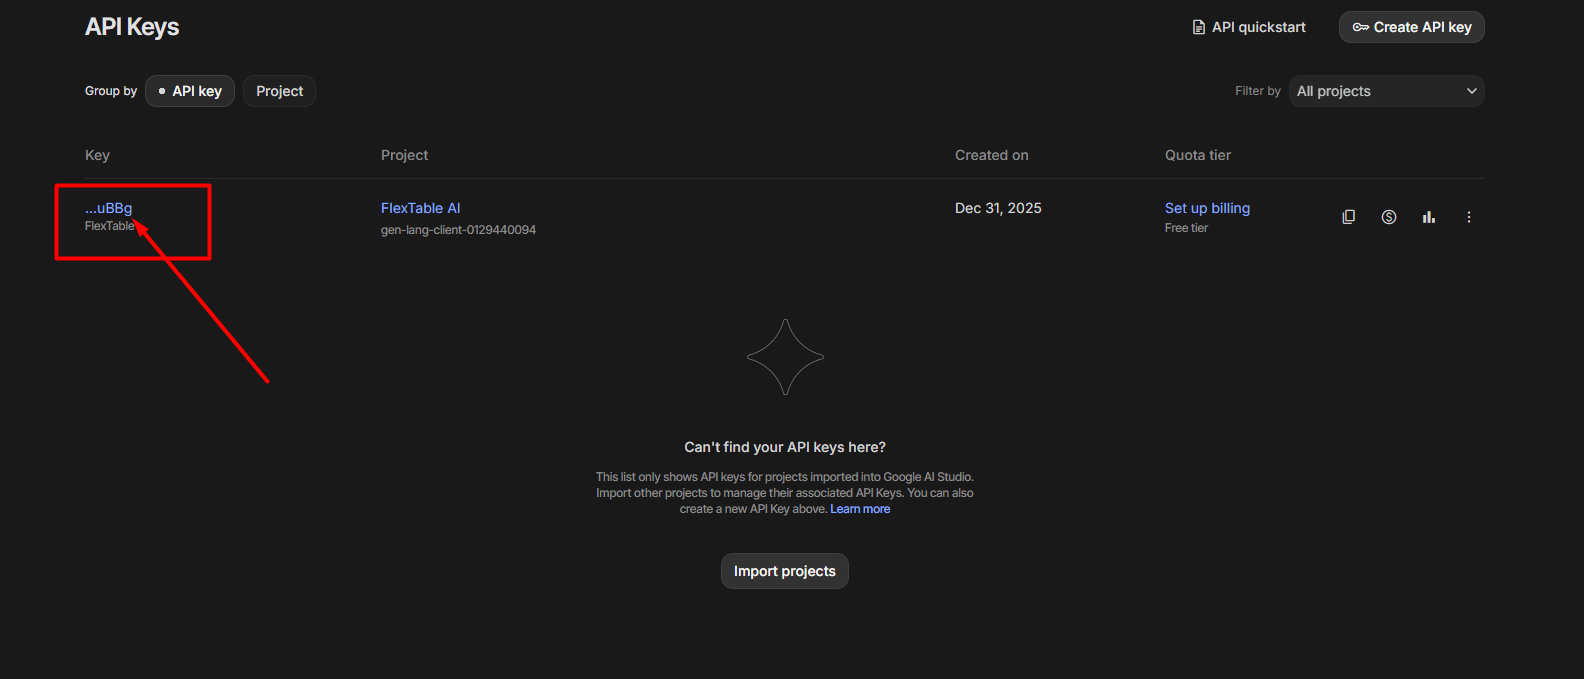
- Finally, copy your API Key by clicking the Copy API Key button
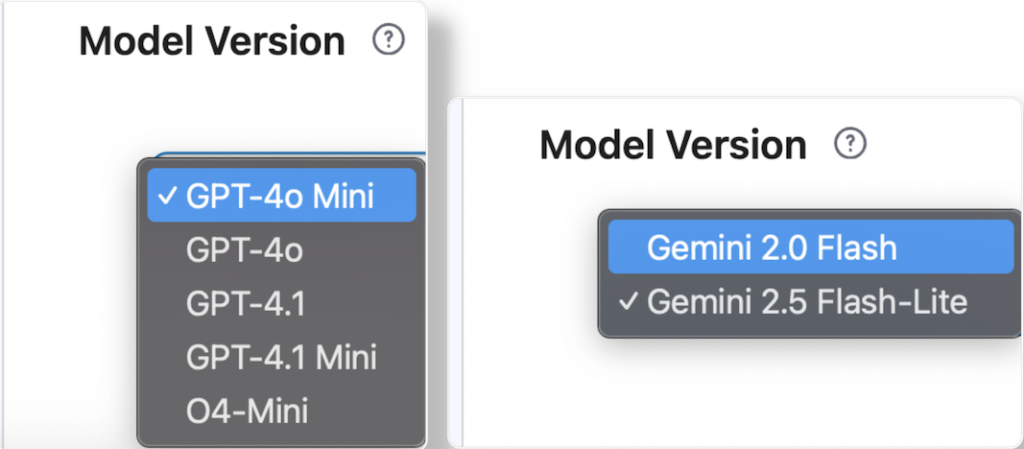
4. Select Model Version #
- Choose the AI model version your provider supports (e.g., GPT-4-turbo, Gemini 1.5 Pro).
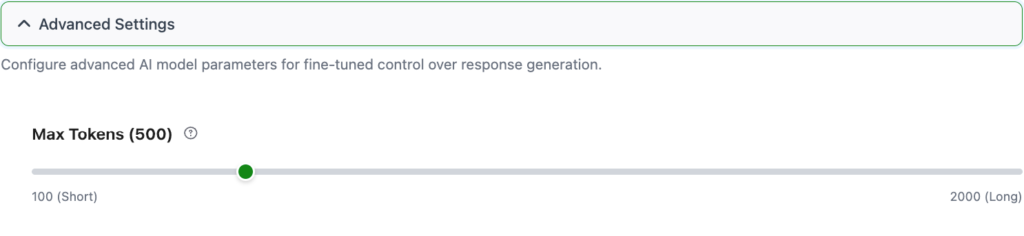
- Configure Advanced Settings (Optional)
- Max Tokens (default: 800) – Sets the maximum summary length.
- Creativity (default: 0.3) – Controls randomness in responses.
- Lower = more precise.
- Higher = more creative.
- Lower = more precise.
- Frequency Penalty (default: 0.3) – Reduces repetitive text in summaries.
- Max Tokens (default: 800) – Sets the maximum summary length.
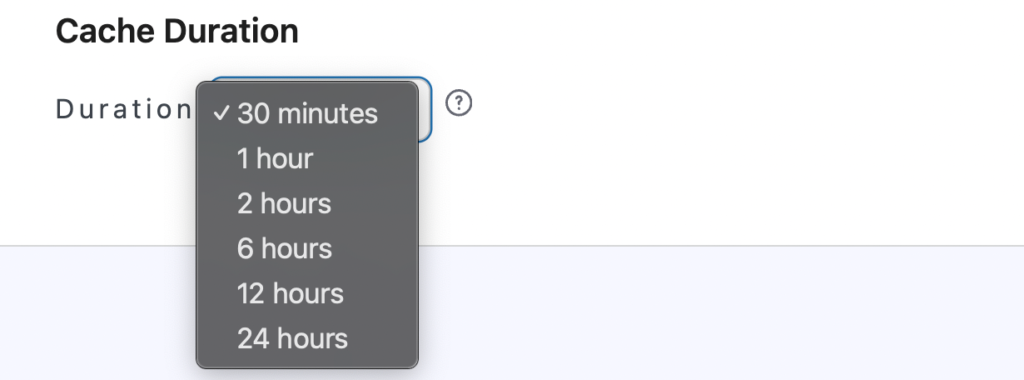
- Cache Duration (default: 30 Minutes): Determines how long AI summaries are cached before refreshing.
AI is now fully configured and ready.


Add your first comment to this post