Table of Contents
Note: This is an Ultimate feature.
Step 1 – Open Your Connected Google Sheet #
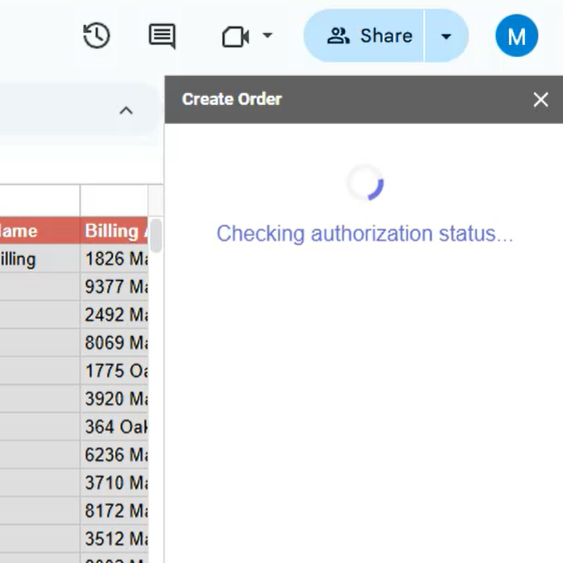
Click on the “Order Create” menu option. This will:

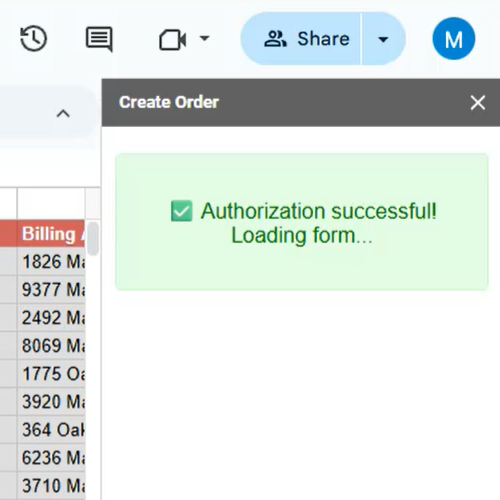
- Trigger authentication for your connected WooCommerce store.
- If authentication is successful, a sidebar will appear with the order creation form
- If you face authentication issues (e.g. nothing loads, shows error, or remains stuck), try the following:
- Log out of all Google accounts except the one with access to the Sheet.
- Clear browser cache or try Incognito Mode.
- Reconnect the plugin following the steps in the video linked below.
Note: If you face authentication issues, please follow the steps in the video below:
Step 2 – Fill Out the Order Details Form #
Once the sidebar opens, you’ll see a form similar to WooCommerce’s native order creation screen.
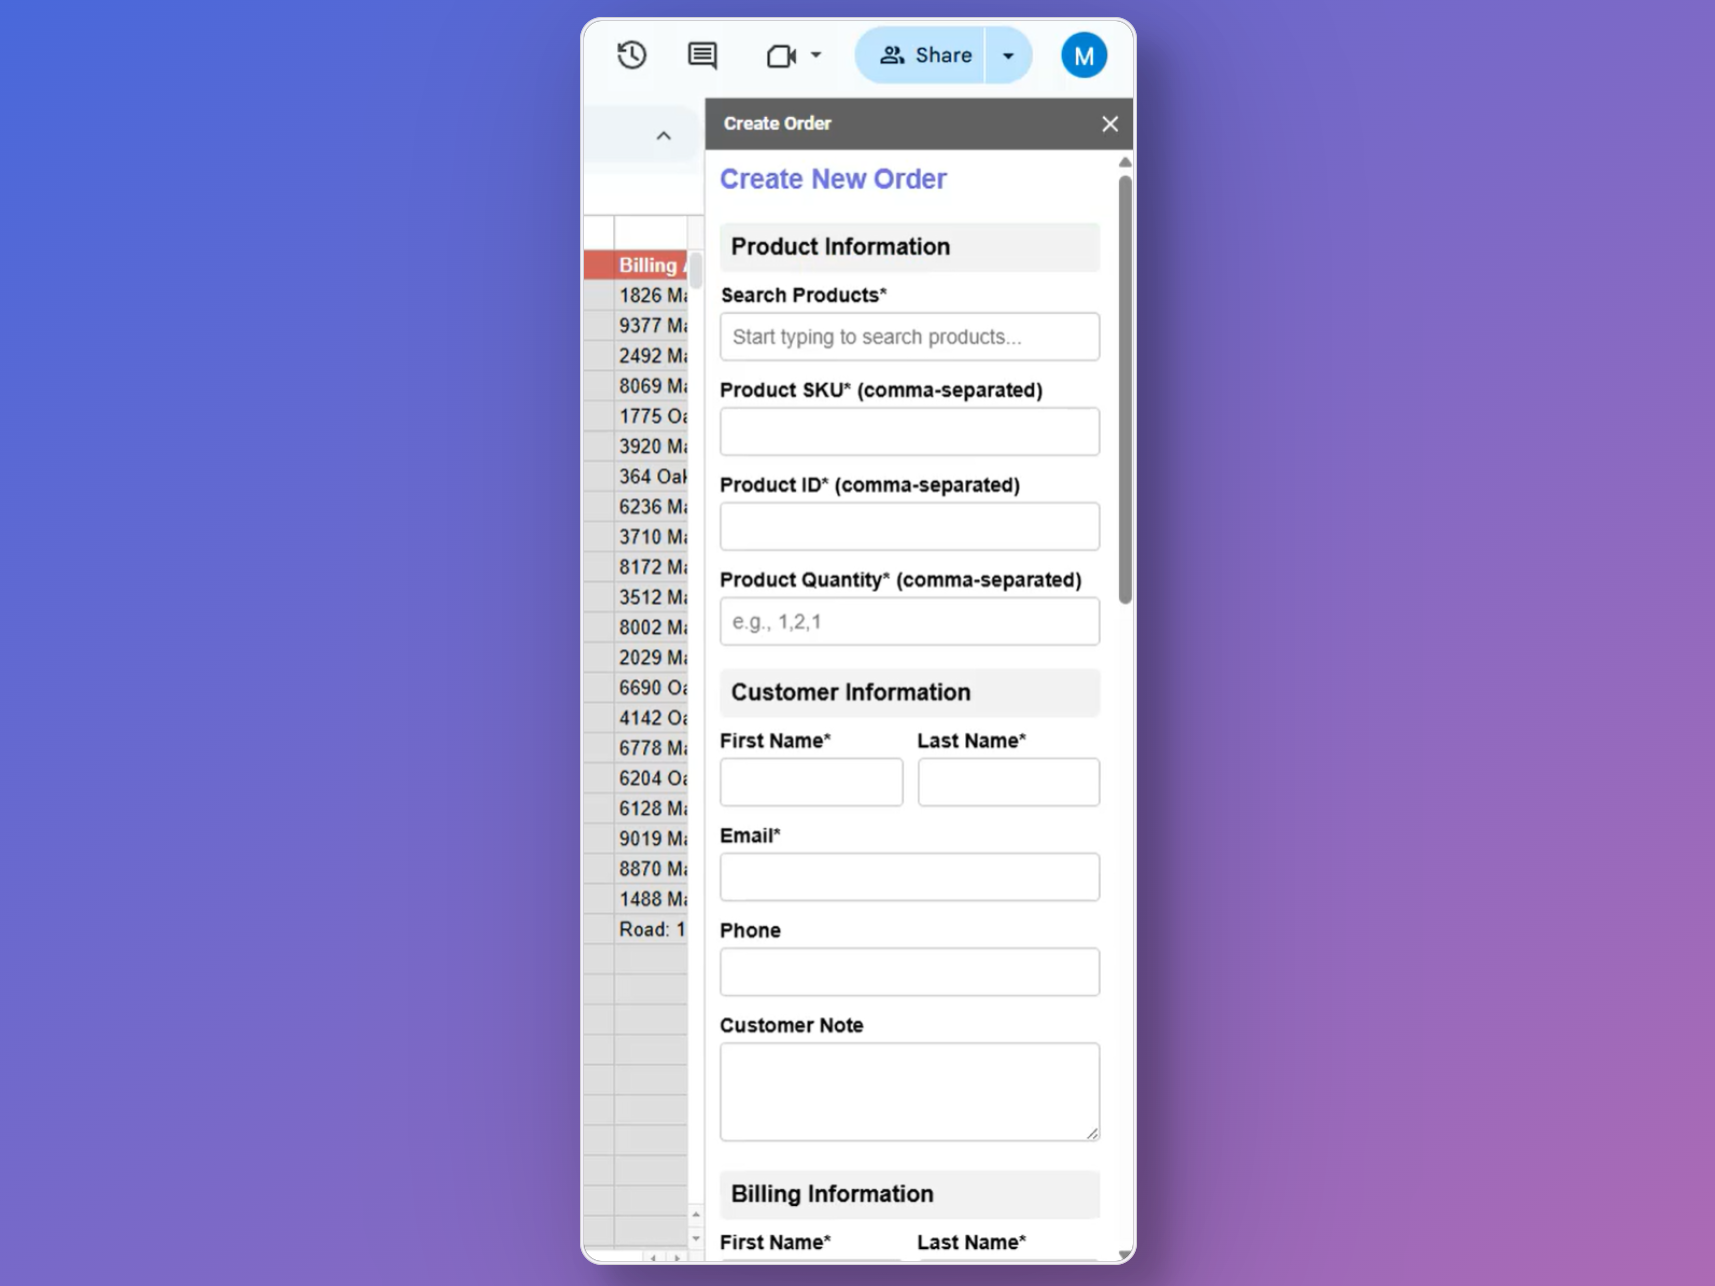
Required Fields:
- Customer Details: Name, email, phone (used for billing & shipping)
- Billing & Shipping Address: All key fields supported including address, city, postcode, country
- Search Product Field: Start typing to search for products in your store. It uses smart search and displays matching results instantly.
🛑 Note: The product SKU, product ID fields can’t be edited. It will be populated automatically based on the selected product in the search product field.
🛑 Note: You can add multiple products. The sequence of selection matters, or the quantity may get altered.
🔁 How Product Selection & Quantity Works #
When adding products, keep the following in mind:
- ✅ SKU and Product ID are automatically filled based on your selected products. These fields cannot be edited manually.
- ⚠️ Quantity fields must follow the product selection order.
- Example:
- Selected Products: T-shirt, Shoe, Watch
- Entered Quantities: 2, 5, 7
- This will create: 2 T-shirts, 5 Shoes, and 7 Watches.
- If you enter quantities out of order, the product-quantity pairing may mismatch.
- Example:
To avoid confusion:
- Always double-check the product sequence.
- Keep quantity inputs in the same order as product selection.
💳 Payment Method Selection #
- Available WooCommerce payment methods (e.g., Direct Bank Transfer, Cash on Delivery) are fetched dynamically.
- Select any valid method from the dropdown. These are pulled from your WooCommerce payment settings.
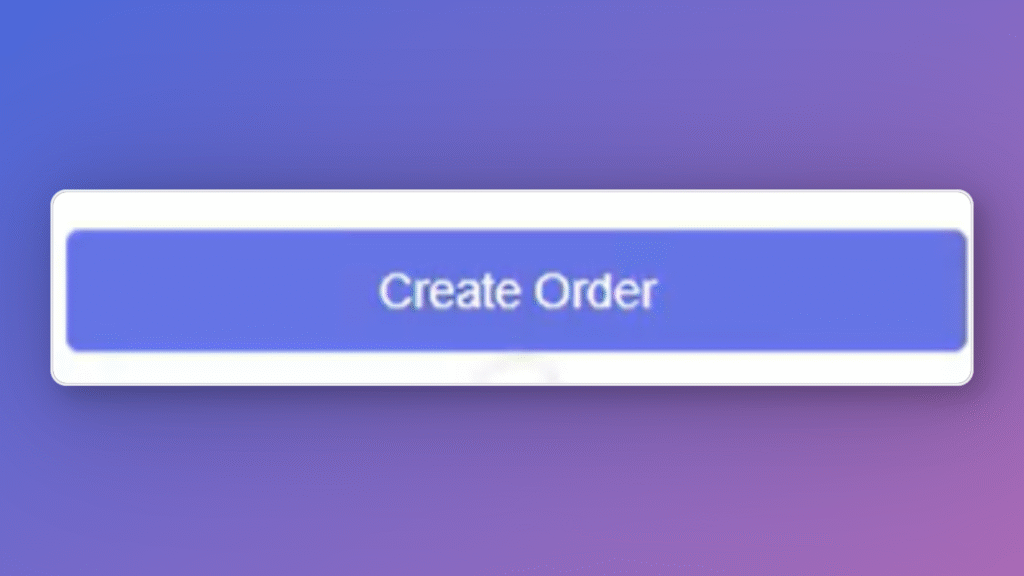
Step 3 – Click “Create Order” #
Once all fields are filled:
- Click the “Create Order” button at the bottom.
- The system will validate your input and send the order data to WooCommerce.
- On success, the form will reset, and the new order will appear:
- In your WooCommerce Orders dashboard
- In your connected Google Sheet (including order ID, status, and synced fields)
Final Tips #
- Orders are created under guest checkout unless customer email already exists in WooCommerce.
- You can revisit and update the order via your standard WooCommerce interface.
- This feature works seamlessly with your existing FlexOrder sync settings.


Add your first comment to this post